EtherFast Network Attached Storage (120GB with PrintServer)
Chapter 3: Connecting the Network Attached Storage
Follow the steps below to physically connect the Network Attached Storage to your network.
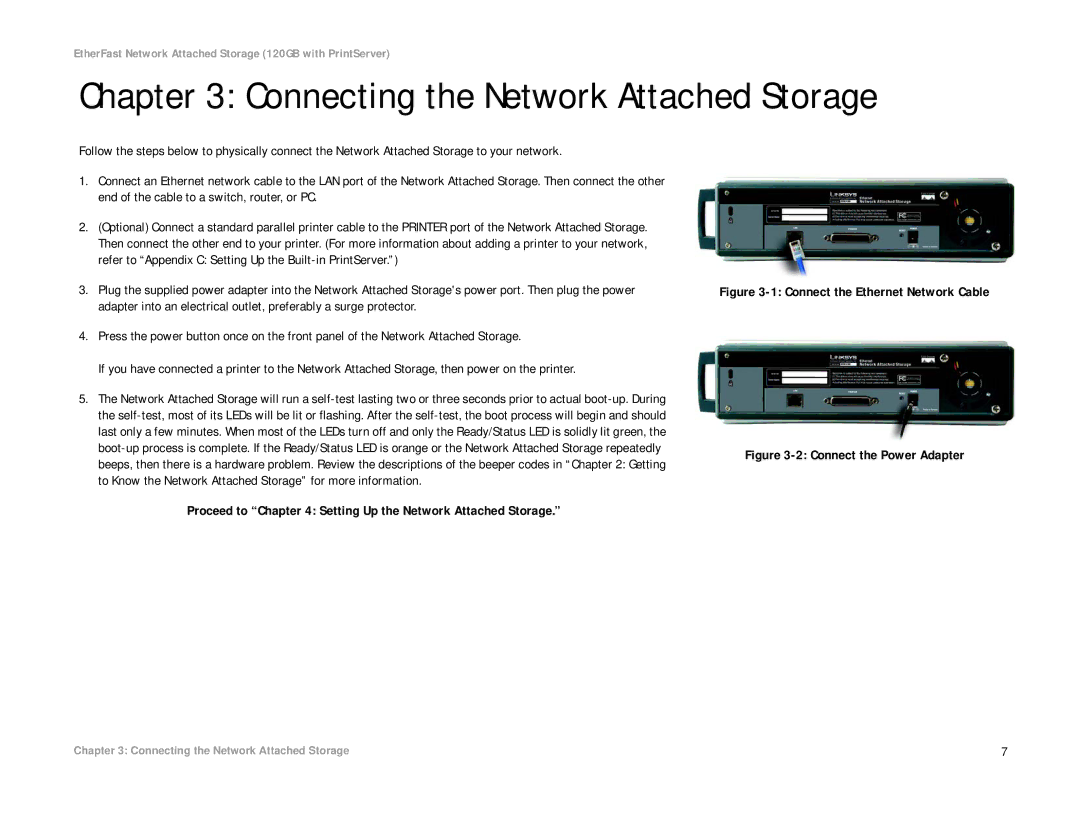
1.Connect an Ethernet network cable to the LAN port of the Network Attached Storage. Then connect the other end of the cable to a switch, router, or PC.
2.(Optional) Connect a standard parallel printer cable to the PRINTER port of the Network Attached Storage. Then connect the other end to your printer. (For more information about adding a printer to your network, refer to “Appendix C: Setting Up the
3.Plug the supplied power adapter into the Network Attached Storage's power port. Then plug the power adapter into an electrical outlet, preferably a surge protector.
4.Press the power button once on the front panel of the Network Attached Storage.
If you have connected a printer to the Network Attached Storage, then power on the printer.
5.The Network Attached Storage will run a
Figure 3-1: Connect the Ethernet Network Cable
Figure 3-2: Connect the Power Adapter
Proceed to “Chapter 4: Setting Up the Network Attached Storage.”
Chapter 3: Connecting the Network Attached Storage | 7 |
