EtherFast Network Attached Storage (120GB with PrintServer)
The Administration Tab - Advanced - Shares
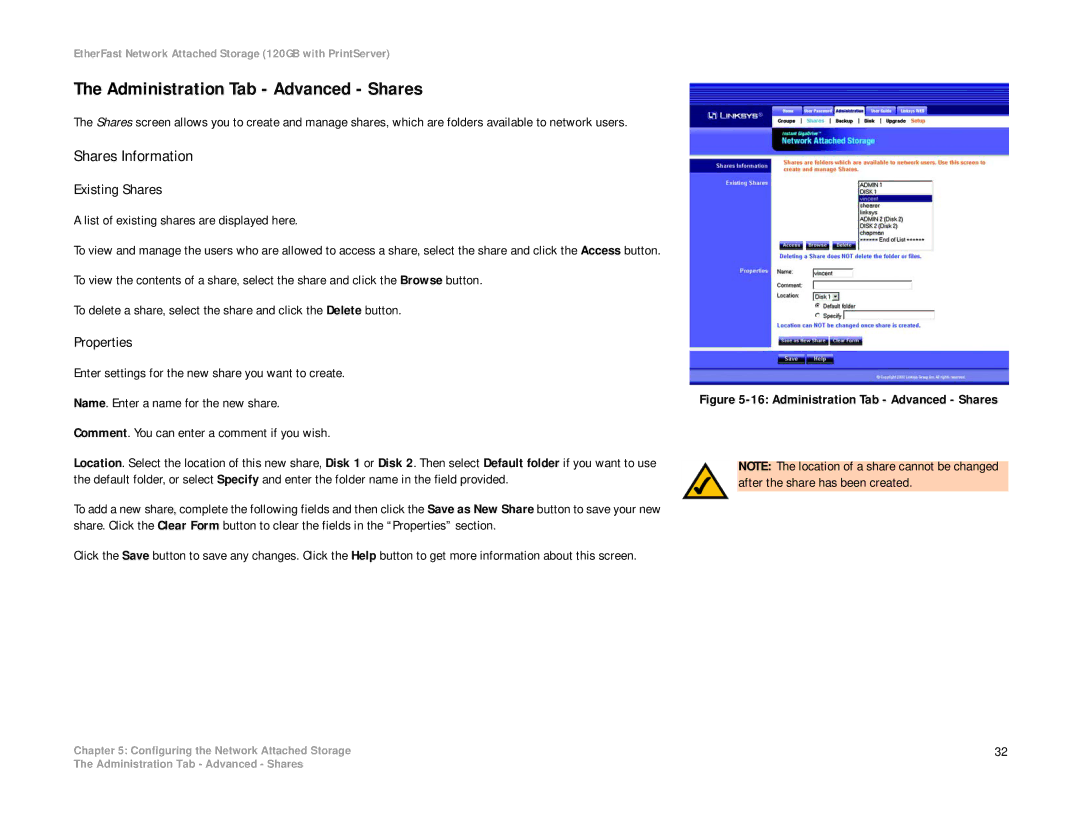
The Shares screen allows you to create and manage shares, which are folders available to network users.
Shares Information
Existing Shares
A list of existing shares are displayed here.
To view and manage the users who are allowed to access a share, select the share and click the Access button.
To view the contents of a share, select the share and click the Browse button.
To delete a share, select the share and click the Delete button.
Properties
Enter settings for the new share you want to create.
Name. Enter a name for the new share.
Comment. You can enter a comment if you wish.
Location. Select the location of this new share, Disk 1 or Disk 2. Then select Default folder if you want to use the default folder, or select Specify and enter the folder name in the field provided.
To add a new share, complete the following fields and then click the Save as New Share button to save your new share. Click the Clear Form button to clear the fields in the “Properties” section.
Click the Save button to save any changes. Click the Help button to get more information about this screen.
Chapter 5: Configuring the Network Attached Storage
Figure 5-16: Administration Tab - Advanced - Shares
NOTE: The location of a share cannot be changed after the share has been created.
32
The Administration Tab - Advanced - Shares
