EtherFast Network Attached Storage (120GB with PrintServer)
Appendix B: Installing a Second Hard Drive
NOTE: The Network Attached Storage support IDE Ultra DMA (or UDMA) hard drives with a throughput of
When you are ready to install a second hard drive into the Network Attached Storage, follow these instructions:
1.Power down the Network Attached Storage by pressing the power button on the front panel. Then unplug the power adapter from the Network Attached Storage.
2.Unlock the second drive bay. This bay is empty and will hold your new drive.
3.Make sure that your hard drive’s master/slave jumpers are set to Cable Select before putting it in the drive tray. For instructions on these jumper settings, refer to the documentation included with your hard drive.
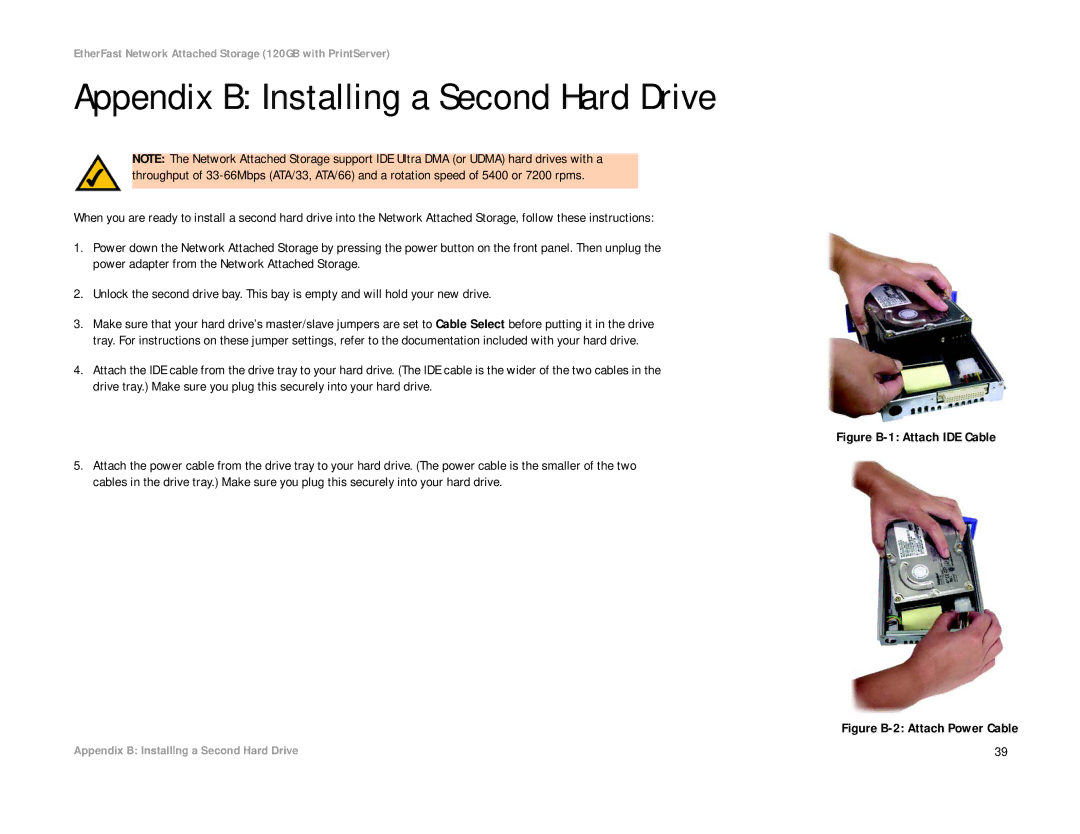
4.Attach the IDE cable from the drive tray to your hard drive. (The IDE cable is the wider of the two cables in the drive tray.) Make sure you plug this securely into your hard drive.
Figure B-1: Attach IDE Cable
5.Attach the power cable from the drive tray to your hard drive. (The power cable is the smaller of the two cables in the drive tray.) Make sure you plug this securely into your hard drive.
| Figure |
Appendix B: Installing a Second Hard Drive | 39 |