EtherFast Network Attached Storage (120GB with PrintServer)
The Administration Tab - Advanced - Disk
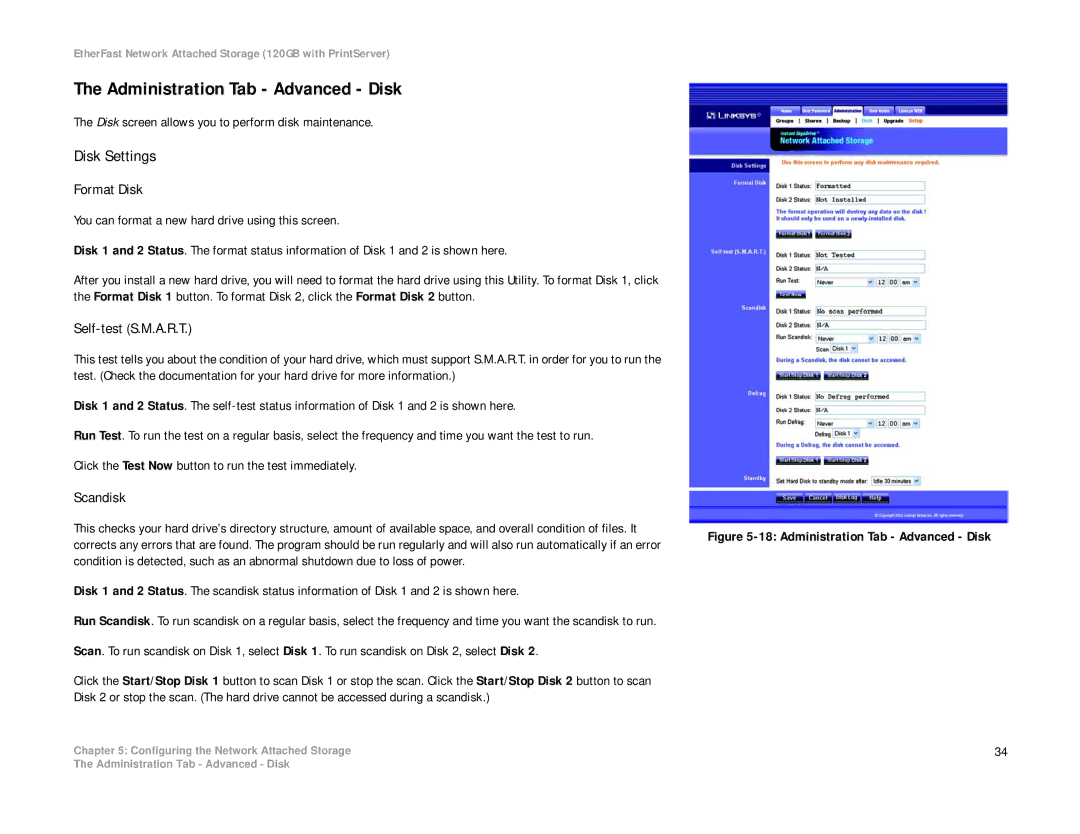
The Disk screen allows you to perform disk maintenance.
Disk Settings
Format Disk
You can format a new hard drive using this screen.
Disk 1 and 2 Status. The format status information of Disk 1 and 2 is shown here.
After you install a new hard drive, you will need to format the hard drive using this Utility. To format Disk 1, click the Format Disk 1 button. To format Disk 2, click the Format Disk 2 button.
Self-test (S.M.A.R.T.)
This test tells you about the condition of your hard drive, which must support S.M.A.R.T. in order for you to run the test. (Check the documentation for your hard drive for more information.)
Disk 1 and 2 Status. The
Run Test. To run the test on a regular basis, select the frequency and time you want the test to run.
Click the Test Now button to run the test immediately.
Scandisk
This checks your hard drive’s directory structure, amount of available space, and overall condition of files. It corrects any errors that are found. The program should be run regularly and will also run automatically if an error condition is detected, such as an abnormal shutdown due to loss of power.
Disk 1 and 2 Status. The scandisk status information of Disk 1 and 2 is shown here.
Run Scandisk. To run scandisk on a regular basis, select the frequency and time you want the scandisk to run.
Scan. To run scandisk on Disk 1, select Disk 1. To run scandisk on Disk 2, select Disk 2.
Click the Start/Stop Disk 1 button to scan Disk 1 or stop the scan. Click the Start/Stop Disk 2 button to scan Disk 2 or stop the scan. (The hard drive cannot be accessed during a scandisk.)
Chapter 5: Configuring the Network Attached Storage
Figure 5-18: Administration Tab - Advanced - Disk
34
The Administration Tab - Advanced - Disk
