EtherFast Network Attached Storage (120GB with PrintServer)
Click the Restart Now button to restart (reboot) the Network Attached Storage. This will break all existing connections. The Network Attached Storage will immediately restart and won’t be available again until after the restart is complete. Any new settings you may have entered will not be saved.
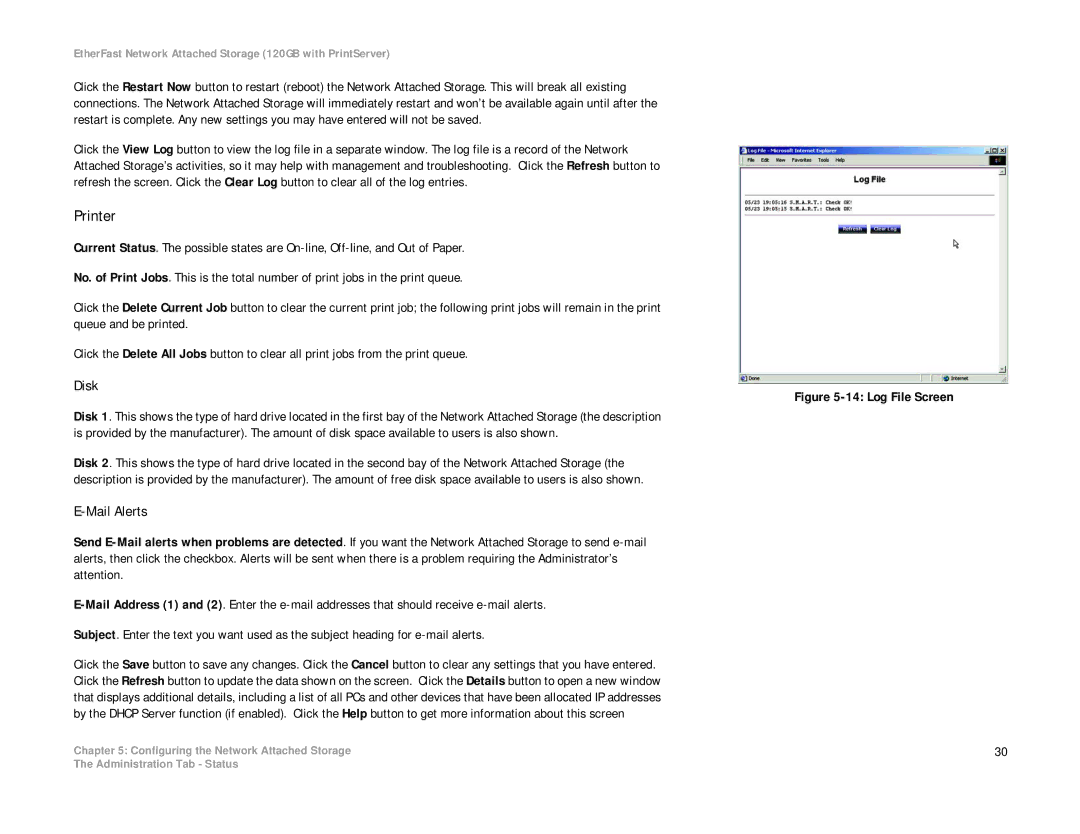
Click the View Log button to view the log file in a separate window. The log file is a record of the Network Attached Storage’s activities, so it may help with management and troubleshooting. Click the Refresh button to refresh the screen. Click the Clear Log button to clear all of the log entries.
Printer
Current Status. The possible states are
No. of Print Jobs. This is the total number of print jobs in the print queue.
Click the Delete Current Job button to clear the current print job; the following print jobs will remain in the print queue and be printed.
Click the Delete All Jobs button to clear all print jobs from the print queue.
Disk
Disk 1. This shows the type of hard drive located in the first bay of the Network Attached Storage (the description is provided by the manufacturer). The amount of disk space available to users is also shown.
Disk 2. This shows the type of hard drive located in the second bay of the Network Attached Storage (the description is provided by the manufacturer). The amount of free disk space available to users is also shown.
E-Mail Alerts
Send
Subject. Enter the text you want used as the subject heading for
Click the Save button to save any changes. Click the Cancel button to clear any settings that you have entered. Click the Refresh button to update the data shown on the screen. Click the Details button to open a new window that displays additional details, including a list of all PCs and other devices that have been allocated IP addresses by the DHCP Server function (if enabled). Click the Help button to get more information about this screen
Chapter 5: Configuring the Network Attached Storage
Figure 5-14: Log File Screen
30
The Administration Tab - Status