EtherFast Network Attached Storage (120GB with PrintServer)
Appendix C: Setting Up the Built-in PrintServer
NOTE: As screens vary between operating systems, you may find that the screenshots in this appendix look a little different from your own operating system. The instructions, however, are still applicable.
When you are ready to use the Network Attached Storage’s
1.Power down the Network Attached Storage by pressing the power button on the front panel.
2.Connect your printer’s parallel cable to the PRINTER port on the back panel of the Network Attached Storage.
3.Power on the Network Attached Storage.
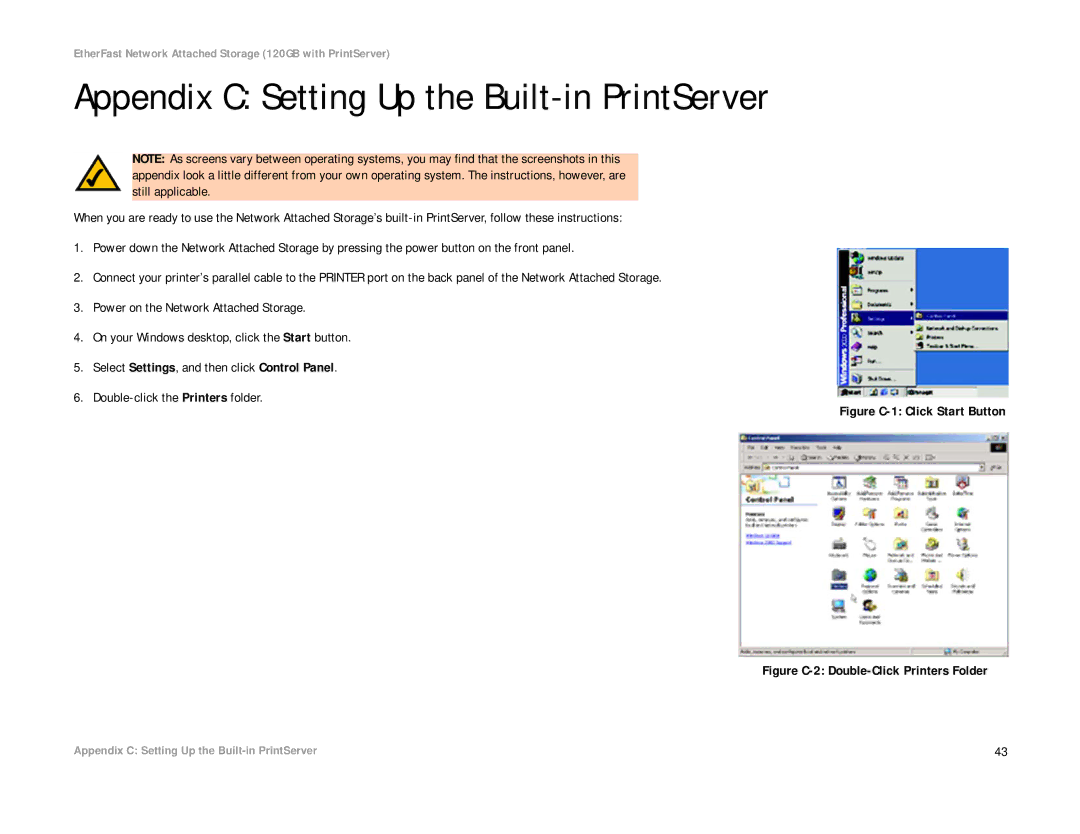
4.On your Windows desktop, click the Start button.
5.Select Settings, and then click Control Panel.
6.
Figure C-1: Click Start Button
Figure C-2: Double-Click Printers Folder
Appendix C: Setting Up the | 43 |