Appendix D: Connecting to your NVR Using a Web Browser
Appendix D: Connecting to your NVR Using a Web Browser
The NVR includes a built in web browser software. You can connect to your NVR in Internet Explorer 8 and above, Apple Safari, Mozilla Firefox, and Google Chrome.
NOTE: In order to connect to your NVR using a web browser, you must complete port forwarding and DDNS setup. Complete all the steps under “Appendix C: DDNS Setup (Advanced)” on page 160.
Connecting to your NVR Using a DDNS or Local IP Address
You must enter your NVR’s DDNS or Local IP address in the address bar to connect using a web browser.
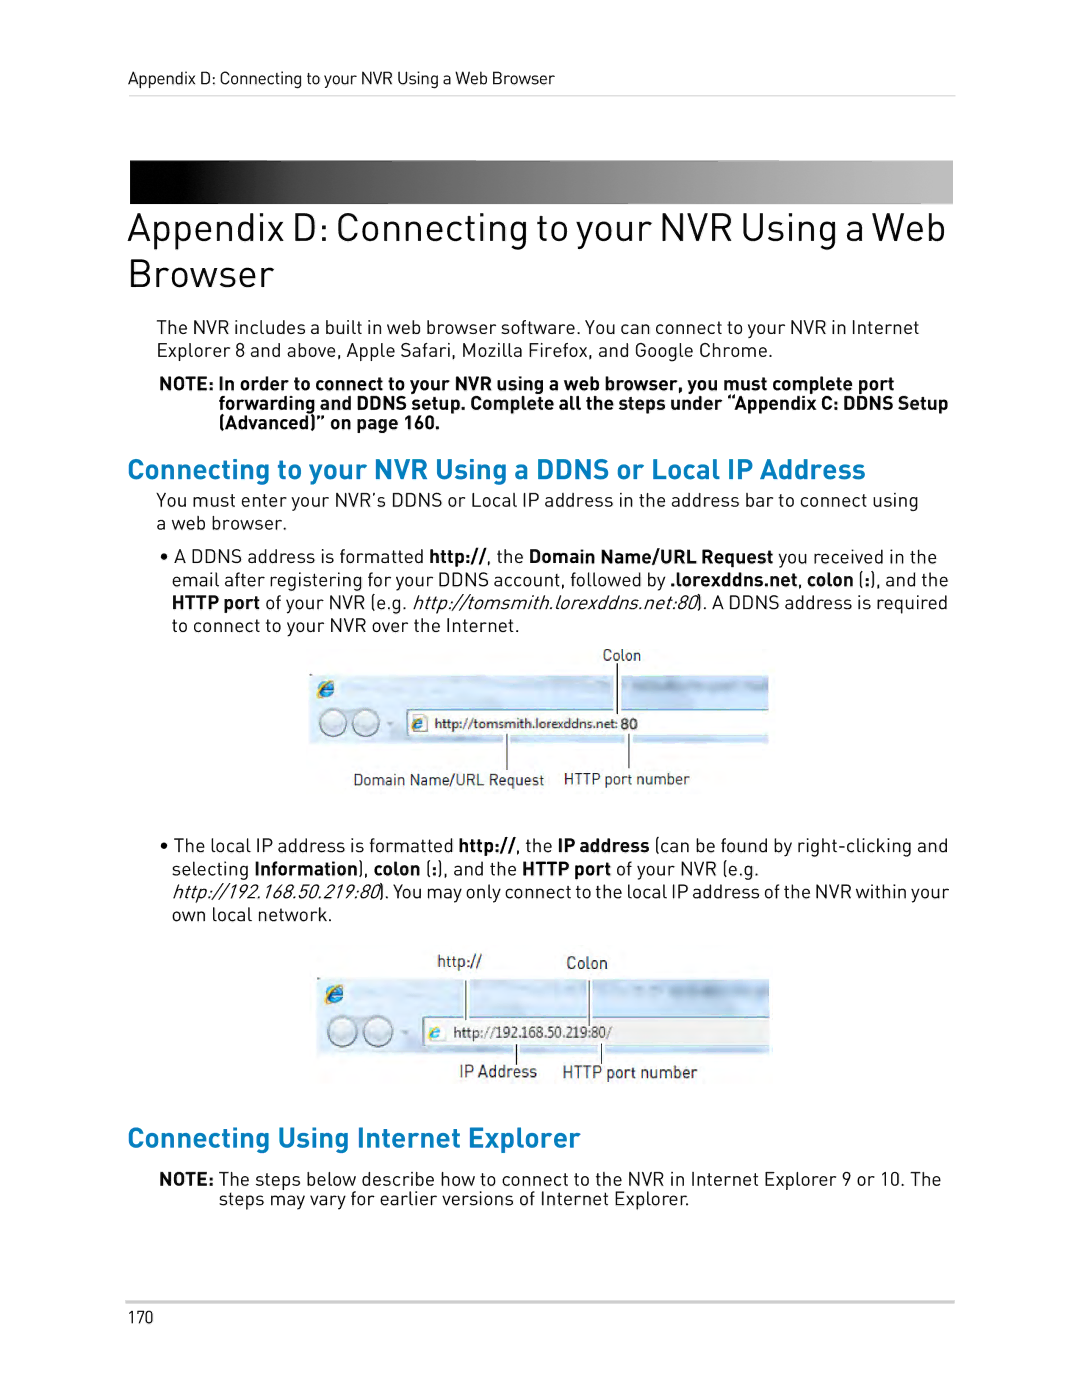
•A DDNS address is formatted http://, the Domain Name/URL Request you received in the email after registering for your DDNS account, followed by .lorexddns.net, colon (:), and the HTTP port of your NVR (e.g. http://tomsmith.lorexddns.net:80). A DDNS address is required to connect to your NVR over the Internet.
•The local IP address is formatted http://, the IP address (can be found by
Connecting Using Internet Explorer
NOTE: The steps below describe how to connect to the NVR in Internet Explorer 9 or 10. The steps may vary for earlier versions of Internet Explorer.
170