Appendix D: Connecting to your NVR Using a Web Browser
1Open Internet Explorer and enter the NVR’s DDNS address or local IP address in the address bar. For details, see “Connecting to your NVR Using a DDNS or Local IP Address” on
page 170.
NOTE: It is recommended to select Run as Administrator when opening Internet Explorer. This will allow you to save screenshots and video files to your computer hard drive.
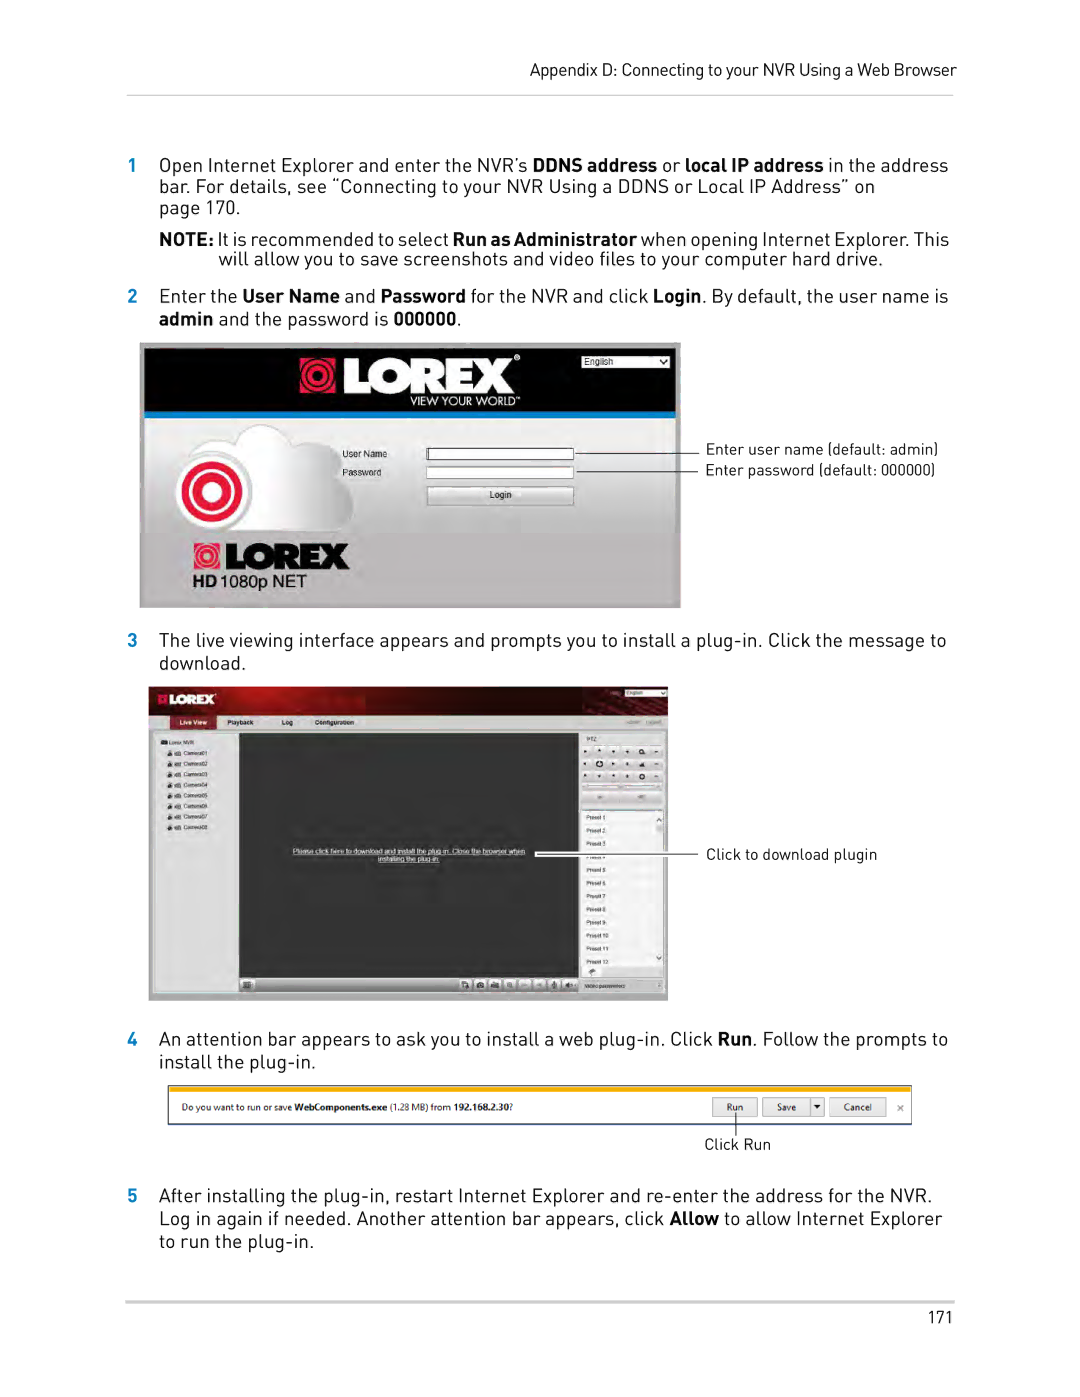
2Enter the User Name and Password for the NVR and click Login. By default, the user name is admin and the password is 000000.
Enter user name (default: admin)
Enter password (default: 000000)
3The live viewing interface appears and prompts you to install a
Click to download plugin
4An attention bar appears to ask you to install a web
Click Run
5After installing the
