Configuration
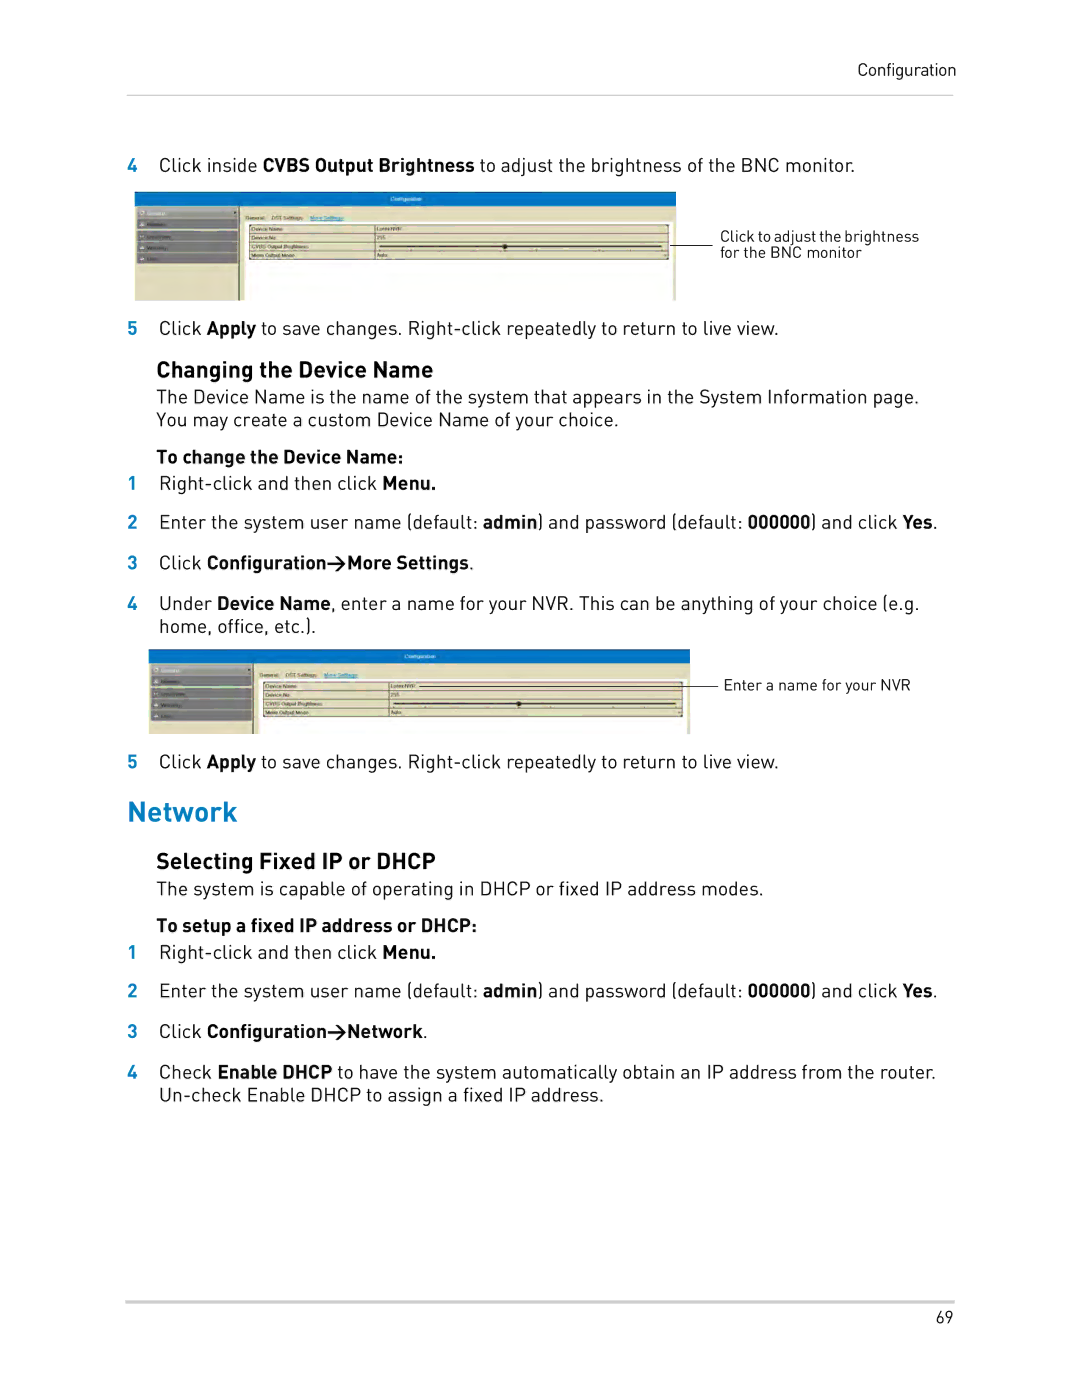
4Click inside CVBS Output Brightness to adjust the brightness of the BNC monitor.
Click to adjust the brightness for the BNC monitor
5Click Apply to save changes.
Changing the Device Name
The Device Name is the name of the system that appears in the System Information page. You may create a custom Device Name of your choice.
To change the Device Name:
1
2Enter the system user name (default: admin) and password (default: 000000) and click Yes.
3Click Configuration>More Settings.
4Under Device Name, enter a name for your NVR. This can be anything of your choice (e.g. home, office, etc.).
Enter a name for your NVR
5Click Apply to save changes.
Network
Selecting Fixed IP or DHCP
The system is capable of operating in DHCP or fixed IP address modes.
To setup a fixed IP address or DHCP:
1
2Enter the system user name (default: admin) and password (default: 000000) and click Yes.
3Click Configuration>Network.
4Check Enable DHCP to have the system automatically obtain an IP address from the router.
69