Configuration
2Enter the system user name (default: admin) and password (default: 000000) and click Yes.
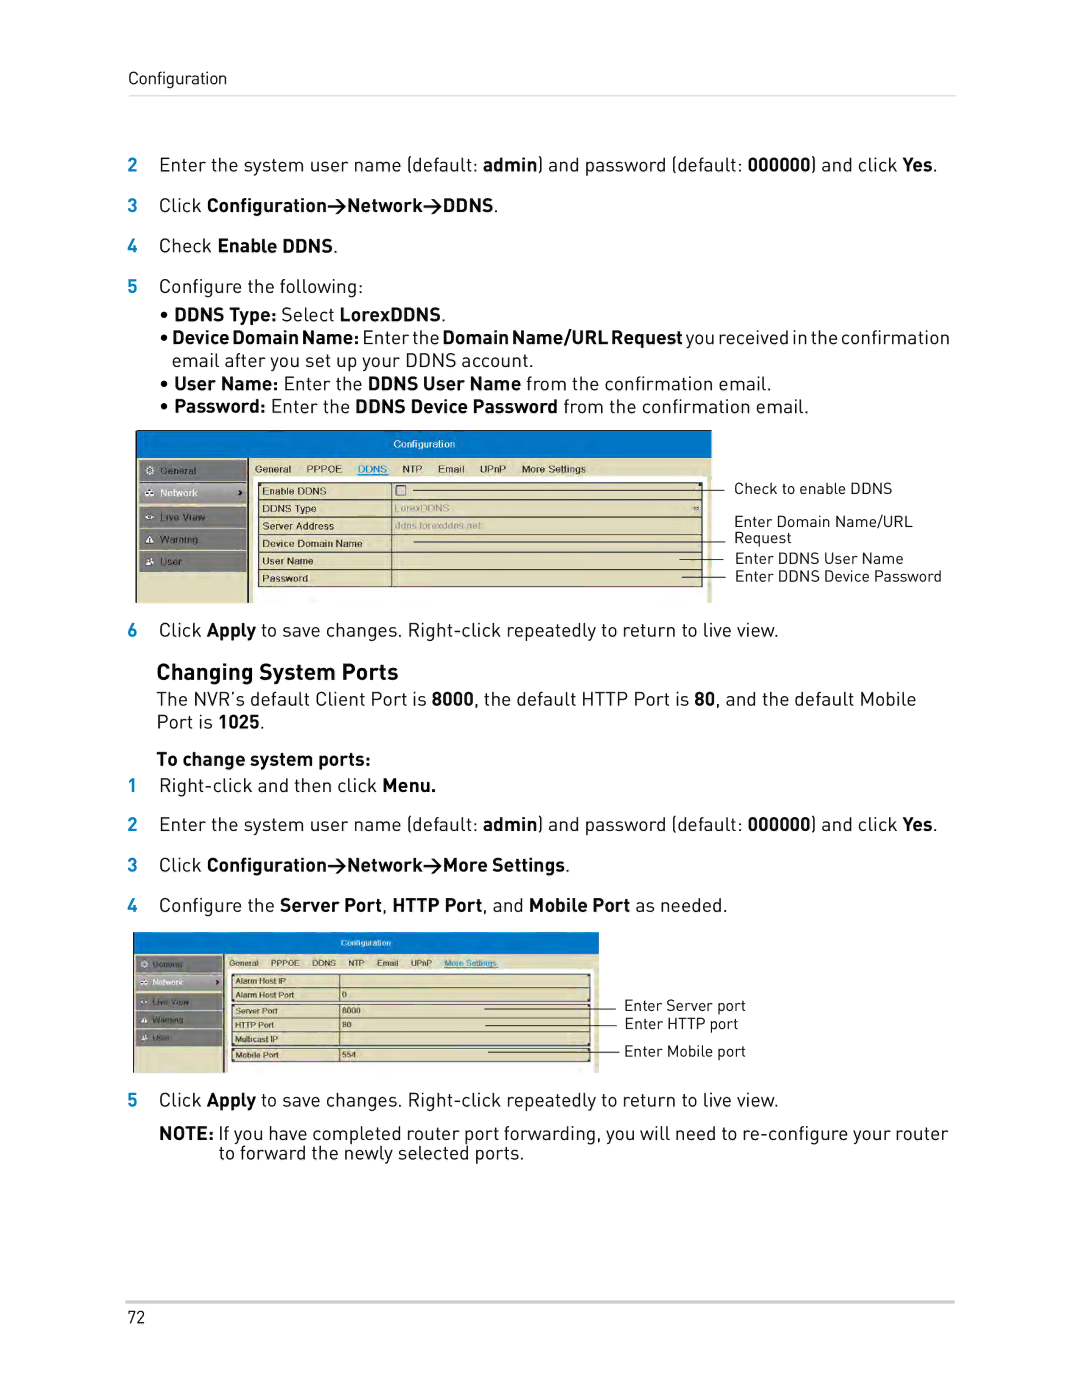
3Click Configuration>Network>DDNS.
4Check Enable DDNS.
5Configure the following:
•DDNS Type: Select LorexDDNS.
•DeviceDomainName: EntertheDomainName/URLRequest youreceivedintheconfirmation email after you set up your DDNS account.
•User Name: Enter the DDNS User Name from the confirmation email.
•Password: Enter the DDNS Device Password from the confirmation email.
Check to enable DDNS
Enter Domain Name/URL
Request
Enter DDNS User Name
Enter DDNS Device Password
6Click Apply to save changes.
Changing System Ports
The NVR’s default Client Port is 8000, the default HTTP Port is 80, and the default Mobile Port is 1025.
To change system ports:
1
2Enter the system user name (default: admin) and password (default: 000000) and click Yes.
3Click Configuration>Network>More Settings.
4Configure the Server Port, HTTP Port, and Mobile Port as needed.
Enter Server port
Enter HTTP port
Enter Mobile port
5Click Apply to save changes.
NOTE: If you have completed router port forwarding, you will need to
72