Preparations
Preparazione
Preparación
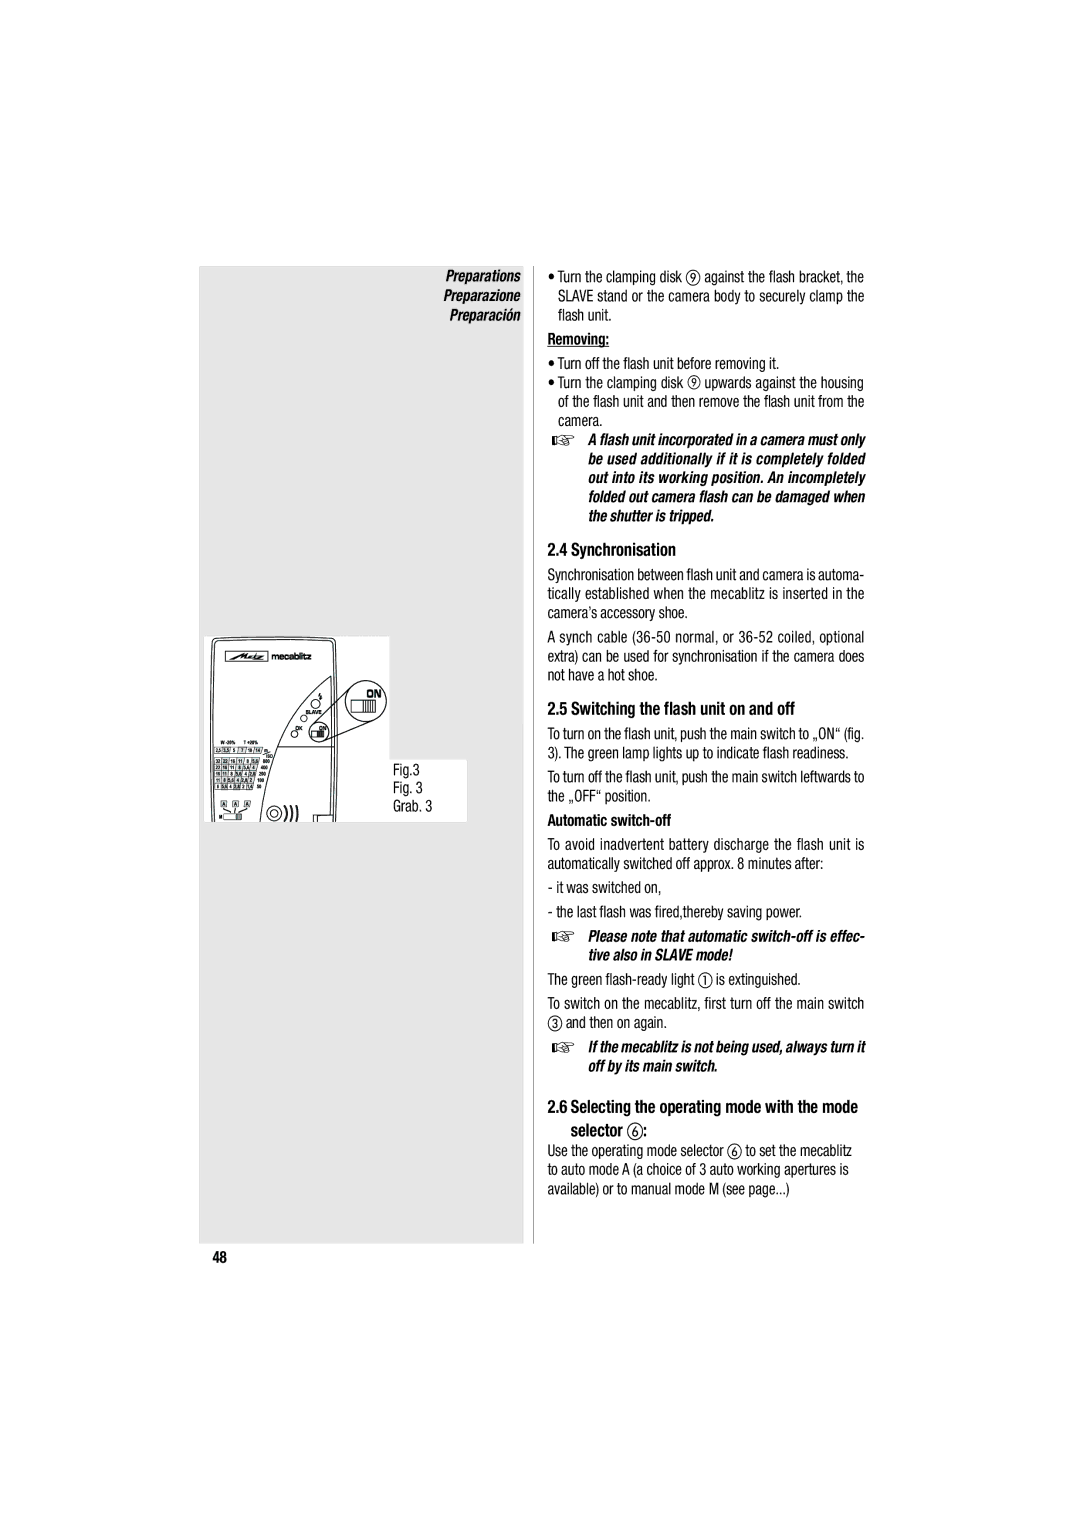
Fig.3
Fig. 3
Grab. 3
• Turn the clamping disk against the flash bracket, the SLAVE stand or the camera body to securely clamp the flash unit.
Removing:
• Turn off the flash unit before removing it.
• Turn the clamping disk upwards against the housing of the flash unit and then remove the flash unit from the camera.
☞A flash unit incorporated in a camera must only be used additionally if it is completely folded out into its working position. An incompletely folded out camera flash can be damaged when the shutter is tripped.
2.4Synchronisation
Synchronisation between flash unit and camera is automa- tically established when the mecablitz is inserted in the camera’s accessory shoe.
Asynch cable
2.5 Switching the flash unit on and off
To turn on the flash unit, push the main switch to „ON“ (fig. 3). The green lamp lights up to indicate flash readiness.
To turn off the flash unit, push the main switch leftwards to the „OFF“ position.
Automatic switch-off
To avoid inadvertent battery discharge the flash unit is automatically switched off approx. 8 minutes after:
-it was switched on,
-the last flash was fired,thereby saving power.
☞Please note that automatic
The green | is extinguished. |
To switch on the mecablitz, first turn off the main switch and then on again.
☞If the mecablitz is not being used, always turn it off by its main switch.
2.6Selecting the operating mode with the mode selector :
Use the operating mode selector to set the mecablitz to auto mode A (a choice of 3 auto working apertures is available) or to manual mode M (see page...)
48