Preparations
Preparazione
Preparación
➭Fig. 1 Fig. 1 Grab. 1
Fig. 2
Fig. 2
Grab. 2
2. Preparations
2.1 Power supply
The flash unit should only be powered by 2 CR2 lithium batteries. This type of battery can be stored for many years with virtually no loss of power, thus making it ideal for occasional use.
The batteries are exhausted if the recycling time at full light output exceeds 60 seconds. Remove the batteries from the mecablitz if it is not going to be used for an exten- ded period.
2.2 Replacing the batteries
• Turn off the flashgun by its main switch | . | |
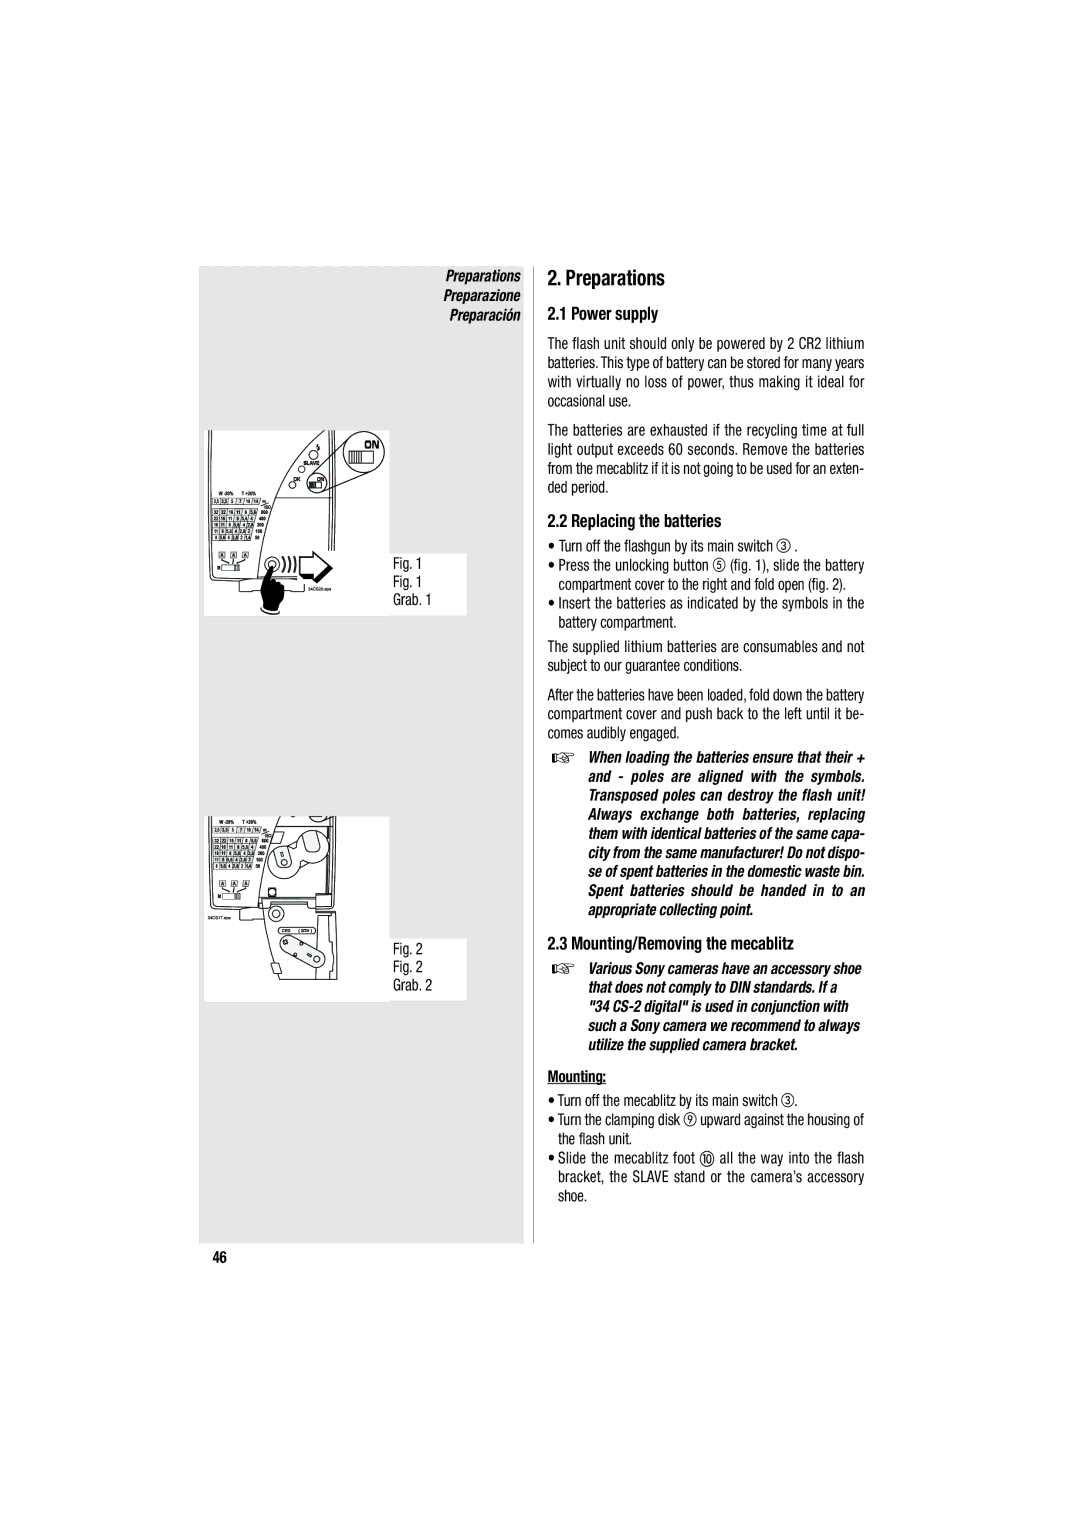
• Press the unlocking button | (fig. 1), slide the battery | |
compartment cover to the right and fold open (fig. 2).
•Insert the batteries as indicated by the symbols in the battery compartment.
The supplied lithium batteries are consumables and not subject to our guarantee conditions.
After the batteries have been loaded, fold down the battery compartment cover and push back to the left until it be- comes audibly engaged.
☞When loading the batteries ensure that their + and - poles are aligned with the symbols. Transposed poles can destroy the flash unit! Always exchange both batteries, replacing them with identical batteries of the same capa- city from the same manufacturer! Do not dispo- se of spent batteries in the domestic waste bin. Spent batteries should be handed in to an appropriate collecting point.
2.3Mounting/Removing the mecablitz
☞Various Sony cameras have an accessory shoe that does not comply to DIN standards. If a "34
Mounting:
• Turn off the mecablitz by its main switch .
• Turn the clamping disk | upward against the housing of |
the flash unit. |
|
• Slide the mecablitz foot | all the way into the flash |
bracket, the SLAVE stand or the camera’s accessory shoe.
46
