•PCL Emulation
•PostScript
•Parallel
•USB
 Paper
Paper
•Paper Source
•Paper Size
•Paper Type
•Custom Types
•Substitute Size
•Paper Texture
•Paper Weight
 Finishing
• Duplex Binding
• Copies
• Blank Pages
• Collation
• Separator Sheets
• Separator Source
• Multipage (pages/side)
• Multipage Ordering
• Orientation
• Multipage Border
Quality
•Print Resolution
•Small Font Enhancer
•Toner Darkness
•Picture Grade
Setup
•Printer Language
•Jam Recovery
•Display Language
•Print Area
•Alarm Control
•Toner Alarm
•Download Target
•Power Saver
•Print Timeout
•Auto Continue
•Wait Timeout
•Resolution Reduction
•Resource Save
•Reset Control
•Print Buffer Control
•Page Protect
•Eco Mode
•Quiet Mode
 PCL Emulation
•A4 Width
•Orientation
•Auto CR After LF
•Auto LF after CR
•Lines Per Page
 PostScript
• Print PS Error
• Font Priority
Parallel
•PCL SmartSwitch
•PS SmartSwitch
•Advanced Status
•Honor Init
•Protocol
•Parallel Buffer
USB
•PCL SmartSwitch
•PS SmartSwitch
•USB Buffer
Using the Finishing menu
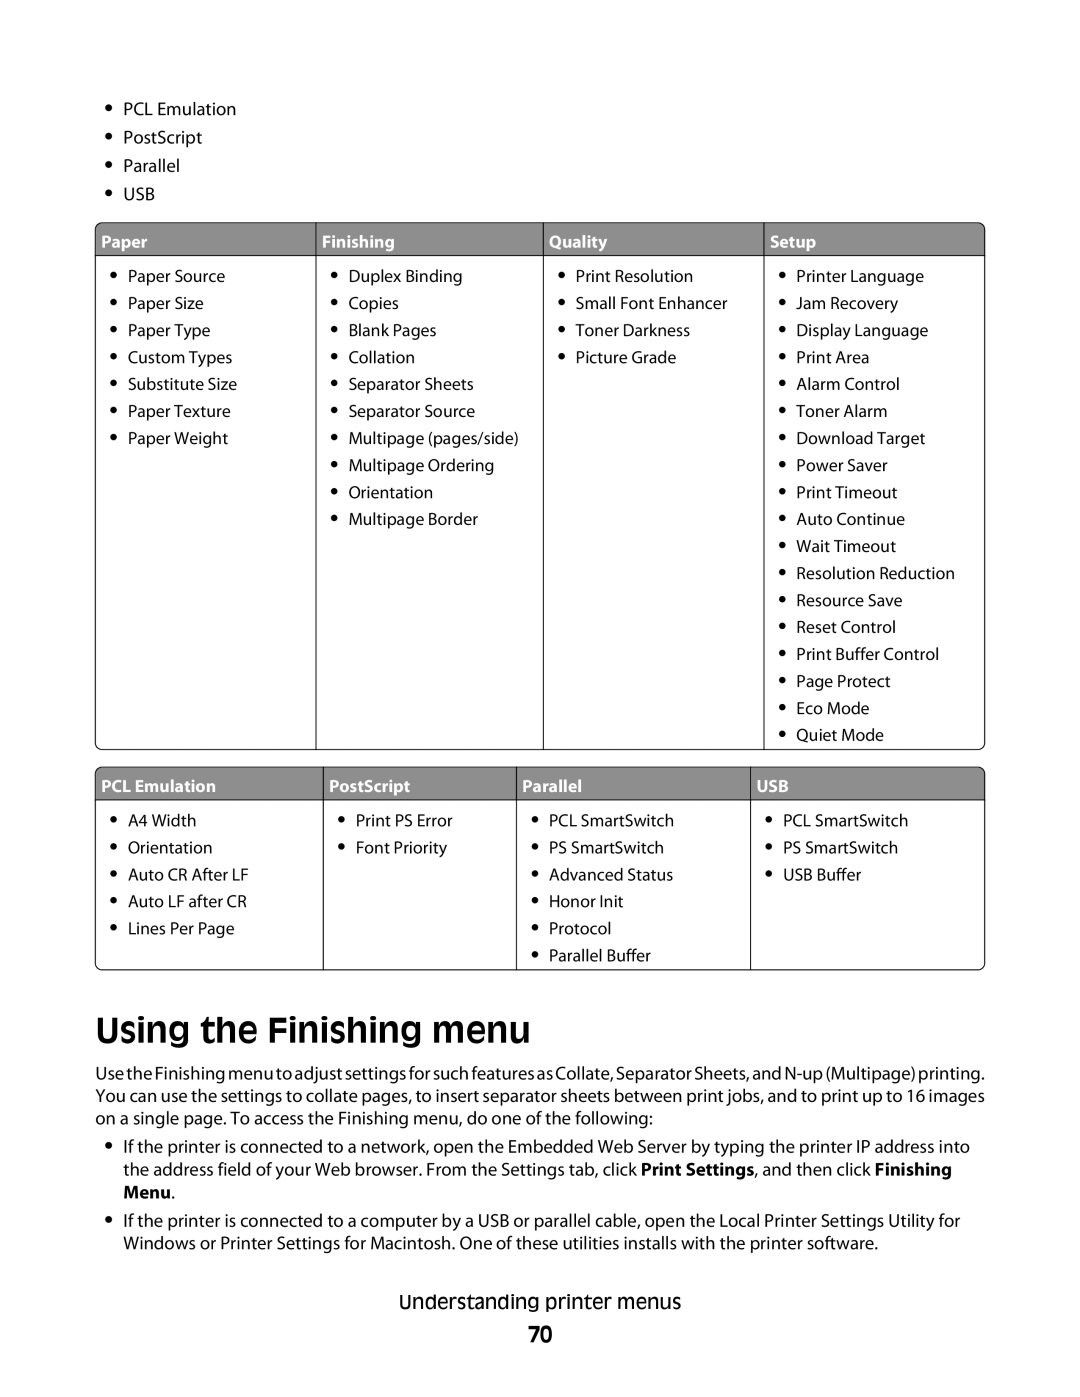
Use the Finishing menu to adjust settings for such features as Collate, Separator Sheets, and
•If the printer is connected to a network, open the Embedded Web Server by typing the printer IP address into the address field of your Web browser. From the Settings tab, click Print Settings, and then click Finishing Menu.
•If the printer is connected to a computer by a USB or parallel cable, open the Local Printer Settings Utility for Windows or Printer Settings for Macintosh. One of these utilities installs with the printer software.
Understanding printer menus
70