SETTING THE ISO MANUALLY
Set the ISO manually to override the
•Film must be loaded before the ISO can be changed.
•
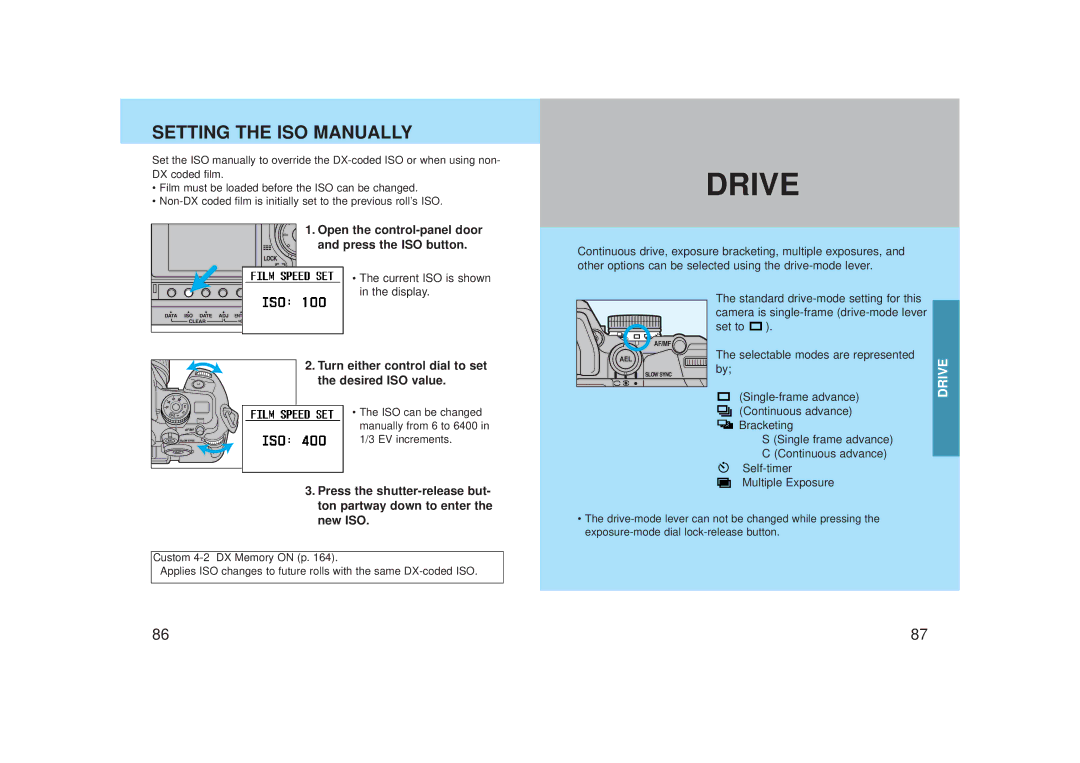
1. Open the control-panel door and press the ISO button.
• The current ISO is shown in the display.
2. Turn either control dial to set the desired ISO value.
• The ISO can be changed manually from 6 to 6400 in 1/3 EV increments.
3.Press the
Custom
Applies ISO changes to future rolls with the same
DRIVE
Continuous drive, exposure bracketing, multiple exposures, and other options can be selected using the
The standard ![]() ).
).
The selectable modes are represented | DRIVE | |
by; | ||
|
![]() (Continuous advance)
(Continuous advance)
Bracketing
S (Single frame advance)
C (Continuous advance)
Multiple Exposure
•The
86 | 87 |
