A MODE

When pressing the shutter-release button part- way down, if 8000 or 30” blinks or the printing reverses, the required setting is beyond the camera’s shutter speed range. Turn the con- trol dial until the blinking/reversing stops.

A-Mode Flash

1.Follow the steps on the previous page.

2.Raise the built-in flash, or turn the accessory flash on.

appears in the viewfinder when the flash is charged.

The shutter speed is automatically set to 1/200 or slower.

When the built-in flash is up or an attached accessory flash is on, it will fire each time the shutter is released. The camera’s automatic flash metering system will ensure proper exposure.

The use of a large aperture is recommended for a longer flash range.

When pressing the shutter-release button part- way down, if 200 blinks or the printing reverses, the required setting is beyond the camera’s shutter speed range. Turn the control dial until the blinking/reversing stops.

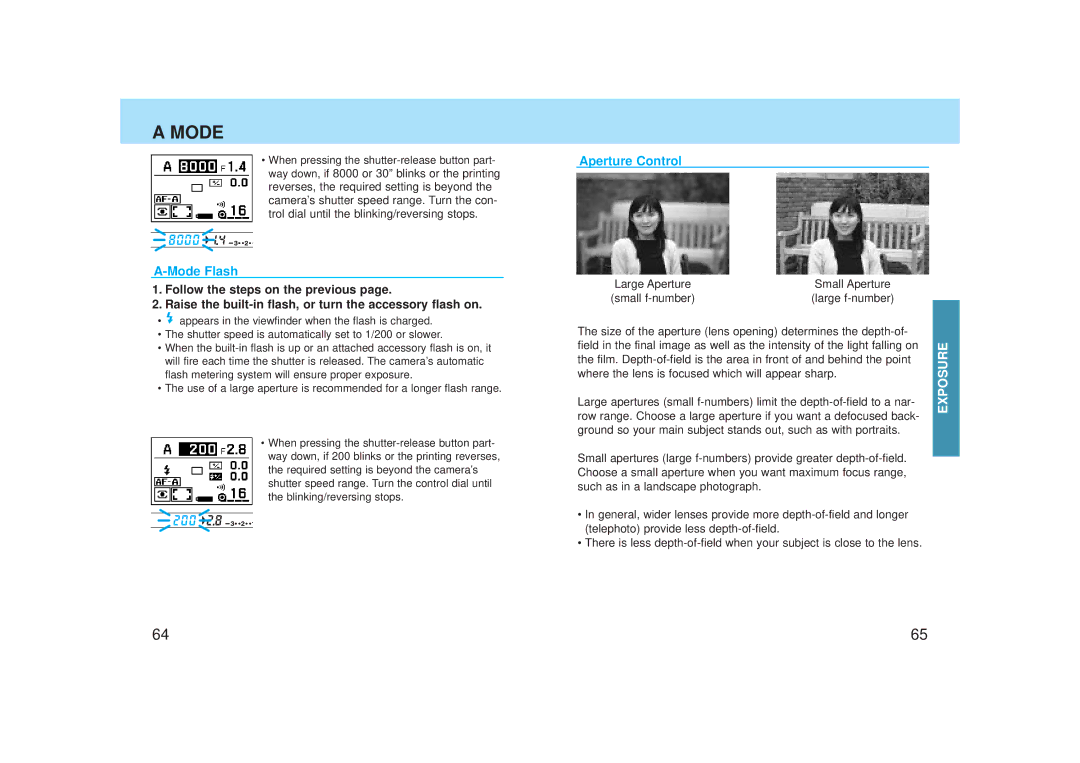
Aperture Control

Large Aperture


Small Aperture


(small f-number)


(large f-number)


The size of the aperture (lens opening) determines the depth-of-


field in the final image as well as the intensity of the light falling on

EXPOSURE

the film. Depth-of-field is the area in front of and behind the point


where the lens is focused which will appear sharp.

Large apertures (small f-numbers) limit the depth-of-field to a nar- row range. Choose a large aperture if you want a defocused back- ground so your main subject stands out, such as with portraits.

Small apertures (large f-numbers) provide greater depth-of-field. Choose a small aperture when you want maximum focus range, such as in a landscape photograph.

In general, wider lenses provide more depth-of-field and longer (telephoto) provide less depth-of-field.

There is less depth-of-field when your subject is close to the lens.

64

65

Page 33
Image 33
Minolta Minolta, Maxxum, Dynax 7 manual Aperture Control