88Chapter 7. Using the TV with a Personal Computer
Setup
1.See the TV specifications in Appendix B to confirm that your computer video signal is compatible with the TV.
2.Note whether the computer supplies a digital or analog video signal. You will need this information during the setup procedure.
•Digital video signal: Comes from the computer’s DVI or HDMI output.
•Analog video signal: Comes from the computer’s VGA
3.Power on the TV.
IMPORTANT
In the next step, select the correct video signal type (analog or digital) in the NetCommand menu. Otherwise, the TV will be unable to display a picture from the computer.
4.Press MENU to open the Main menu, highlight the NetCommand icon, and press ENTER.
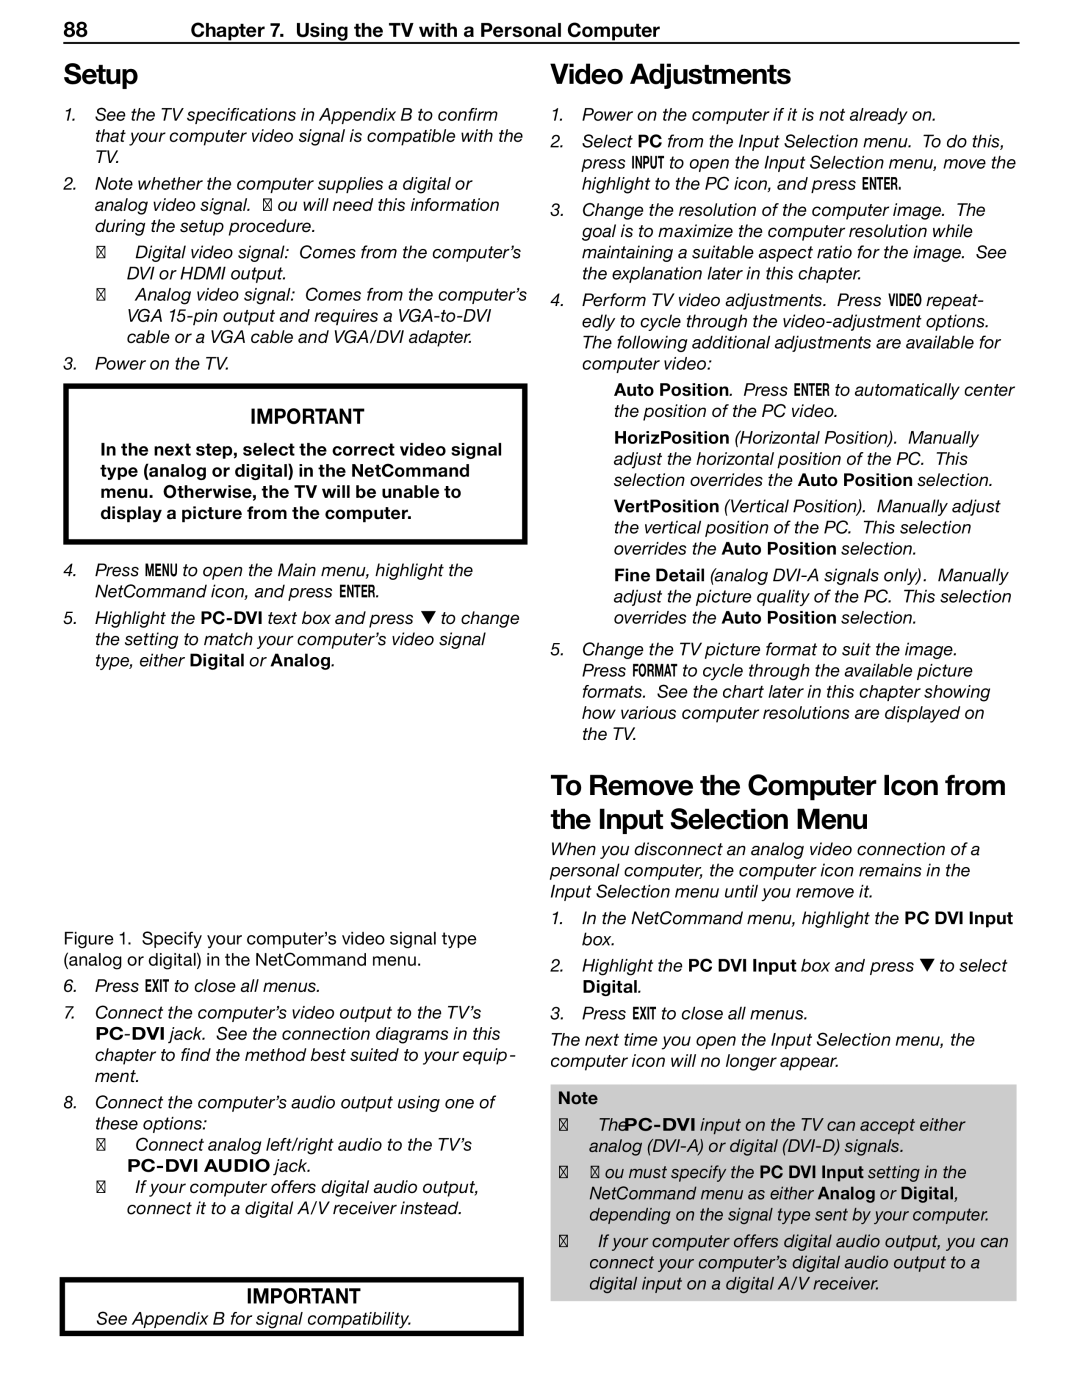
5.Highlight the ![]() to change the setting to match your computer’s video signal type, either Digital or Analog.
to change the setting to match your computer’s video signal type, either Digital or Analog.
Figure 1. Specify your computer’s video signal type (analog or digital) in the NetCommand menu.
6.Press EXIT to close all menus.
7.Connect the computer’s video output to the TV’s
8.Connect the computer’s audio output using one of these options:
•Connect analog left/right audio to the TV’s
•If your computer offers digital audio output, connect it to a digital A/V receiver instead.
IMPORTANT
See Appendix B for signal compatibility.
Video Adjustments
1.Power on the computer if it is not already on.
2.Select PC from the Input Selection menu. To do this, press INPUT to open the Input Selection menu, move the highlight to the PC icon, and press ENTER.
3.Change the resolution of the computer image. The goal is to maximize the computer resolution while maintaining a suitable aspect ratio for the image. See the explanation later in this chapter.
4.Perform TV video adjustments. Press VIDEO repeat- edly to cycle through the
Auto Position. Press ENTER to automatically center the position of the PC video.
HorizPosition (Horizontal Position). Manually adjust the horizontal position of the PC. This selection overrides the Auto Position selection.
VertPosition (Vertical Position). Manually adjust the vertical position of the PC. This selection overrides the Auto Position selection.
Fine Detail (analog
5.Change the TV picture format to suit the image. Press FORMAT to cycle through the available picture formats. See the chart later in this chapter showing how various computer resolutions are displayed on the TV.
To Remove the Computer Icon from the Input Selection Menu
When you disconnect an analog video connection of a personal computer, the computer icon remains in the Input Selection menu until you remove it.
1.In the NetCommand menu, highlight the PC DVI Input box.
2.Highlight the PC DVI Input box and press![]() to select Digital.
to select Digital.
3.Press EXIT to close all menus.
The next time you open the Input Selection menu, the computer icon will no longer appear.
Note
•The
•You must specify the PC DVI Input setting in the NetCommand menu as either Analog or Digital, depending on the signal type sent by your computer.
•If your computer offers digital audio output, you can connect your computer’s digital audio output to a digital input on a digital A/V receiver.