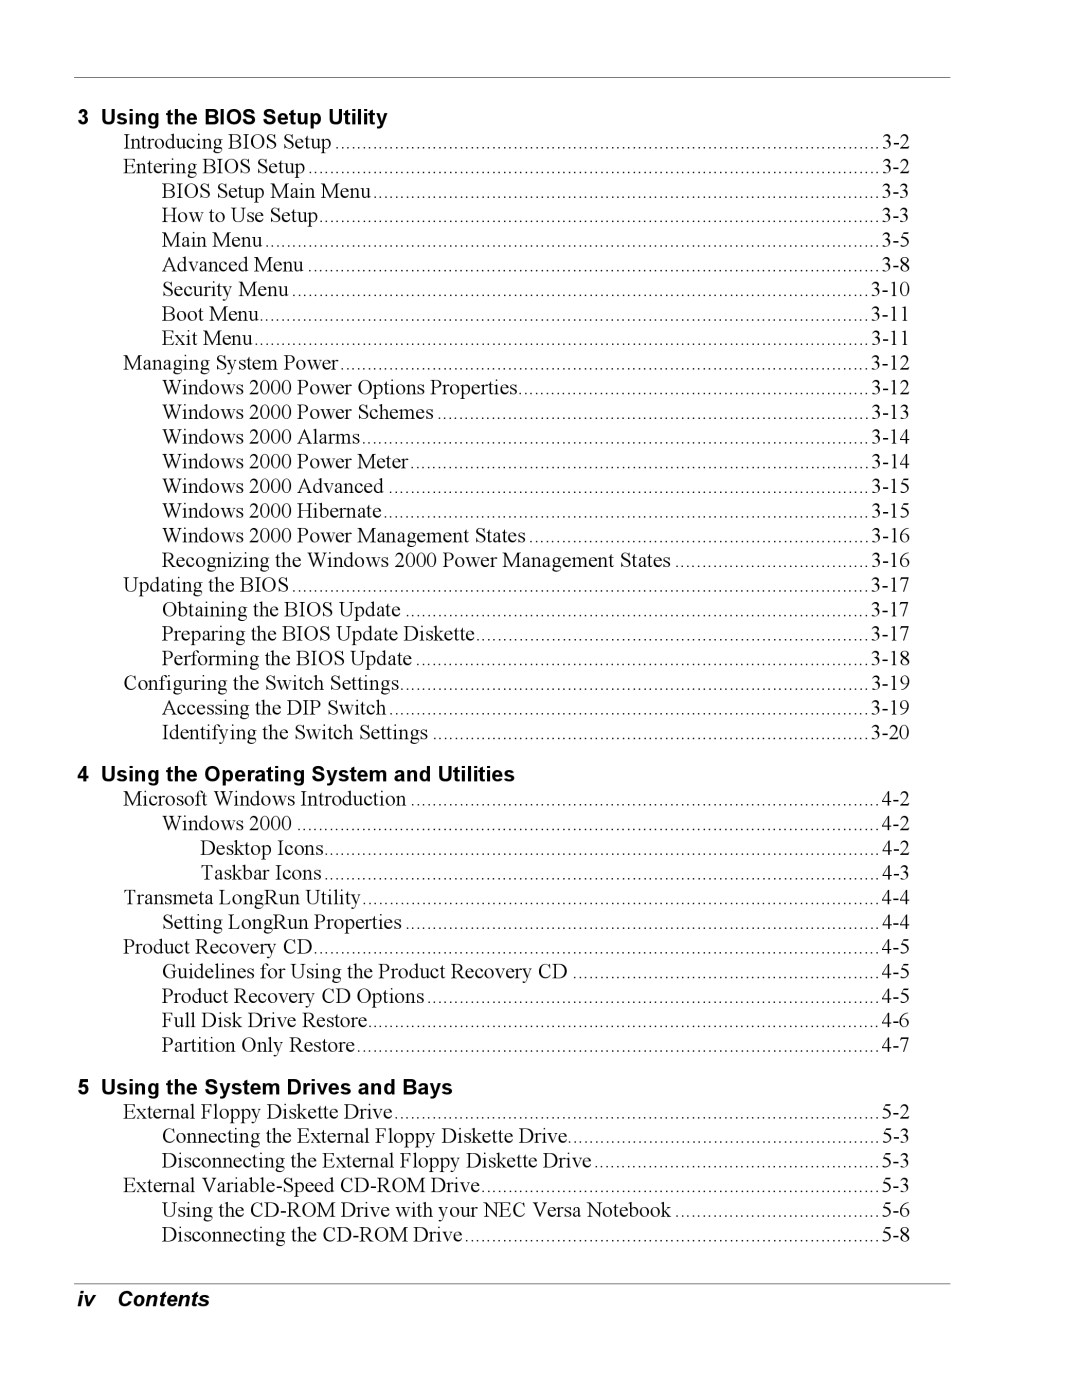
3 Using the BIOS Setup Utility |
|
Introducing BIOS Setup | |
Entering BIOS Setup | |
BIOS Setup Main Menu | |
How to Use Setup | |
Main Menu | |
Advanced Menu | |
Security Menu | |
Boot Menu | |
Exit Menu | |
Managing System Power | |
Windows 2000 Power Options Properties | |
Windows 2000 Power Schemes | |
Windows 2000 Alarms | |
Windows 2000 Power Meter | |
Windows 2000 Advanced | |
Windows 2000 Hibernate | |
Windows 2000 Power Management States | |
Recognizing the Windows 2000 Power Management States | |
Updating the BIOS | |
Obtaining the BIOS Update | |
Preparing the BIOS Update Diskette | |
Performing the BIOS Update | |
Configuring the Switch Settings | |
Accessing the DIP Switch | |
Identifying the Switch Settings | |
4 Using the Operating System and Utilities |
|
Microsoft Windows Introduction | |
Windows 2000 | |
Desktop Icons | |
Taskbar Icons | |
Transmeta LongRun Utility | |
Setting LongRun Properties | |
Product Recovery CD | |
Guidelines for Using the Product Recovery CD | |
Product Recovery CD Options | |
Full Disk Drive Restore | |
Partition Only Restore | |
5 Using the System Drives and Bays |
|
External Floppy Diskette Drive | |
Connecting the External Floppy Diskette Drive | |
Disconnecting the External Floppy Diskette Drive | |
External | |
Using the | |
Disconnecting the |
