Use the external
!Connect the drive to one of the USB ports to load and start programs. When connected, the
Note The first time that you connect the
The
The external
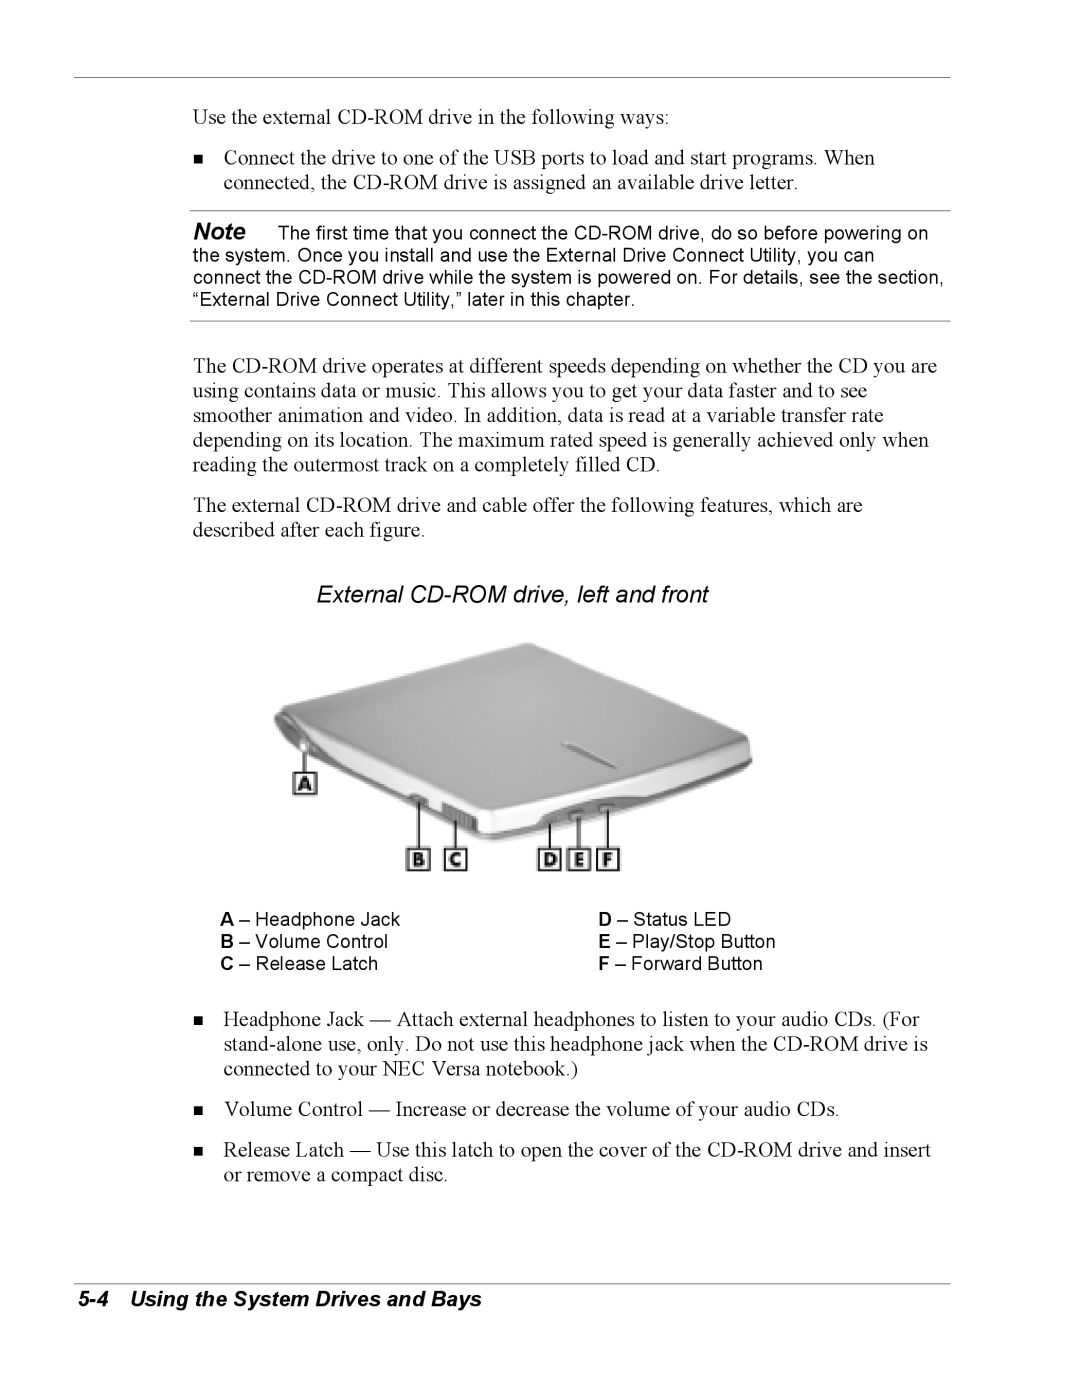
External CD-ROM drive, left and front
A – Headphone Jack | D – Status LED |
B – Volume Control | E – Play/Stop Button |
C – Release Latch | F – Forward Button |
!Headphone Jack — Attach external headphones to listen to your audio CDs. (For
!Volume Control — Increase or decrease the volume of your audio CDs.
!Release Latch — Use this latch to open the cover of the