Connecting the External Floppy Diskette Drive
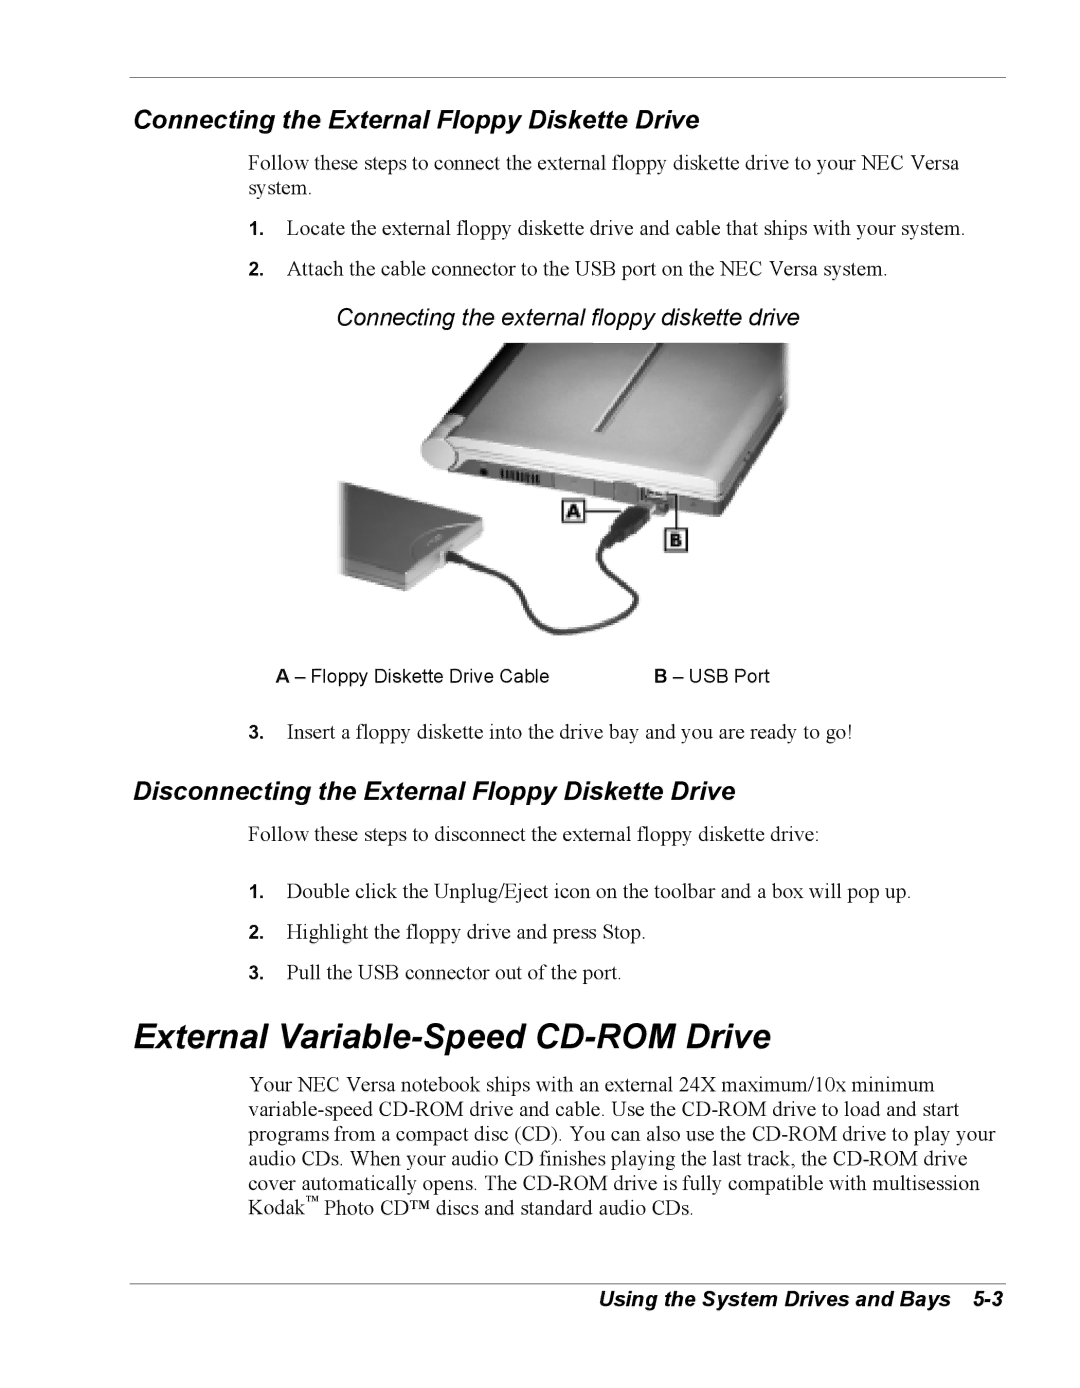
Follow these steps to connect the external floppy diskette drive to your NEC Versa system.
1.Locate the external floppy diskette drive and cable that ships with your system.
2.Attach the cable connector to the USB port on the NEC Versa system.
Connecting the external floppy diskette drive
A – Floppy Diskette Drive Cable | B – USB Port |
3.Insert a floppy diskette into the drive bay and you are ready to go!
Disconnecting the External Floppy Diskette Drive
Follow these steps to disconnect the external floppy diskette drive:
1.Double click the Unplug/Eject icon on the toolbar and a box will pop up.
2.Highlight the floppy drive and press Stop.
3.Pull the USB connector out of the port.
External Variable-Speed CD-ROM Drive
Your NEC Versa notebook ships with an external 24X maximum/10x minimum