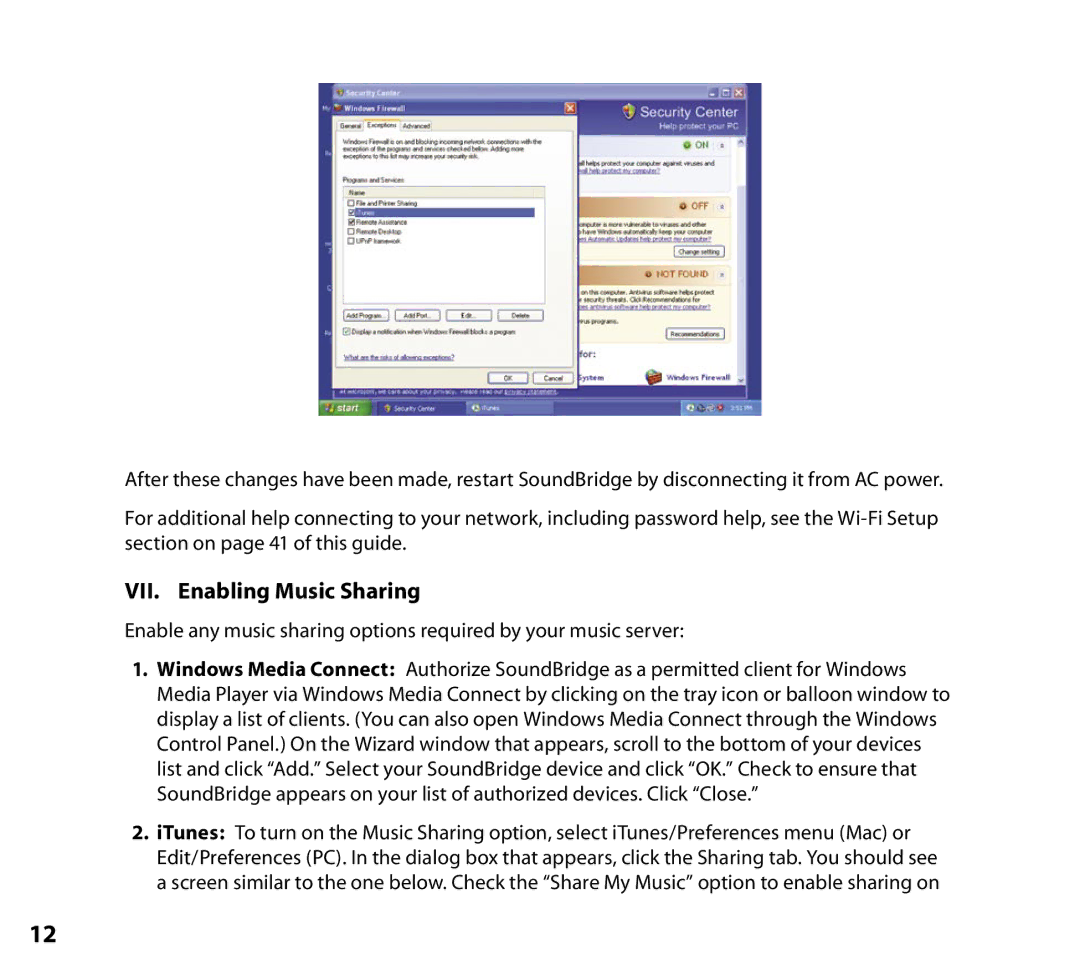
After these changes have been made, restart SoundBridge by disconnecting it from AC power.
For additional help connecting to your network, including password help, see the
VII. Enabling Music Sharing
Enable any music sharing options required by your music server:
1.Windows Media Connect: Authorize SoundBridge as a permitted client for Windows Media Player via Windows Media Connect by clicking on the tray icon or balloon window to display a list of clients. (You can also open Windows Media Connect through the Windows Control Panel.) On the Wizard window that appears, scroll to the bottom of your devices list and click “Add.” Select your SoundBridge device and click “OK.” Check to ensure that SoundBridge appears on your list of authorized devices. Click “Close.”
2.iTunes: To turn on the Music Sharing option, select iTunes/Preferences menu (Mac) or Edit/Preferences (PC). In the dialog box that appears, click the Sharing tab. You should see a screen similar to the one below. Check the “Share My Music” option to enable sharing on
12
