sure to replace the end caps on the unit before plugging in the AC power supply into the wall, in order to avoid abnormal unit operation due to static discharge.
V. Using Your Remote Control
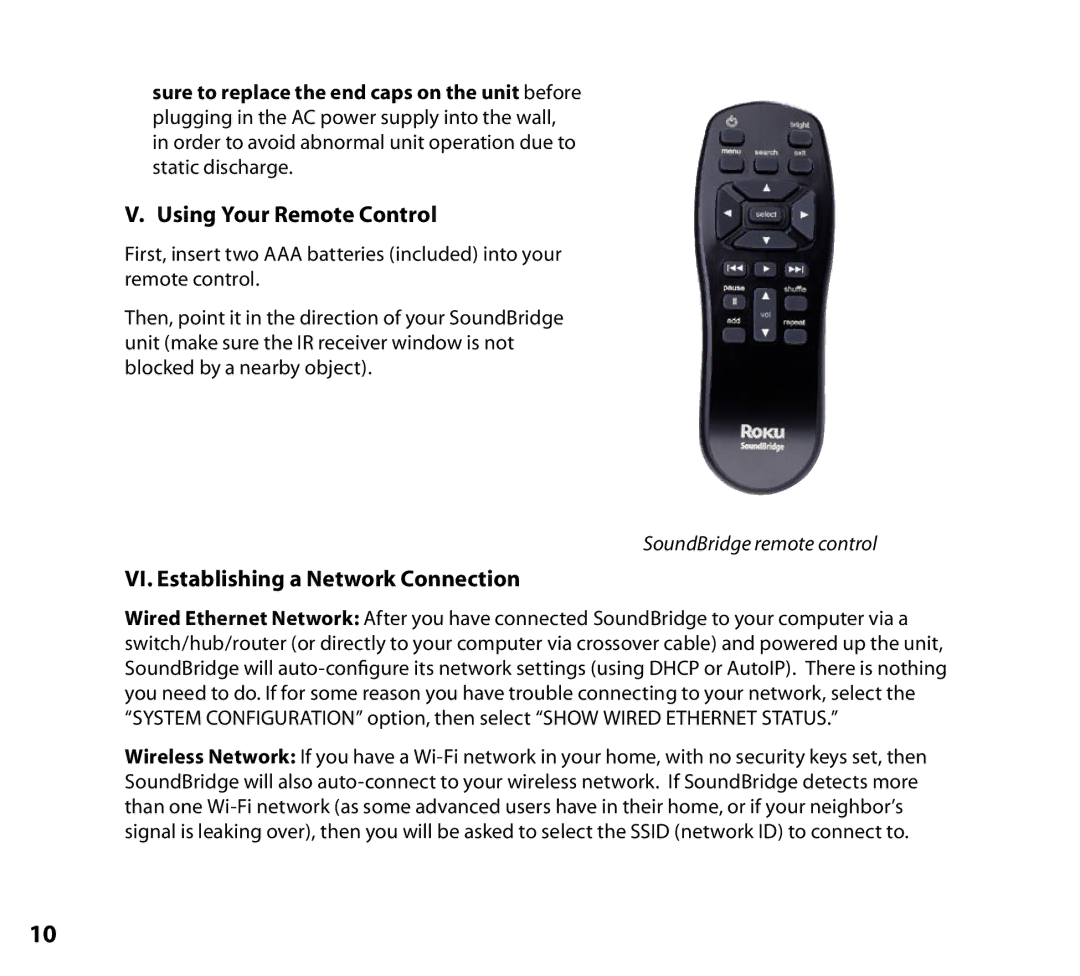
First, insert two AAA batteries (included) into your remote control.
Then, point it in the direction of your SoundBridge unit (make sure the IR receiver window is not blocked by a nearby object).
SoundBridge remote control
VI. Establishing a Network Connection
Wired Ethernet Network: After you have connected SoundBridge to your computer via a switch/hub/router (or directly to your computer via crossover cable) and powered up the unit, SoundBridge will
Wireless Network: If you have a
10