Common Radio Features
Use the Preprogrammed Scan List Programming Switch and the Menu
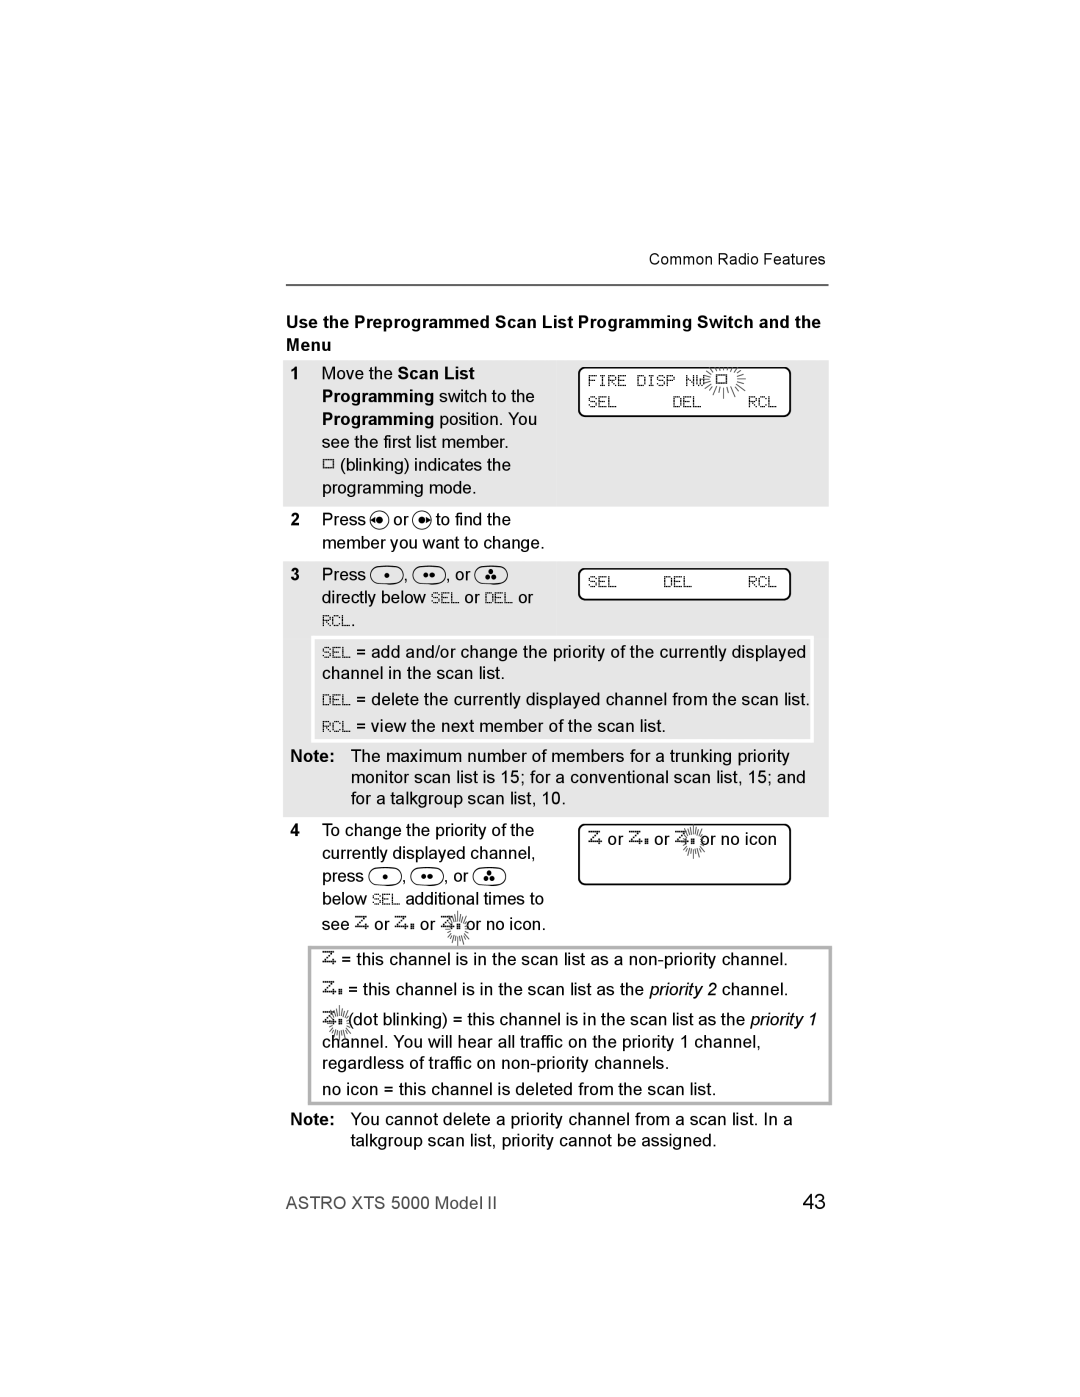
1Move the Scan List Programming switch to the Programming position. You
see the first list member. p(blinking) indicates the programming mode.
2Press vor uto find the member you want to change.
3Press D, E, or F directly below SEL or DEL or RCL.
FIRE DISP NW![]() p
p ![]()
SEL DEL RCL
SEL DEL RCL
SEL = add and/or change the priority of the currently displayed channel in the scan list.
DEL = delete the currently displayed channel from the scan list. RCL = view the next member of the scan list.
Note: The maximum number of members for a trunking priority monitor scan list is 15; for a conventional scan list, 15; and for a talkgroup scan list, 10.
4 To change the priority of the | Tor Sor S |
| or no icon |
| |||
| |||
currently displayed channel, |
|
|
|
|
|
| |
press D, E, or F |
|
|
|
below SEL additional times to |
|
|
|
see Tor Sor S![]()
![]()
![]()
![]()
![]() or no icon.
or no icon.
T= this channel is in the scan list as a
S![]()
![]()
![]()
![]()
![]()
![]() (dot blinking) = this channel is in the scan list as the priority 1 channel. You will hear all traffic on the priority 1 channel, regardless of traffic on
(dot blinking) = this channel is in the scan list as the priority 1 channel. You will hear all traffic on the priority 1 channel, regardless of traffic on
no icon = this channel is deleted from the scan list.
Note: You cannot delete a priority channel from a scan list. In a talkgroup scan list, priority cannot be assigned.
ASTRO XTS 5000 Model II | 43 |