Cleaning the Ink Carrier Contacts | Cleaning the Document Feeder |
The ink carrier contacts are located inside the ink cartridge carrier. To clean them it will be necessary to again remove the ink cartridge.
1.Remove the ink cartridge (see pages
2.Use a clean dry cloth to reach into the ink carrier and wipe the contacts clean.
3.
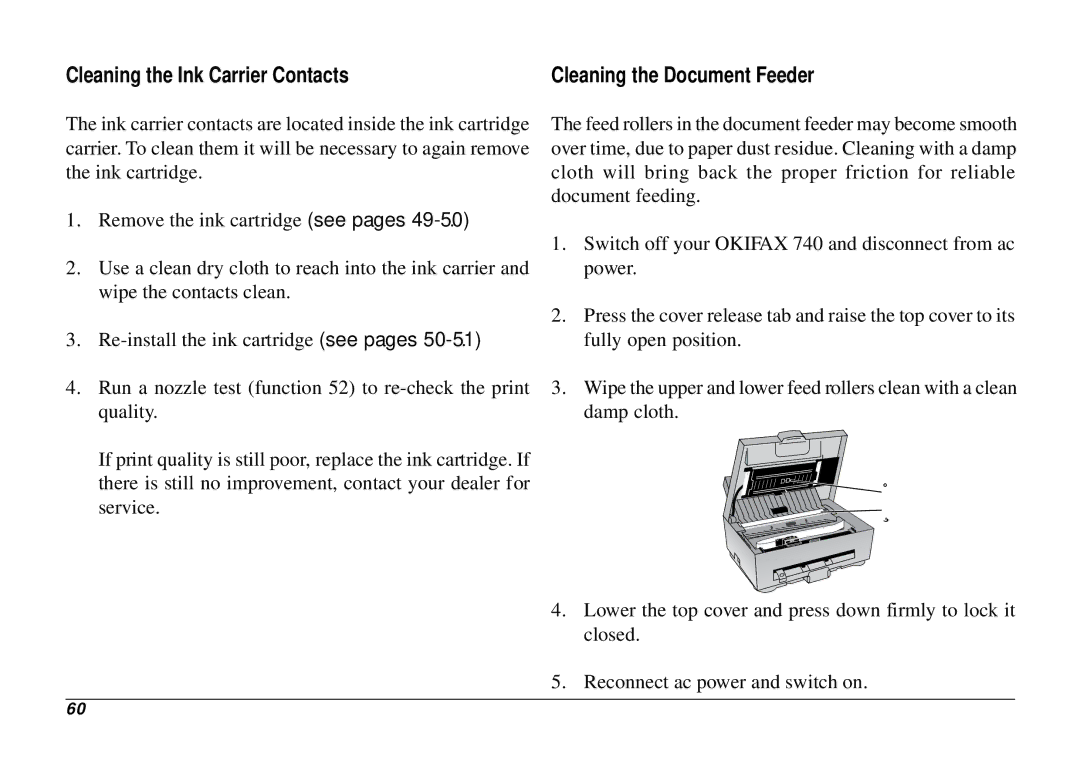
The feed rollers in the document feeder may become smooth over time, due to paper dust residue. Cleaning with a damp cloth will bring back the proper friction for reliable document feeding.
1.Switch off your OKIFAX 740 and disconnect from ac power.
2.Press the cover release tab and raise the top cover to its fully open position.
4.Run a nozzle test (function 52) to
3.Wipe the upper and lower feed rollers clean with a clean damp cloth.
If print quality is still poor, replace the ink cartridge. If there is still no improvement, contact your dealer for service.
➊ |
➋ |
4.Lower the top cover and press down firmly to lock it closed.
5.Reconnect ac power and switch on.
60