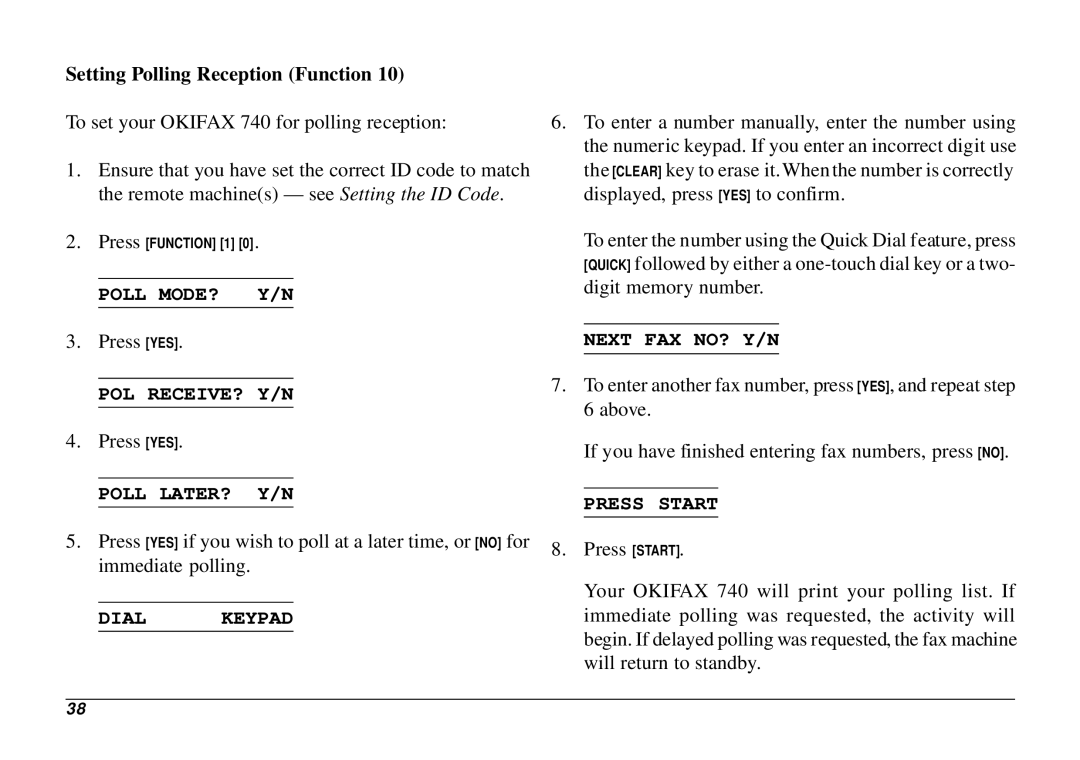
Setting Polling Reception (Function 10)
To set your OKIFAX 740 for polling reception:
1. Ensure that you have set the correct ID code to match the remote machine(s) — see Setting the ID Code.
2.Press [FUNCTION] [1] [0].
POLL MODE? Y/N
3.Press [YES].
POL RECEIVE? Y/N
4.Press [YES].
POLL LATER? Y/N
5.Press [YES] if you wish to poll at a later time, or [NO] for immediate polling.
DIAL KEYPAD
6.To enter a number manually, enter the number using the numeric keypad. If you enter an incorrect digit use the [CLEAR] key to erase it.When the number is correctly displayed, press [YES] to confirm.
To enter the number using the Quick Dial feature, press [QUICK] followed by either a
NEXT FAX NO? Y/N
7.To enter another fax number, press [YES], and repeat step 6 above.
If you have finished entering fax numbers, press [NO].
PRESS START
8.Press [START].
Your OKIFAX 740 will print your polling list. If immediate polling was requested, the activity will begin. If delayed polling was requested, the fax machine will return to standby.
38
