R | L | V | MJ |
| CENTER |
|
|
S | SURROUND SPEAKERS | SPEAKER | FRONT MAIN | SPEAKERS |
R | L |
|
|
|
| |
ANTENNA |
|
| R | L | R | L |
| R | L | MULTI |
|
|
|
|
|
| CHANNEL |
|
|
|
|
|
| INPUT |
|
|
|
|
|
|
| CAUTION: SPEAKER IMPEDANCE |
|
DIGITAL INPUT
R | L |
DVD |
|
V | FRONT REMOTE SPEAKERS |
|
| S | |
R | L |
|
|
CD | R | L | AC OUTLETS |
RL
GND
WARNING AVIS
PHONO |
| PRE OUT | ||
R | L | R | L | |
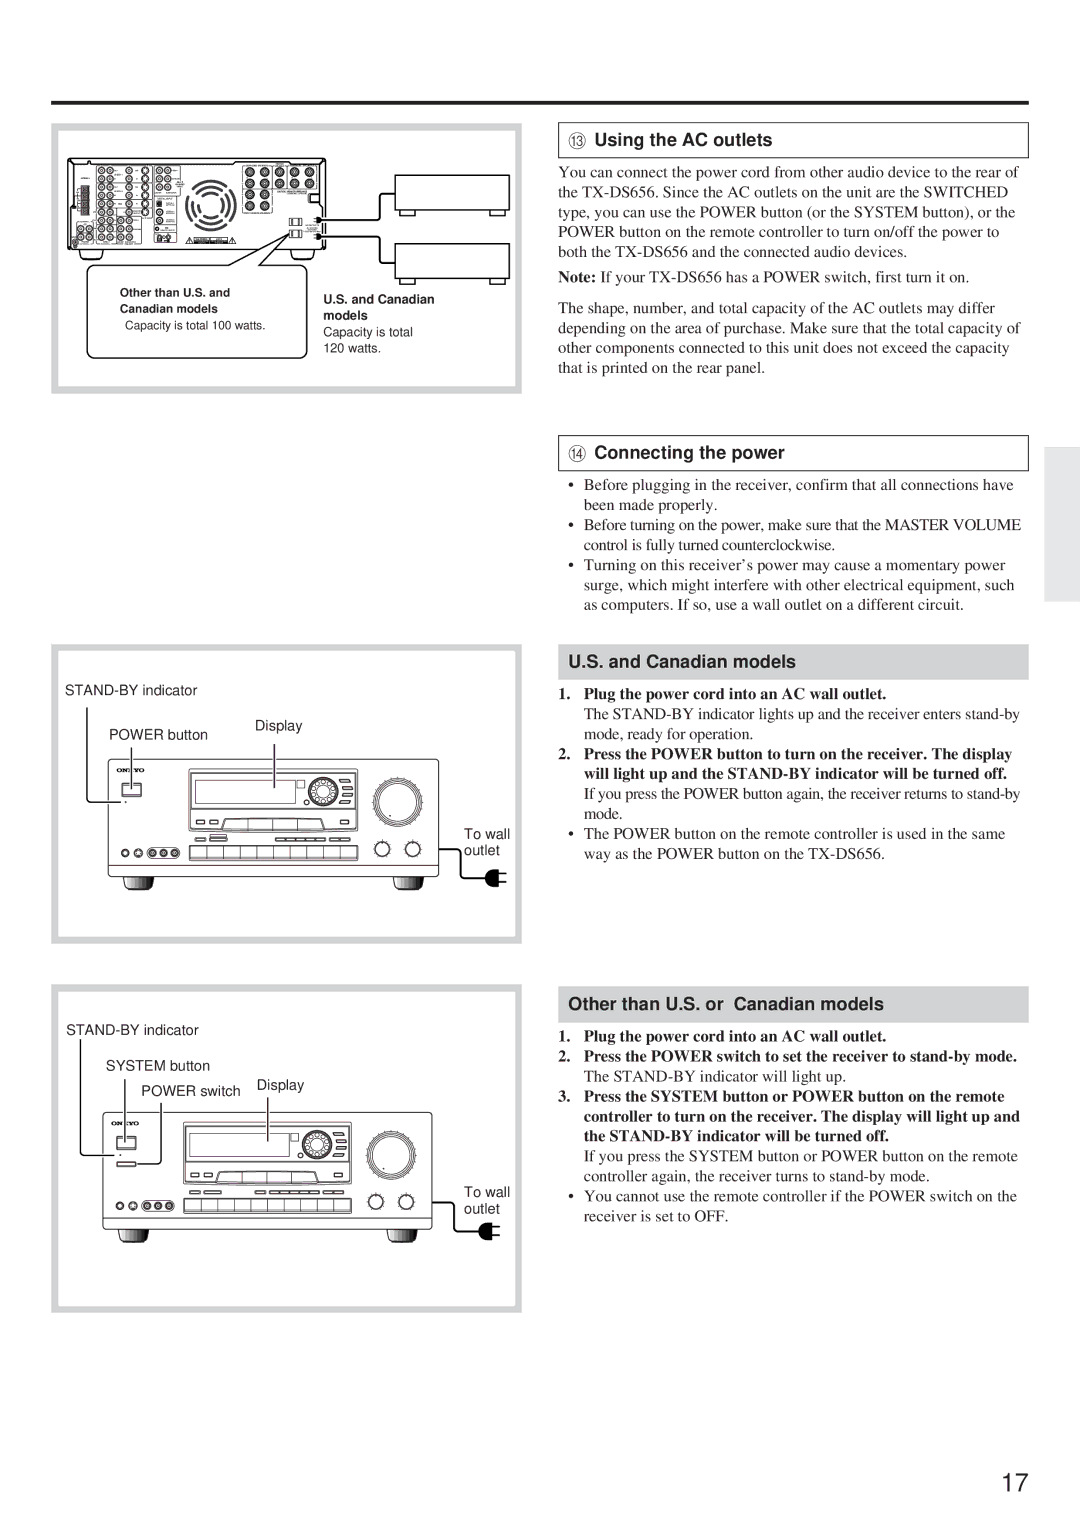
Other than U.S. and
U.S. and Canadian
Canadian models
models
Capacity is total 100 watts.
Capacity is total 120 watts.
CUsing the AC outlets
You can connect the power cord from other audio device to the rear of the
Note: If your
The shape, number, and total capacity of the AC outlets may differ depending on the area of purchase. Make sure that the total capacity of other components connected to this unit does not exceed the capacity that is printed on the rear panel.
| |
POWER button | Display |
| |
| To wall |
| outlet |
DConnecting the power
•Before plugging in the receiver, confirm that all connections have been made properly.
•Before turning on the power, make sure that the MASTER VOLUME control is fully turned counterclockwise.
•Turning on this receiver’s power may cause a momentary power surge, which might interfere with other electrical equipment, such as computers. If so, use a wall outlet on a different circuit.
U.S. and Canadian models
1.Plug the power cord into an AC wall outlet.
The
2.Press the POWER button to turn on the receiver. The display will light up and the
•The POWER button on the remote controller is used in the same way as the POWER button on the
| |
SYSTEM button |
|
POWER switch | Display |
| |
| To wall |
| outlet |
Other than U.S. or Canadian models
1.Plug the power cord into an AC wall outlet.
2.Press the POWER switch to set the receiver to
3.Press the SYSTEM button or POWER button on the remote controller to turn on the receiver. The display will light up and the
If you press the SYSTEM button or POWER button on the remote controller again, the receiver turns to
•You cannot use the remote controller if the POWER switch on the receiver is set to OFF.
17