On-screen setting
If your
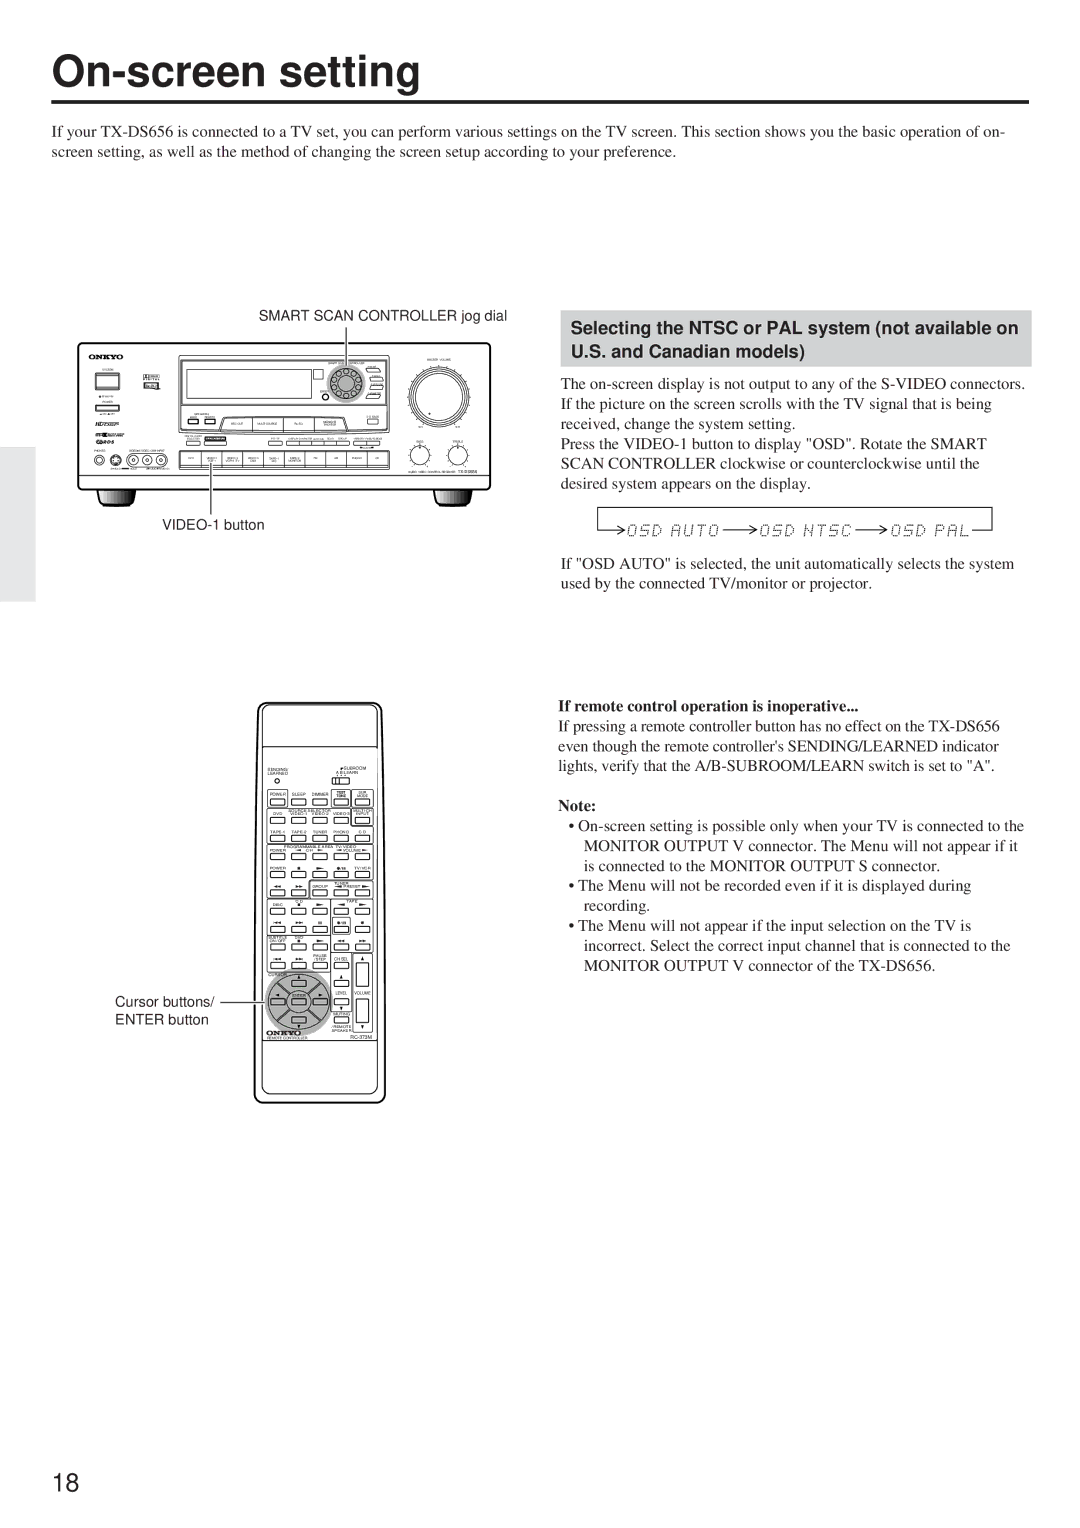
SMART SCAN CONTROLLER jog dial
|
|
|
|
|
|
| MASTER VOLUME |
|
|
|
|
| SMART SCAN CONTROLLER |
| |
|
|
|
|
|
| PRESET |
|
SYSTEM |
|
|
|
|
|
|
|
|
|
|
|
|
| TUNING |
|
|
|
|
|
|
| SURROUND |
|
|
|
|
|
| ENTER | PARAMETER |
|
|
|
|
|
|
|
| |
POWER |
|
|
|
|
|
|
|
ON OFF | SPEAKERS |
|
|
|
| ||
| MAIN | REMOTE |
|
|
|
| |
|
| REC OUT | MULTI SOURCE | MIDNIGHT |
|
| |
|
|
|
|
| THEATER | MIN | MAX |
| DIGITAL AUDIO | MULTI CH INPUT |
|
|
|
|
|
| SELECTOR | PTY/ TP | DISPLAY CHARACTER AUTO TUN SCAN GROUP | MEMORY FM MUTE/MODE | TREBLE | ||
|
|
|
|
|
| BASS | |
|
|
|
|
|
| CLEAR |
|
PHONES | VIDEO 3/VIDEO CAM INPUT |
|
|
|
|
|
|
|
|
|
| DVD | FM | AM | PHONO | CD |
| |||||
|
|
|
|
| CAM | M D | MONITOR |
|
|
|
|
| ||
S VIDEO | VIDEO | L | AUDIO | R(MONO) |
|
|
|
|
|
|
|
|
| |
|
|
|
|
|
|
|
|
|
|
|
|
| AUDIO VIDEO CONTROL RECEIVER |
Selecting the NTSC or PAL system (not available on U.S. and Canadian models)
The
Press the
SENDING/ |
| SUBROOM | |
LEARNED |
| A B LEARN | |
POWER | SLEEP DIMMER | TEST | SUR |
TONE | MODE | ||
| SOURCE SELECTOR |
| |
DVD | INPUT | ||
PHONO | C D | ||
PROGRAMMABLE AREA TV/ VIDEO | |||
POWER | C H | VOLUME | |
POWER |
|
| TV/ VCR |
|
| TUNER |
|
| GROUP | PRESET | |
DISC | C D | TAPE | |
|
|
| |
SUBTITLE | DVD |
|
|
ON / OFF |
|
|
|
| PAUSE | CH SEL |
|
| / STEP |
| |
CURSOR |
|
|
|
Cursor buttons/ | ENTER | LEVEL | VOLUME |
|
|
| |
ENTER button |
| MUTING |
|
| / REMOTE |
| |
|
| SPEAKER |
|
REMOTE CONTROLLER | |||
If "OSD AUTO" is selected, the unit automatically selects the system used by the connected TV/monitor or projector.
If remote control operation is inoperative...
If pressing a remote controller button has no effect on the
Note:
•
•The Menu will not be recorded even if it is displayed during recording.
•The Menu will not appear if the input selection on the TV is incorrect. Select the correct input channel that is connected to the MONITOR OUTPUT V connector of the
18
