Connection
This section describes, step by step, how to connect the
1 | Connecting analog audio source equipment | page 8 |
2 | Connecting digital audio source equipment | page 8 |
3 | Connecting video source equipment | page 9 |
4 | Connecting a video camera or TV game machine | page 9 |
5 | Connecting a decoder with | page 10 |
6 | Connecting video recording equipment | page 10 |
7 | Connecting audio recording equipment | page 11 |
8 | Connecting the z remote control cables | page 11 |
9 | Connecting a TV/monitor | page 12 |
0 | Connecting the antennas | page 13 |
A Connecting speakers | page 15 | |
B Connecting power amplifiers | Page 16 | |
C Using the AC outlets | Page 17 | |
D Connecting the power | Page 17 | |
To connect source or recording equipment, use cables supplied by the equipment manufacturer.
Note:
•Do not turn on any component until you have completed all connections.
•Insert the plugs and connectors completely. Remember that improper connection may result in noise or malfunction.
•Do not bind audio connection cables with power cords and speaker cables. Doing so may degrade sound quality.
Improper connection
Insert the plugs and connectors securely. Remember that improper connection can result in noise, poor performance, or damage to the equipment.
Insert completely.
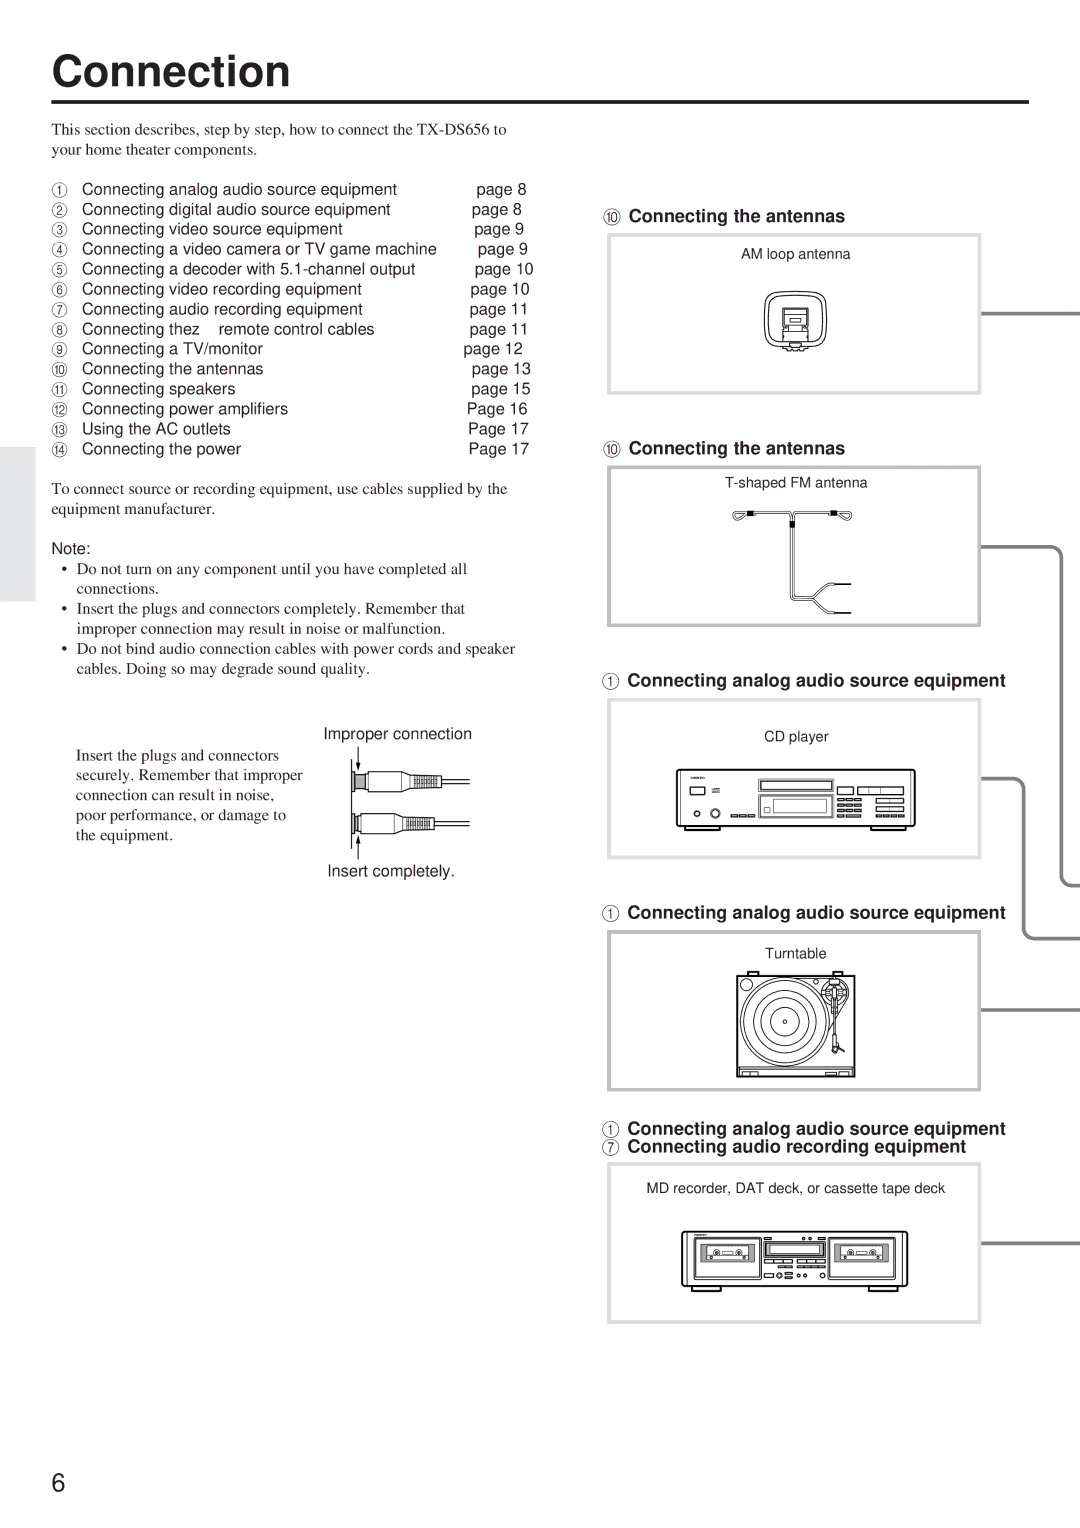
0Connecting the antennas
AM loop antenna
0Connecting the antennas
1Connecting analog audio source equipment
CD player
1Connecting analog audio source equipment
Turntable
1Connecting analog audio source equipment
7 Connecting audio recording equipment
MD recorder, DAT deck, or cassette tape deck
6