Manuals
/
Optiquest
/
Computer Equipment
/
Switch
Optiquest
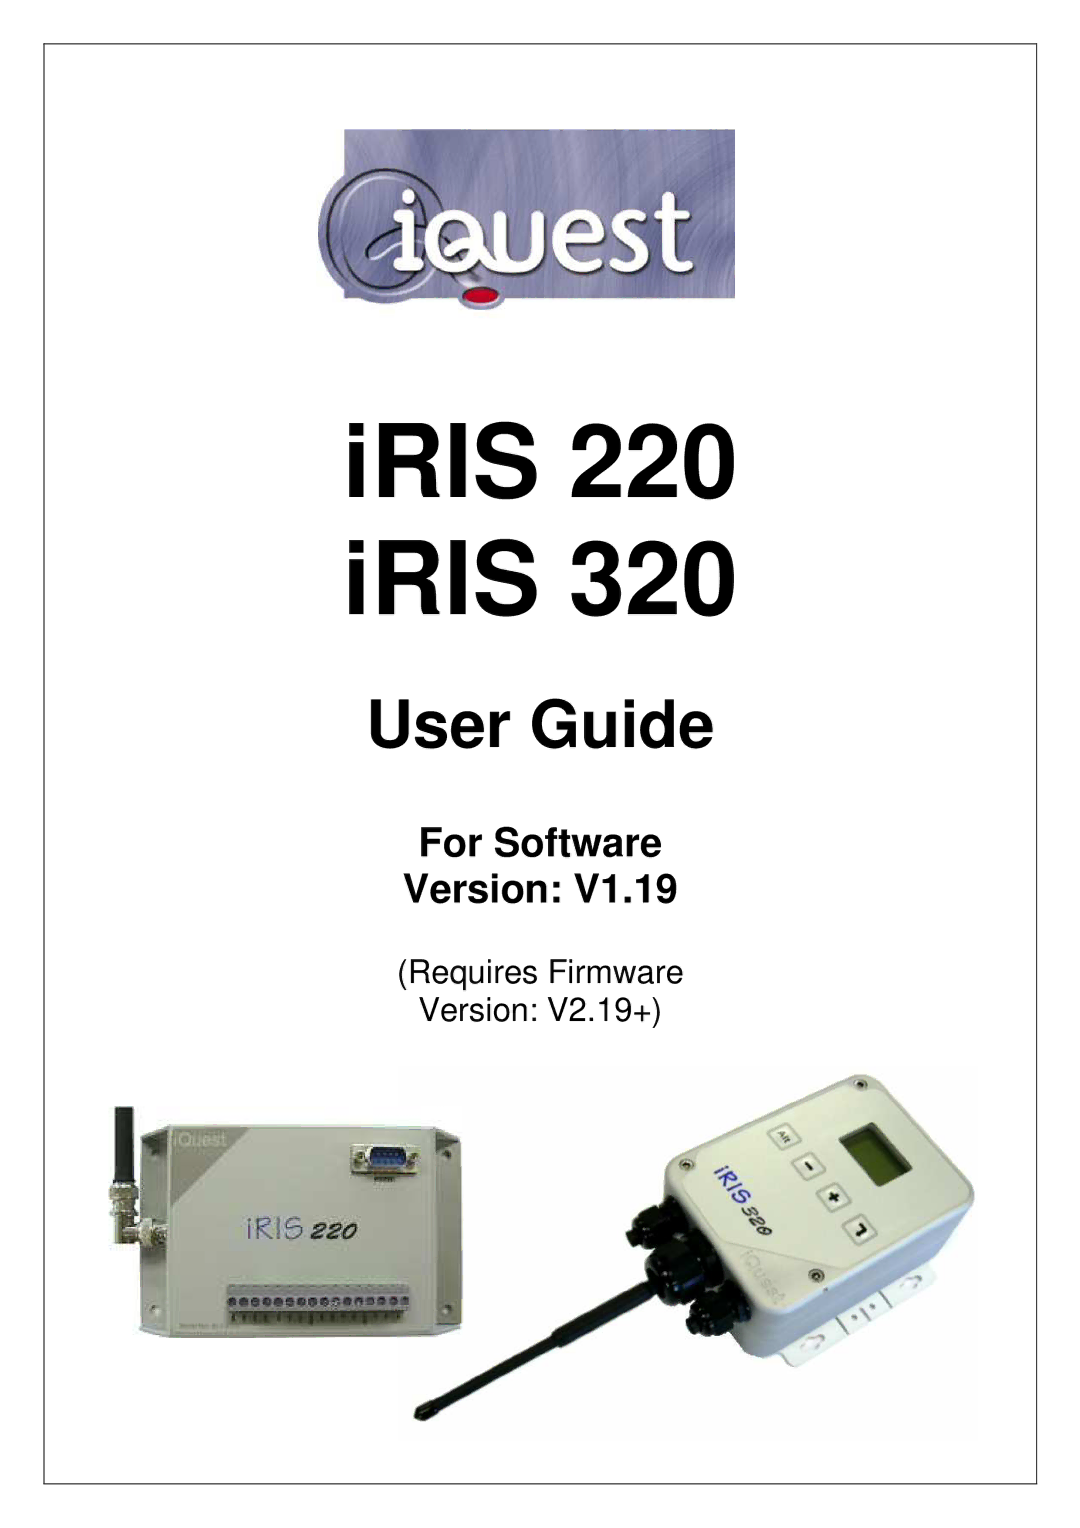
iRIS 220, iRIS 320
manual
IRIS 220 iRIS
Models:
iRIS 220
iRIS 320
1
1
73
73
Download
73 pages
11.64 Kb
1
2
3
4
5
6
7
8
Page 1
Image 1
iRIS 220 iRIS 320
User Guide
For Software
Version: V1.19
(Requires Firmware
Version: V2.19+)
Page 1
Page 2
Page 1
Image 1
Page 1
Page 2
Contents
IRIS 220 iRIS
Revision History
Contents
Diagnostic LEDs
13.2
13.1
13.3
13.4
About this Manual
Introduction
Hardware PCB Revision
Support
Overview
General Characteristics iRIS
Introduction
IRIS 320 / iRIS
Feature Summary
Features
Typical Applications
Technical Specifications iRIS
Technical Specifications iRIS 320 / iRIS
Terminal Configuration
Key Features
Wireless IP Connectivity GPRS/CDMA
Alternative Wireless Connectivity CSD/SMS
Full Power Save
Partial Power Save
Data Logging
Logged Data Array Identification
Alarm Processing
Real Time Clock & Calendar
Security
Removing/Replacing the Electronic Assembly iRIS
Installation
Opening / Closing the Housing iRIS 320 / iRIS
Removing / fitting the SIM card GSM models only
Internal Battery iRIS 320 / iRIS 320V only
I/O Connector
External Charger Power Supply
Internal / External 12V Battery Supply
Analog Inputs
Digital Input Circuit
Digital Inputs
Digital Output 1 Circuit
Digital Outputs
Mounting iRIS
Antenna Connection
Mounting iRIS 320 / iRIS
IRIS 320 / iRIS 320V Mounting Diagram
Terminal Connection
Configuration
Computer IRIS
Terminal Cfg
IRIS 220 / iRIS 320, V1.19 User Guide
Main Menu Level
Terminal Menus
Select this option to display the Comms configuration menu
Comms Cfg Level
Option 9 SDI-12 Terminal iRIS 320 / iRIS 320V only
Press Esc then Enter to enter an empty string
GPRS/CDMA-1X Cfg Level
Gprs
IP Acceptance Cfg Level
Phone List Level
GPRS/CDMA-1X Schedule Cfg Level
Sensor Selection Level
Internal Sensor Sources Log Multiplier 100 100
Sensor Cfg Level
Flag Value Description
Mode Name Description
Supplementary Logging Flag Definitions
Multiplier=
Alarm Cfg Level
Alarm Selection Level
Output Cfg Level
Output Selection Level
Source 0 1 2 3 4 Description
Typical Scheduled Output Example
Date/Time Cfg Level
Miscellaneous Menu Level
Voice Menu Level
Diagnostic LEDs
LED Indicators
Operation
Status LED
LCD Operation
LCD & Keypad iRIS 320 only
Status Icons
Keypad Buttons
Level Level6
Display Menu Structure
Logging Control Screen Level 0, when logged
Log In Screen Level 0, when not logged
Primary LCD Display Screens
System Status 1 Screen Level
System Status 3 Screen Level
Sensor Related Screens
System Status 4 Screen Level
Main Menu Screen Level
Sensor Settings Screen 2/5 Scaling Level
Sensor Settings Screen 1/5 Process Level
Sensor Settings Screen 3/5 Logging Level
Sensor Settings Screen 4/5 Alarm 1 Level
Totaliser Related Screens
Comms Related Screens
Comms Setting Screen 3/8 Socket a Level
Comms Setting Screen 2/8 APN/Local IP Level
Comms Setting Screen 4/8 Socket B Level
Comms Setting Screen 5/8 Schedule 1 Level
Comms Setting Screen 7/8- CSD Settings Level
Comms Setting Screen 6/8 Schedule 2 Level
Comms Setting Screen 8/8 RS232 Settings Level
RS232 Port Mode Screen Level
SMS Communication
Comms Enable Screen Level
Comms Test Screen Level
General Hints
Iris I/O Connector
Connecting a Flow Meter or Rain Gauge
Sensor Connection Examples
12V Battery
Connecting a 0-5V Pressure Transducer
External
Required
Required IRIS I/O Connector
Connecting a 2-Wire Loop-Powered 4-20mA Sensor
Signal 4-20mA Sensor Isolated 12V 24V DC- DC Converter
External 12V Battery Optional
Connecting an Up/Down Water Level Instrument
Connecting Analogue Wind Instruments
Charging source Solar panel
Connecting SDI-12 Instruments. iRIS 320 / iRIS 320V only
TOP AI4 AI3 AI2 AI1 Agnd 5VOP
Example a 4-20mA Water Level Sensor
Analogue Input Scaling
Troubleshooting
User Notes
Tait TM80xx Radio DB15 MiRIS 3xx / DS-4483 DB9 F
Appendix a Radio Using the RS232 Interface
IRIS 320 DB9 F
DS-IRM Modem DB25 M
Partition
Appendix B Voice Annunciation iRIS
Appendix C SDI-12 iRIS 320 / 320V only
What is SDI-12?
Advantages of SDI-12
Serial Data Line
SDI-12 Electrical Interface
Ground Line
Volt-Line
Appendix D Legacy PCB Rev 1.1 Details
13.1 I/O Connector
Debounce Links
Interface Wire Terminal SDI-12 Bus Function
Diagnostic LEDs
SDI-12 Interface
Purple Switched Output
Transistor Switch
Switch Module
REDSupply Voltage
Approximate Mechanical Properties
Appendix E iRIS 320 Enclosure Material Spec
Chemical Composition
IQuest Global Data Network
IQuest APN
Top
Page
Image
Contents