49 - iRIS 220 / iRIS 320, V1.19 User Guide
Comms Setting Screen 2/8 – APN/Local IP (Level 5)
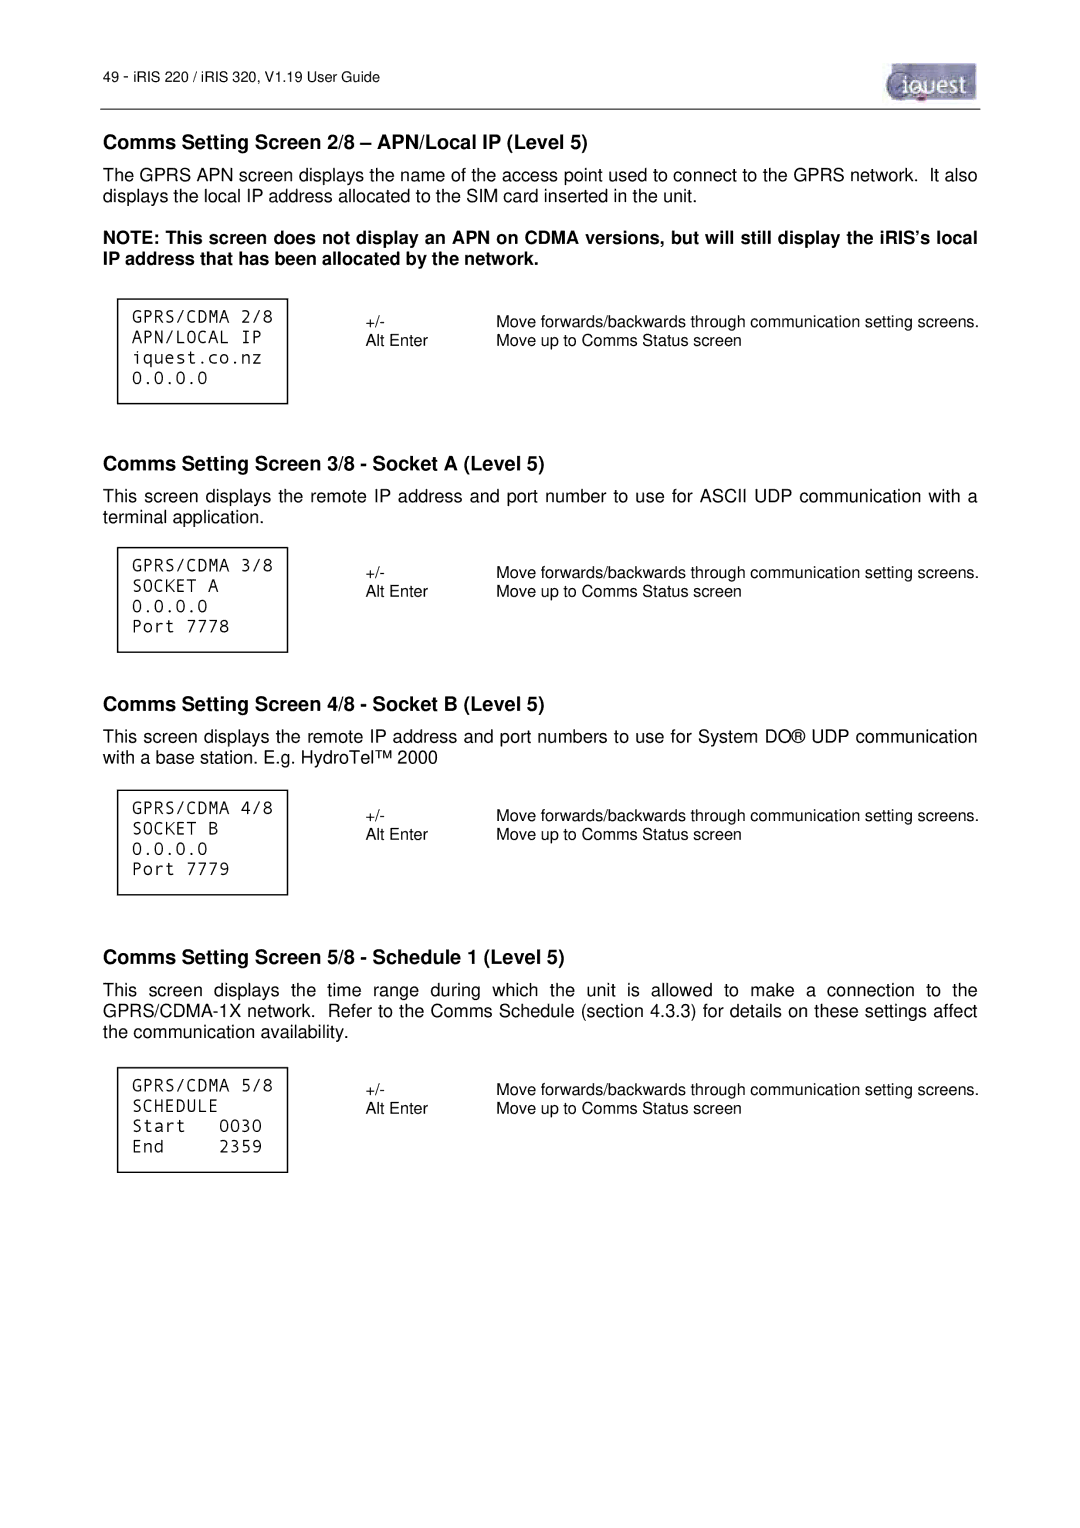
The GPRS APN screen displays the name of the access point used to connect to the GPRS network. It also displays the local IP address allocated to the SIM card inserted in the unit.
NOTE: This screen does not display an APN on CDMA versions, but will still display the iRIS’s local IP address that has been allocated by the network.
GPRS/CDMA 2/8
APN/LOCAL IP iquest.co.nz 0.0.0.0
+/- | Move forwards/backwards through communication setting screens. |
Alt Enter | Move up to Comms Status screen |
Comms Setting Screen 3/8 - Socket A (Level 5)
This screen displays the remote IP address and port number to use for ASCII UDP communication with a terminal application.
GPRS/CDMA 3/8
SOCKET A 0.0.0.0 Port 7778
+/- | Move forwards/backwards through communication setting screens. |
Alt Enter | Move up to Comms Status screen |
Comms Setting Screen 4/8 - Socket B (Level 5)
This screen displays the remote IP address and port numbers to use for System DO® UDP communication with a base station. E.g. HydroTel™ 2000
GPRS/CDMA 4/8
SOCKET B 0.0.0.0 Port 7779
+/- | Move forwards/backwards through communication setting screens. |
Alt Enter | Move up to Comms Status screen |
Comms Setting Screen 5/8 - Schedule 1 (Level 5)
This screen displays the time range during which the unit is allowed to make a connection to the
GPRS/CDMA 5/8
SCHEDULE
Start 0030
End 2359
+/- | Move forwards/backwards through communication setting screens. |
Alt Enter | Move up to Comms Status screen |
