DVD ![]()
![]() VIDEO CD
VIDEO CD ![]()
![]() DVD+RW
DVD+RW
Time Search
Time Search lets you choose a specific time at which you want to begin playback.
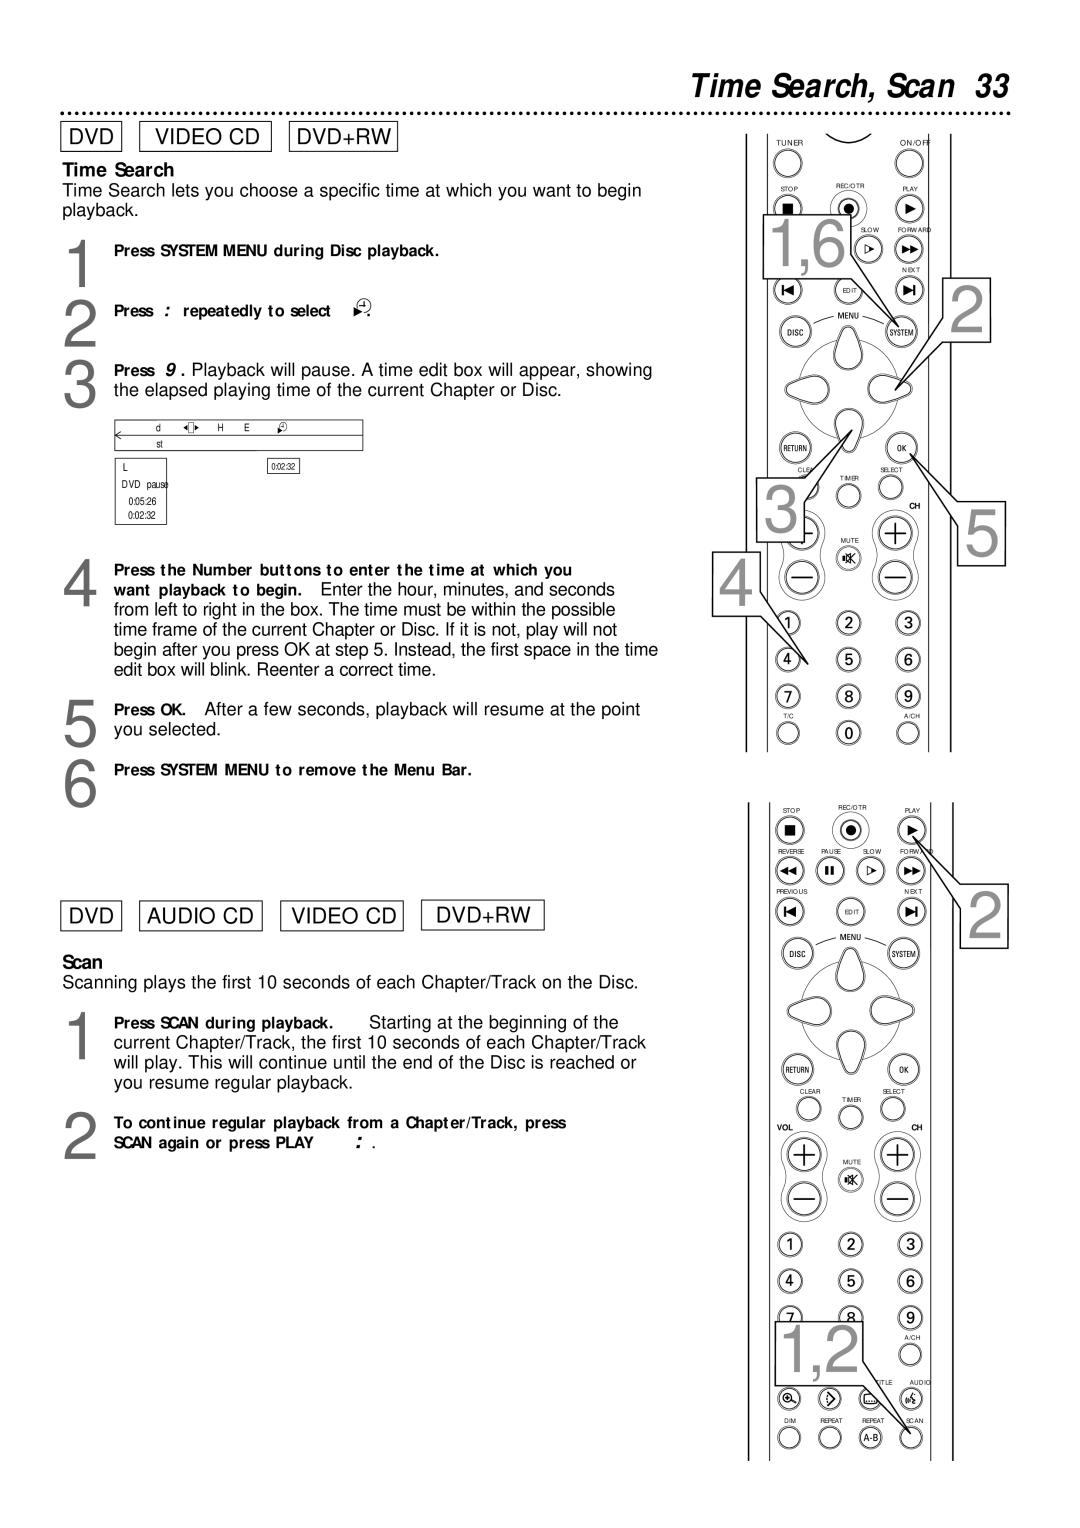
1 Press SYSTEM MENU during Disc playback.
2 Press : repeatedly to select | . | ||||
Press 9. Playback will pause. A time edit box will appear, showing | |||||
3 the elapsed playing time of the current Chapter or Disc. | |||||
| d | H E |
| ||
| st |
|
|
|
|
|
|
| K |
|
|
| L F | s 0:02:32 B |
| ||
| DVD pause |
|
|
|
|
Time Search, Scan 33
TUNER |
|
| ON/OFF |
STOP | REC/OTR |
| PLAY |
|
| ||
1,6 | SLOW | NEXT | |
|
| FORWARD | |
EDIT | 2 |
|
SELECT
TIMER
0:05:26 |
0:02:32 |
4 Press the Number buttons to enter the time at which you want playback to begin. Enter the hour, minutes, and seconds from left to right in the box. The time must be within the possible time frame of the current Chapter or Disc. If it is not, play will not begin after you press OK at step 5. Instead, the first space in the time edit box will blink. Reenter a correct time.
5 Press OK. After a few seconds, playback will resume at the point you selected.
3
4
T/C
MUTE
CH
5
A/CH
6 Press SYSTEM MENU to remove the Menu Bar.
DVD 
 AUDIO CD
 VIDEO CD
 DVD+RW
Scan
Scanning plays the first 10 seconds of each Chapter/Track on the Disc.
1 Press SCAN during playback. Starting at the beginning of the current Chapter/Track, the first 10 seconds of each Chapter/Track will play. This will continue until the end of the Disc is reached or you resume regular playback.
2 To continue regular playback from a Chapter/Track, press SCAN again or press PLAY :.
STOP | REC/OTR | PLAY |
|
|
| ||
REVERSE | PAUSE | SLOW |
|
PREVIOUS |
| NEXT | 2 |
| EDIT |
|
CLEAR | SELECT |
| TIMER |
VOL | CH |
| MUTE |
1,2 A/CH
AUDIO
DIM REPEAT REPEAT