Timer Recording 41
1
2 PressTimer | 89 to select Timer Programming, then press :. |
KVCR Plus+ programming
uB Timer Programming | B |
L Timer List |
|
To exit
Press TIMER
3 Date will be selected. Press 89 to enter the month and date you want the recording to start, then press :.
Press SELECT repeatedly to choose: the date (timer recording will occur once on the day you choose);
Timer
Timer Programming
Rec
Date Ch. Start End Mode
10/24 122 09:00AM 09:30AM EP
To store | |
Press SELECT | Press OK |
4 Ch. (channel) will be selected. Press 89 to enter the channel you want to record, then press :.
5 Start will be selected. Press 89 to enter the time at which you want recording to begin - in hours and minutes. Then, press SELECT repeatedly to choose AM or PM. When the start time is correct, press :.
6 End will be selected. Press 89 to enter the time at which you want recording to stop - in hours and minutes. Then, press SELECT repeatedly to choose AM or PM. When the End time is correct, press :.
7 Rec Mode (Record Mode) will be selected. Press 89 to choose the speed at which you want recording to occur. Choose HQ, SP, LP, or EP.
HQ allows one hour of recording per Disc; SP, two hours; LP, three hours; and EP, four hours. The slower the speed, the more recording time per Disc. EP is the slowest speed. The faster the speed, the bet- ter the picture quality. HQ is the fastest speed. Details are on page 46.
8 Take a minute to check your timer information. If something is incor- rect, press ; : to choose the incorrect information. Use 89 to enter the correct data.
9
10Press TIMER to remove the menu.
11Put a recordable DVD+RW in the Recorder. Press ON/OFF to turn off the Recorder a few minutes before the timer recording is set to begin. The Recorder must be off in order for the timer recording to begin. For the timer recording, the DVD Recorder will turn itself on, record, then turn itself off when finished.
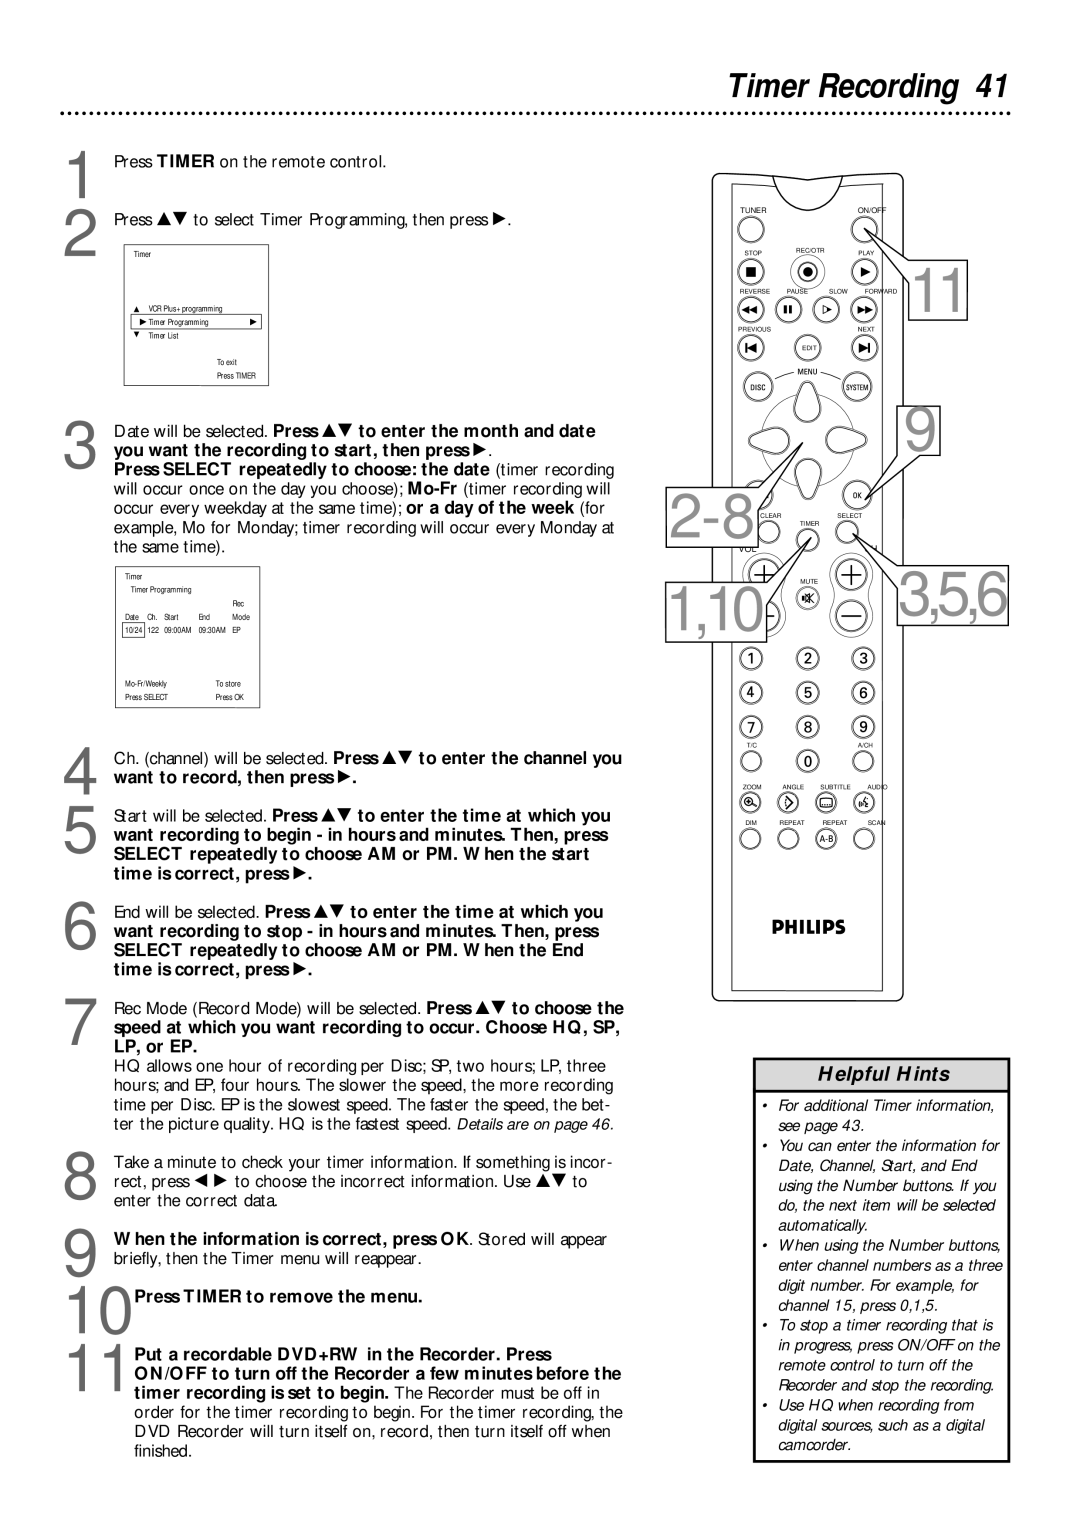
TUNER |
|
| ON/OFF |
|
STOP | REC/OTR |
| PLAY |
|
|
| 11 | ||
REVERSE | PAUSE | SLOW | FORWARD | |
PREVIOUS |
|
| NEXT |
|
| EDIT |
|
|
|
9
VOL
1,10![]() MUTE
MUTE![]() 3,5,6
3,5,6
T/C | A/CH |
ZOOM ANGLE SUBTITLE AUDIO
DIM REPEAT REPEAT SCAN
Helpful Hints
•For additional Timer information, see page 43.
•You can enter the information for Date, Channel, Start, and End using the Number buttons. If you do, the next item will be selected automatically.
•When using the Number buttons, enter channel numbers as a three digit number. For example, for channel 15, press 0,1,5.
•To stop a timer recording that is in progress, press ON/OFF on the remote control to turn off the Recorder and stop the recording.
•Use HQ when recording from digital sources, such as a digital camcorder.