The following channel numbers are provided for recording from external sources that are connected to these jacks on the DVD Recorder:
‘EXT1’ : rear
‘EXT2’ : rear Video (CVBS)
’EXT3’ : rear component video (YPBPR)
‘CAM1’ : front
‘CAM2’ : front CVBS
‘CAM3’ : front DV.
These channels are located between channels 125 and 1 when choosing TV channels at the Recorder while the Recorder is in TUNER mode.
4Press RECORD.
‰RECORD shows on the display. 5 Press 9 STOP to stop recording.
‰MENU UPDATE is shown on the display.
6The Index Picture Screen appears showing the most recent recording.
7After a short recording on a new disc, a few minutes will be needed to complete the formatting of the disc.
Manual audio control
You can control the audio volume recording level of your DVD Recorder manually.
•In tuner mode, press AUTO/MAN REC VOLUME on the front of the DVD Recorder. (You may have to press PANEL to access the front panel buttons).
‰ The display will show the current audio level, and MANUAL appears.
TITLE |
| CHAPTER |
|
| TIME | REMAIN |
|
| CHANNEL |
DVD RW |
| SP |
|
|
|
|
| RECORD | |
0 OVER | 0 OVER | ||||||||
|
|
|
| MANUAL |
|
|
|
| STEREO |
•Adjust the recording level with MANUAL 3 or 4 on the DVD Recorder so that the ‘0 dB’ mark lights up during the loudest parts of the recording.
•Return to automatic audio level control by pressing AUTO/MAN REC VOLUME again.
‰ The display will show the current disc position, and MANUAL disappears.
Note:
When recording from the equipment connected to DV, the manual audio control is disabled. The AUTO/MAN REC VOLUME button is active only during TUNER mode or while recording.
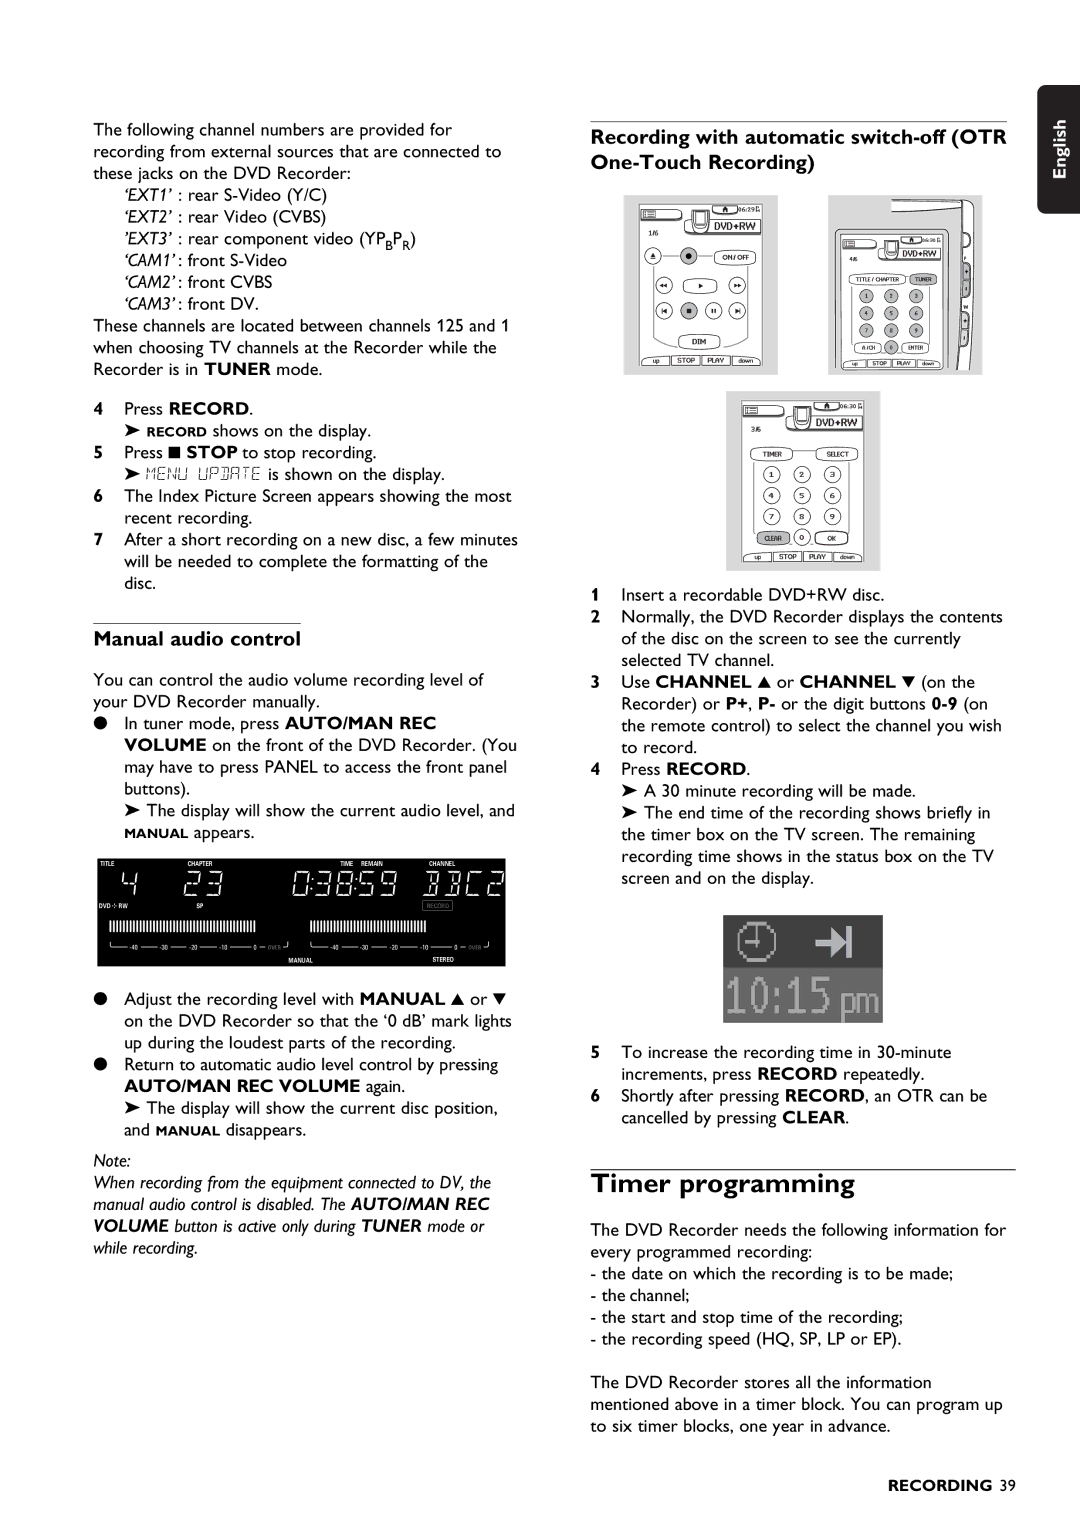
Recording with automatic switch-off (OTR
One-Touch Recording)
1Insert a recordable DVD+RW disc.
2Normally, the DVD Recorder displays the contents of the disc on the screen to see the currently selected TV channel.
3Use CHANNEL 3 or CHANNEL 4 (on the Recorder) or P+, P- or the digit buttons
4Press RECORD.
‰A 30 minute recording will be made.
‰The end time of the recording shows briefly in the timer box on the TV screen. The remaining recording time shows in the status box on the TV screen and on the display.
10:15pm
5To increase the recording time in
increments, press RECORD repeatedly.
6Shortly after pressing RECORD, an OTR can be cancelled by pressing CLEAR.
Timer programming
The DVD Recorder needs the following information for every programmed recording:
-the date on which the recording is to be made;
-the channel;
-the start and stop time of the recording;
-the recording speed (HQ, SP, LP or EP).
The DVD Recorder stores all the information mentioned above in a timer block. You can program up to six timer blocks, one year in advance.
English
RECORDING 39