Setting up
AV Selection
Select from the seven viewing options, depending on the current environment (e.g., room brightness), the type of the current TV program, or the type of images input from external equipment.
1Press HOME MENU.
2Select “Picture“ (/ then ENTER).
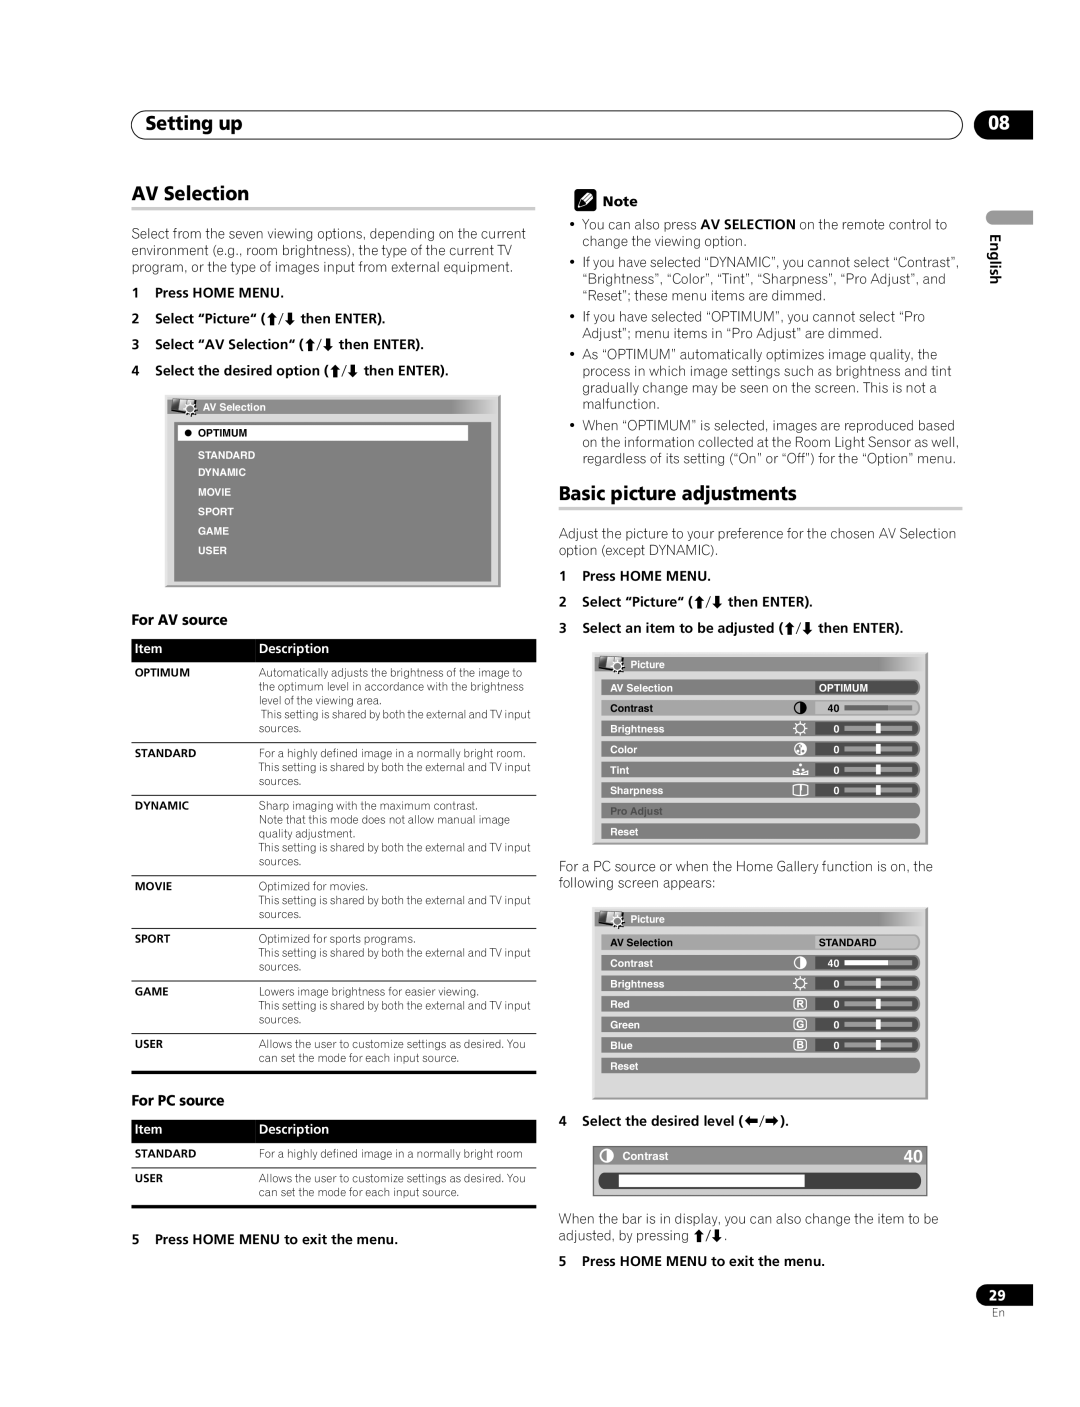
3Select “AV Selection“ (/ then ENTER).
4Select the desired option (/ then ENTER).
![]()
![]() AV Selection
AV Selection
OPTIMUM |
|
STANDARD |
|
DYNAMIC |
|
MOVIE |
|
SPORT |
|
GAME |
|
USER |
|
For AV source |
|
|
|
Item | Description |
|
|
OPTIMUM | Automatically adjusts the brightness of the image to |
| the optimum level in accordance with the brightness |
| level of the viewing area. |
| This setting is shared by both the external and TV input |
| sources. |
|
|
STANDARD | For a highly defined image in a normally bright room. |
| This setting is shared by both the external and TV input |
| sources. |
|
|
DYNAMIC | Sharp imaging with the maximum contrast. |
| Note that this mode does not allow manual image |
| quality adjustment. |
| This setting is shared by both the external and TV input |
| sources. |
|
|
MOVIE | Optimized for movies. |
| This setting is shared by both the external and TV input |
| sources. |
|
|
SPORT | Optimized for sports programs. |
| This setting is shared by both the external and TV input |
| sources. |
|
|
GAME | Lowers image brightness for easier viewing. |
| This setting is shared by both the external and TV input |
| sources. |
|
|
USER | Allows the user to customize settings as desired. You |
| can set the mode for each input source. |
|
|
For PC source |
|
|
|
Item | Description |
|
|
STANDARD | For a highly defined image in a normally bright room |
|
|
USER | Allows the user to customize settings as desired. You |
| can set the mode for each input source. |
|
|
5 Press HOME MENU to exit the menu.
![]() Note
Note
•You can also press AV SELECTION on the remote control to change the viewing option.
•If you have selected “DYNAMIC”, you cannot select “Contrast”, “Brightness”, “Color”, “Tint”, “Sharpness”, “Pro Adjust”, and “Reset”; these menu items are dimmed.
•If you have selected “OPTIMUM”, you cannot select “Pro Adjust”; menu items in “Pro Adjust” are dimmed.
•As “OPTIMUM” automatically optimizes image quality, the process in which image settings such as brightness and tint gradually change may be seen on the screen. This is not a malfunction.
•When “OPTIMUM” is selected, images are reproduced based on the information collected at the Room Light Sensor as well, regardless of its setting (“On” or “Off”) for the “Option” menu.
Basic picture adjustments
Adjust the picture to your preference for the chosen AV Selection option (except DYNAMIC).
1Press HOME MENU.
2Select “Picture“ (/ then ENTER).
3Select an item to be adjusted (/ then ENTER).
Picture |
|
AV Selection | OPTIMUM |
Contrast | 40 |
Brightness | 0 |
Color | 0 |
Tint | 0 |
Sharpness | 0 |
Pro Adjust |
|
Reset |
|
For a PC source or when the Home Gallery function is on, the following screen appears:
Picture |
|
AV Selection | STANDARD |
Contrast | 40 |
Brightness | 0 |
Red | 0 |
Green | 0 |
Blue | 0 |
Reset |
|
4 Select the desired level (/).
Contrast | 40 |
When the bar is in display, you can also change the item to be adjusted, by pressing /.
5 Press HOME MENU to exit the menu.
08
English
29
En