.SP6498 Belt Drive Saw 05/03 7/15/03 7:04 AM Page 15
Unpacking and Checking Contents
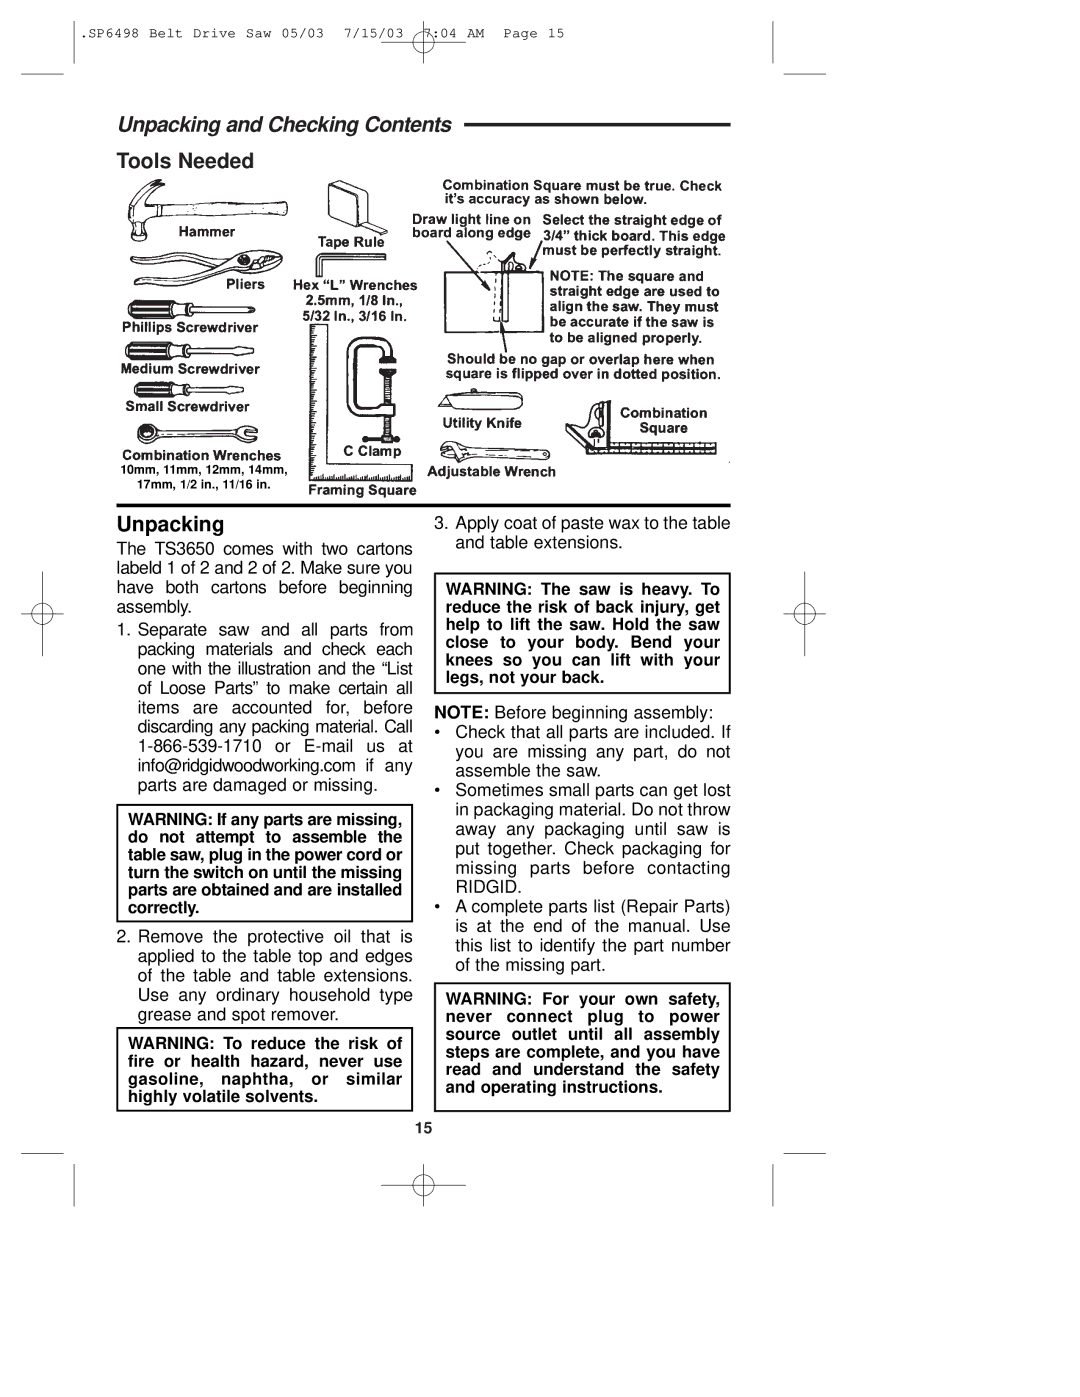
Tools Needed
10mm, 11mm, 12mm, 14mm,
17mm, 1/2 in., 11/16 in.
Unpacking
The TS3650 comes with two cartons labeld 1 of 2 and 2 of 2. Make sure you have both cartons before beginning assembly.
1.Separate saw and all parts from packing materials and check each one with the illustration and the “List of Loose Parts” to make certain all items are accounted for, before discarding any packing material. Call
WARNING: If any parts are missing, do not attempt to assemble the table saw, plug in the power cord or turn the switch on until the missing parts are obtained and are installed correctly.
2.Remove the protective oil that is applied to the table top and edges of the table and table extensions. Use any ordinary household type grease and spot remover.
WARNING: To reduce the risk of fire or health hazard, never use gasoline, naphtha, or similar highly volatile solvents.
3.Apply coat of paste wax to the table and table extensions.
WARNING: The saw is heavy. To reduce the risk of back injury, get help to lift the saw. Hold the saw close to your body. Bend your knees so you can lift with your legs, not your back.
NOTE: Before beginning assembly:
•Check that all parts are included. If you are missing any part, do not assemble the saw.
•Sometimes small parts can get lost in packaging material. Do not throw away any packaging until saw is put together. Check packaging for missing parts before contacting
RIDGID.
•A complete parts list (Repair Parts) is at the end of the manual. Use this list to identify the part number of the missing part.
WARNING: For your own safety, never connect plug to power source outlet until all assembly steps are complete, and you have read and understand the safety and operating instructions.
15
