Installation
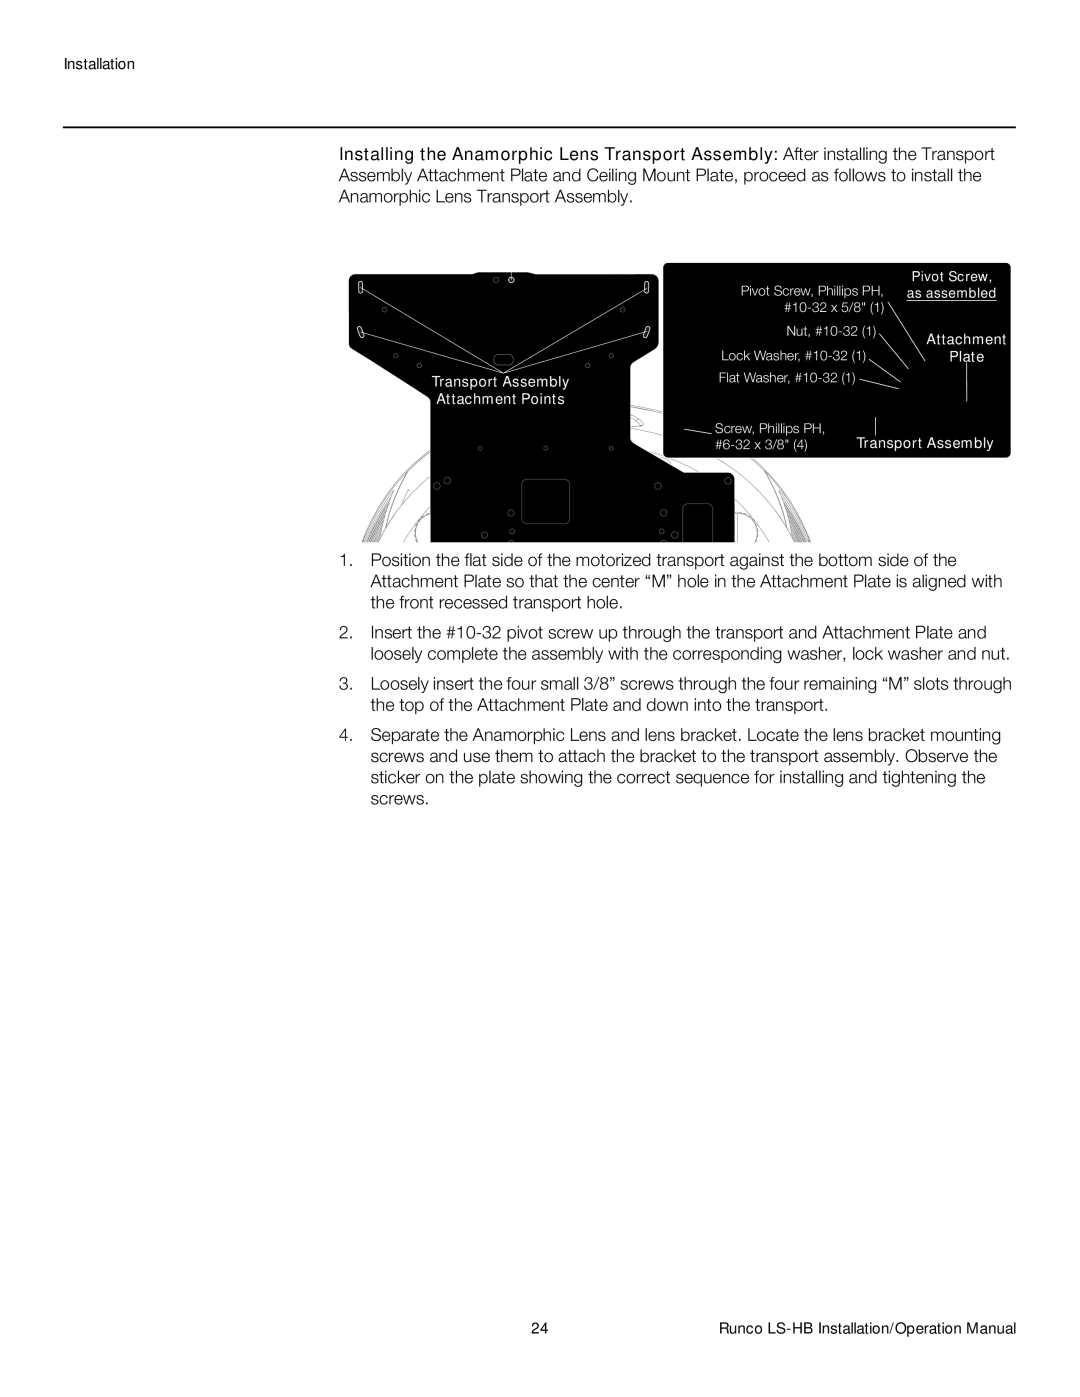
Installing the Anamorphic Lens Transport Assembly: After installing the Transport
Assembly Attachment Plate and Ceiling Mount Plate, proceed as follows to install the
Anamorphic Lens Transport Assembly.
Install Transport Pivot Screw Here
Transport Assembly
Attachment Points
Hardware for Lens Transport Assembly:
Pivot Screw, Pivot Screw, Phillips PH, as assembled
Nut, | Attachment | ||
Lock Washer, | |||
Plate | |||
Flat Washer, |
|
| |
Screw, Phillips PH, | Transport Assembly | ||
1.Position the flat side of the motorized transport against the bottom side of the Attachment Plate so that the center “M” hole in the Attachment Plate is aligned with the front recessed transport hole.
2.Insert the
3.Loosely insert the four small 3/8” screws through the four remaining “M” slots through the top of the Attachment Plate and down into the transport.
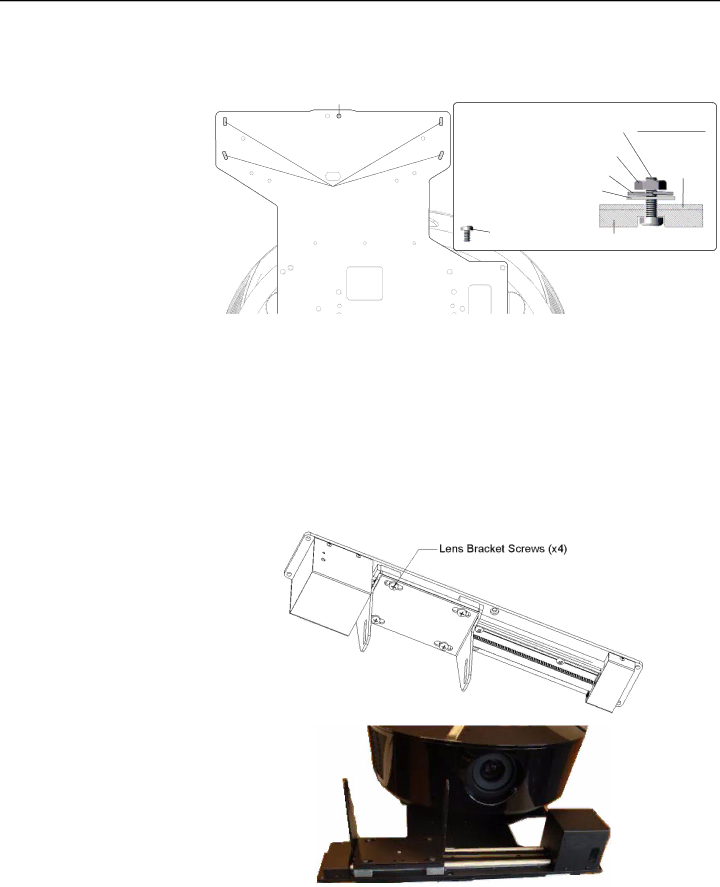
4.Separate the Anamorphic Lens and lens bracket. Locate the lens bracket mounting screws and use them to attach the bracket to the transport assembly. Observe the sticker on the plate showing the correct sequence for installing and tightening the screws.
24 | Runco |