Operation
AUTO SETUP (PC INPUT only): To automatically adjust the position, size, clock and phase of incoming computer signals for optimum picture quality, press ![]() or
or ![]() repeatedly to highlight AUTO SETUP in the menu, then press the ACTION (
repeatedly to highlight AUTO SETUP in the menu, then press the ACTION (![]() ) button.
) button.
![]() or
or ![]() buttons to
buttons to
![]() or
or ![]() buttons to
buttons to
Note | You cannot adjust |
OPTIONS menu; refer to page 50) is set to On. |
DOT CLOCK (INPUT3/PC INPUT only): Use this control to adjust the frequency of the pixel sampling clock, indicated by the number of incoming pixels per line, so that all pixels generated by a particular source are sampled.
Steady flickering or several soft vertical stripes or bands across the entire image indicates poor pixel tracking. Proper pixel tracking helps ensure that the image quality is consistent across the screen, that aspect ratio is maintained and that pixel phase (see below) can be optimized.
Note | DOT CLOCK cannot be adjusted if the incoming signal pixel clock |
frequency is 108 MHz or greater. |
CLOCK PHASE (INPUT3/PC INPUT only): This control adjusts the phase of the pixel sampling clock relative to the incoming signal. Adjust the phase when an RGB or Component image still shows shimmer or “noise” after DOT CLOCK has been optimized.
Adjust the Phase after adjusting DOT CLOCK (see above). If some
Tip shimmer from a video or HDTV source persists, use the NOISE REDUCTION controls (described on page 39) to remove
For best results, use a good test pattern such as a smooth gray consisting of a clear pattern of black and white pixels, or a similar “half on, half off” graphic image. Adjust the slidebar until the image stabilizes and each pixel is clearly defined. You may notice that you can stabilize the image at more than one point. Use either setting in such cases.
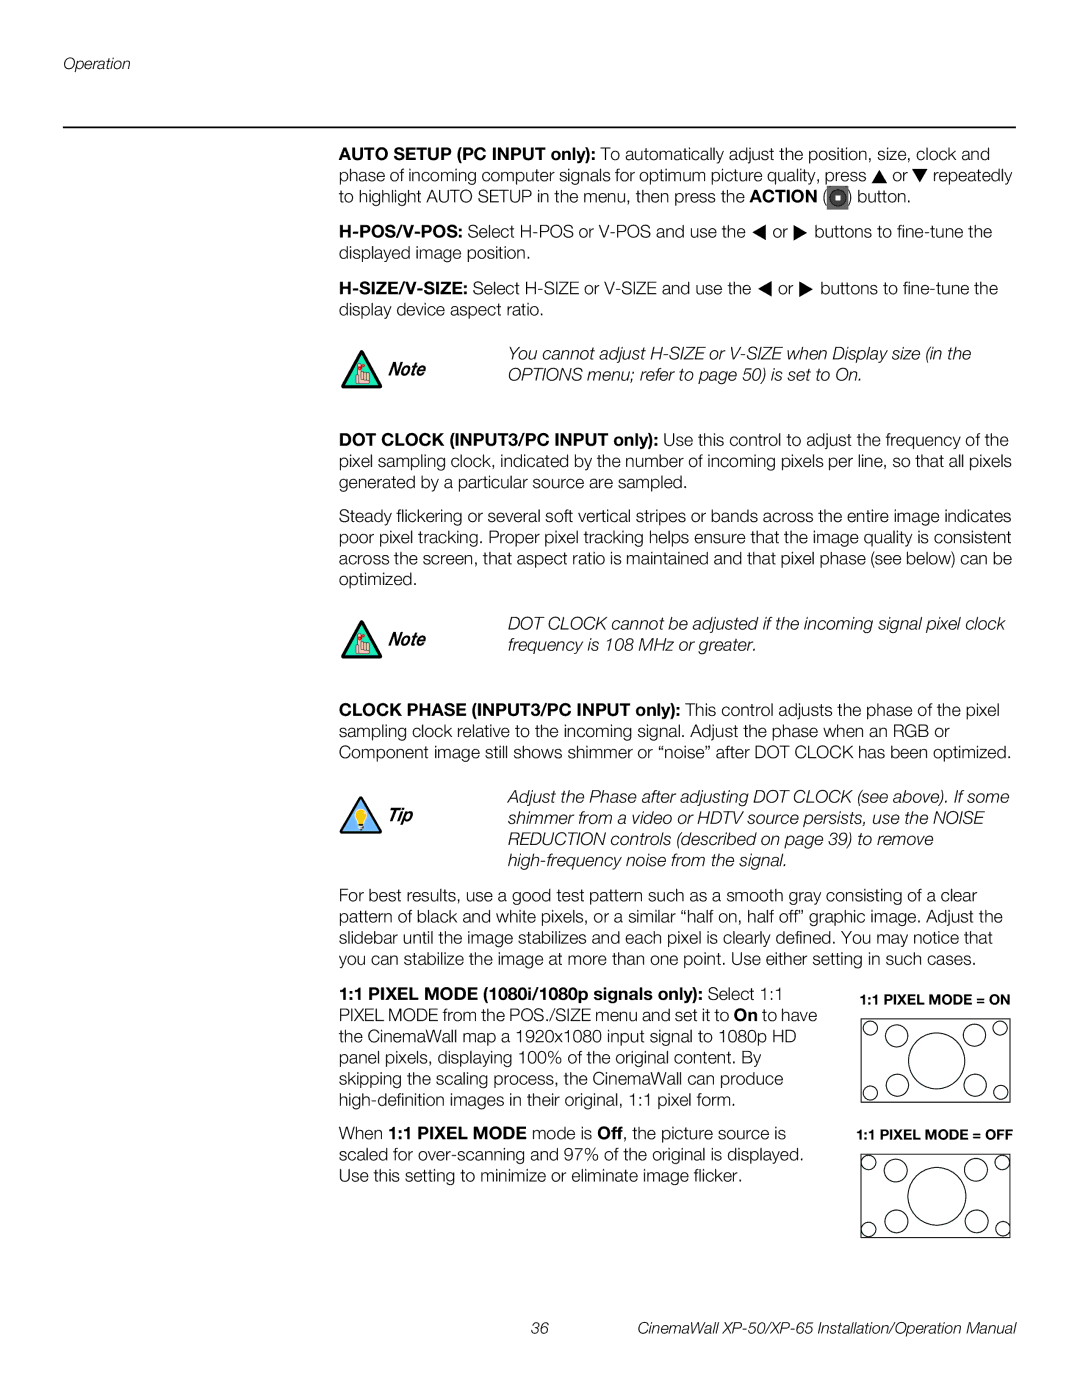
1:1 PIXEL MODE (1080i/1080p signals only): Select 1:1 PIXEL MODE from the POS./SIZE menu and set it to On to have the CinemaWall map a 1920x1080 input signal to 1080p HD panel pixels, displaying 100% of the original content. By skipping the scaling process, the CinemaWall can produce
When 1:1 PIXEL MODE mode is Off, the picture source is scaled for
1:1 PIXEL MODE = ON
1:1 PIXEL MODE = OFF
36 | CinemaWall |