Operation
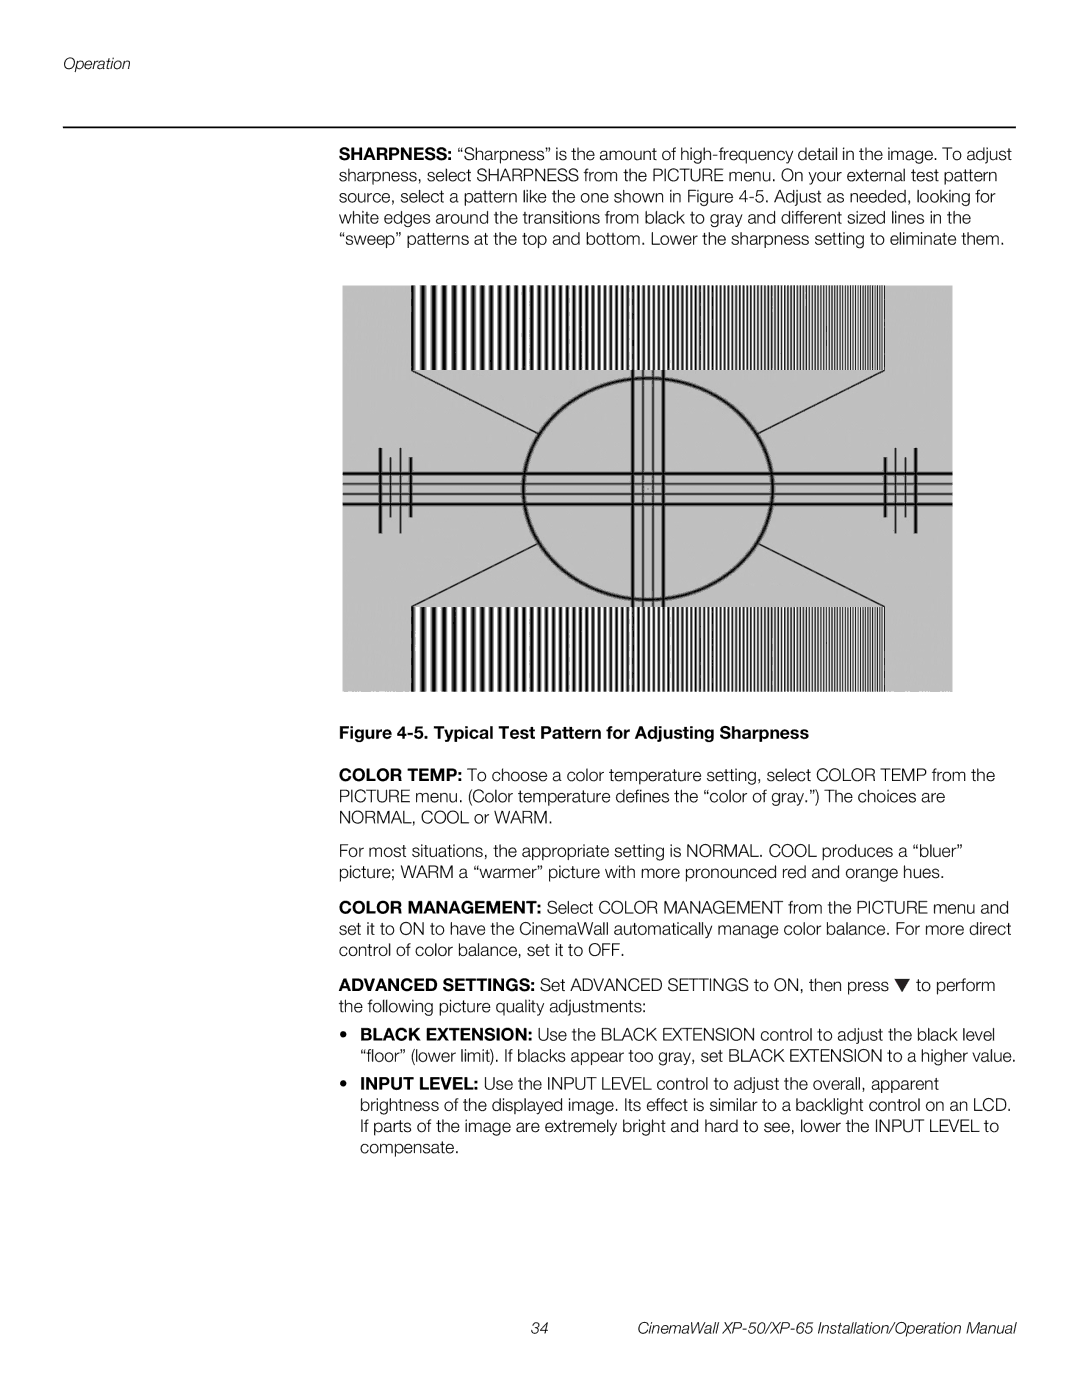
SHARPNESS: “Sharpness” is the amount of
Figure 4-5. Typical Test Pattern for Adjusting Sharpness
COLOR TEMP: To choose a color temperature setting, select COLOR TEMP from the
PICTURE menu. (Color temperature defines the “color of gray.”) The choices are
NORMAL, COOL or WARM.
For most situations, the appropriate setting is NORMAL. COOL produces a “bluer” picture; WARM a “warmer” picture with more pronounced red and orange hues.
COLOR MANAGEMENT: Select COLOR MANAGEMENT from the PICTURE menu and set it to ON to have the CinemaWall automatically manage color balance. For more direct control of color balance, set it to OFF.
ADVANCED SETTINGS: Set ADVANCED SETTINGS to ON, then press ![]() to perform the following picture quality adjustments:
to perform the following picture quality adjustments:
•BLACK EXTENSION: Use the BLACK EXTENSION control to adjust the black level “floor” (lower limit). If blacks appear too gray, set BLACK EXTENSION to a higher value.
•INPUT LEVEL: Use the INPUT LEVEL control to adjust the overall, apparent brightness of the displayed image. Its effect is similar to a backlight control on an LCD. If parts of the image are extremely bright and hard to see, lower the INPUT LEVEL to compensate.
34 | CinemaWall |
