Installing mono printer driver
This printer features a monochrome only printer. This mono driver limits output to th black toner. You must install the mono driver on your computer. Following steps guide you through the step by step installation process.
1Make sure that the printer is connected to your computer
and powered on. Or your computer and printer are connected to the network.
2Insert the supplied
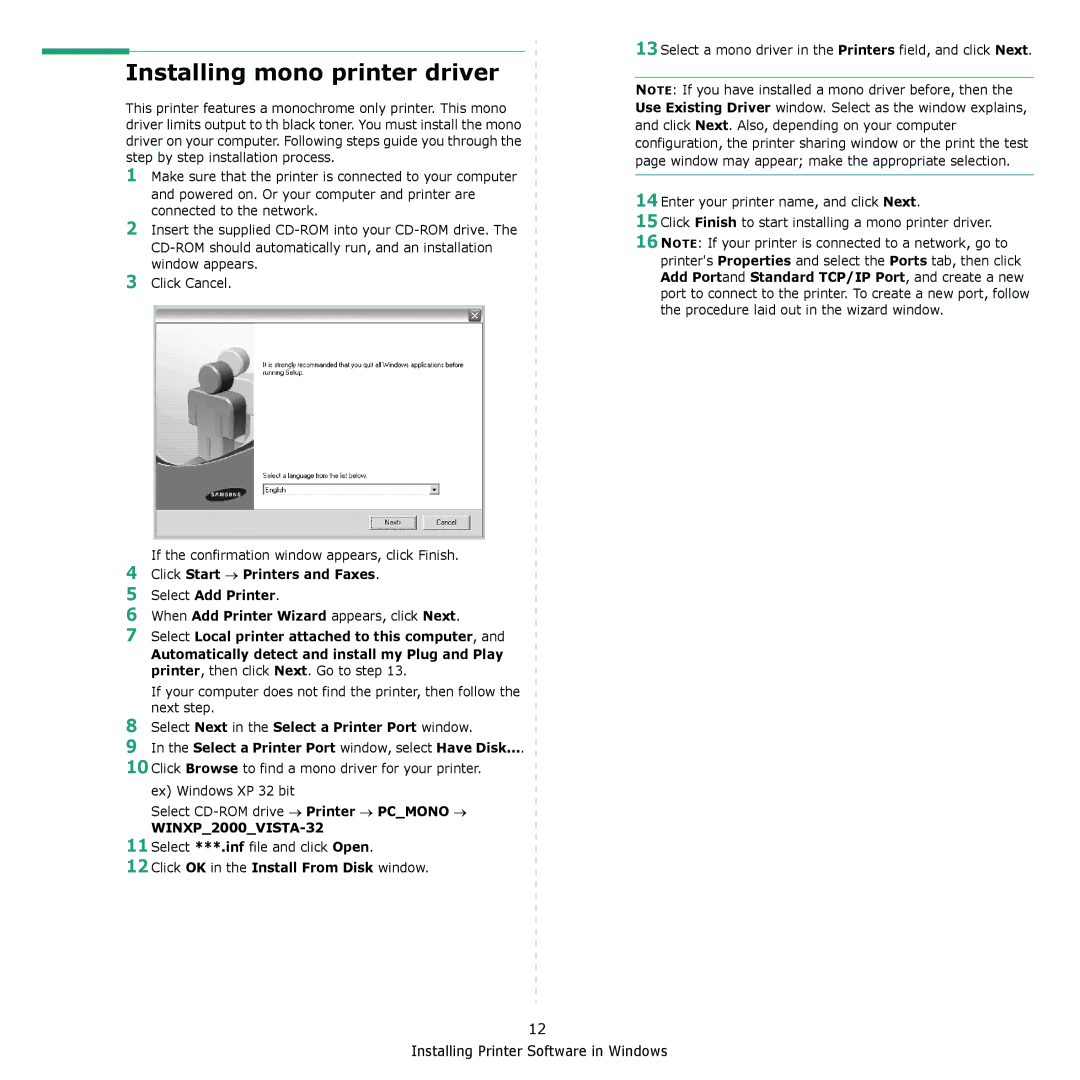
3Click Cancel.
If the confirmation window appears, click Finish.
4Click Start → Printers and Faxes.
5Select Add Printer.
6When Add Printer Wizard appears, click Next.
7Select Local printer attached to this computer, and
Automatically detect and install my Plug and Play printer, then click Next. Go to step 13.
If your computer does not find the printer, then follow the next step.
8Select Next in the Select a Printer Port window.
9In the Select a Printer Port window, select Have Disk....
10Click Browse to find a mono driver for your printer. ex) Windows XP 32 bit
Select
WINXP_2000_VISTA-32
11Select ***.inf file and click Open.
12Click OK in the Install From Disk window.
13Select a mono driver in the Printers field, and click Next.
NOTE: If you have installed a mono driver before, then the Use Existing Driver window. Select as the window explains, and click Next. Also, depending on your computer configuration, the printer sharing window or the print the test page window may appear; make the appropriate selection.
14Enter your printer name, and click Next.
15Click Finish to start installing a mono printer driver.
16NOTE: If your printer is connected to a network, go to printer's Properties and select the Ports tab, then click Add Portand Standard TCP/IP Port, and create a new port to connect to the printer. To create a new port, follow the procedure laid out in the wizard window.
12