Graphics Tab
Use the following Graphic options to adjust the print quality for your specific printing needs. See “Printing a Document” on page 13 for more information on accessing printer properties.
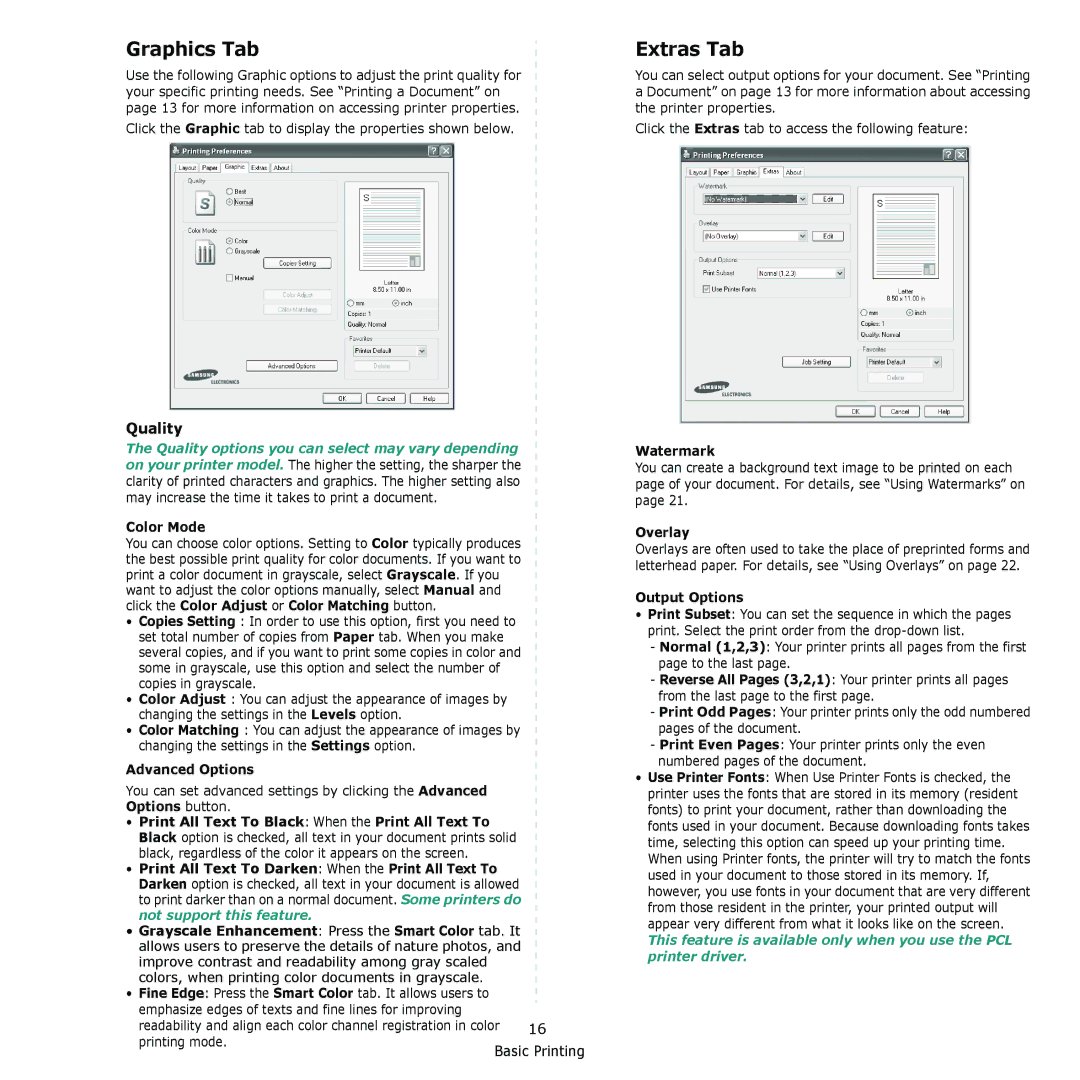
Click the Graphic tab to display the properties shown below.
Quality
The Quality options you can select may vary depending on your printer model. The higher the setting, the sharper the
clarity of printed characters and graphics. The higher setting also may increase the time it takes to print a document.
Color Mode
You can choose color options. Setting to Color typically produces the best possible print quality for color documents. If you want to print a color document in grayscale, select Grayscale. If you want to adjust the color options manually, select Manual and click the Color Adjust or Color Matching button.
•Copies Setting : In order to use this option, first you need to set total number of copies from Paper tab. When you make several copies, and if you want to print some copies in color and some in grayscale, use this option and select the number of copies in grayscale.
•Color Adjust : You can adjust the appearance of images by
changing the settings in the Levels option.
•Color Matching : You can adjust the appearance of images by changing the settings in the Settings option.
Advanced Options
You can set advanced settings by clicking the Advanced Options button.
•Print All Text To Black: When the Print All Text To Black option is checked, all text in your document prints solid
black, regardless of the color it appears on the screen.
• Print All Text To Darken: When the Print All Text To Darken option is checked, all text in your document is allowed to print darker than on a normal document. Some printers do not support this feature.
•Grayscale Enhancement: Press the Smart Color tab. It allows users to preserve the details of nature photos, and improve contrast and readability among gray scaled colors, when printing color documents in grayscale.
•Fine Edge: Press the Smart Color tab. It allows users to
emphasize edges of texts and fine lines for improving |
|
|
readability and align each color channel registration in color | 16 | |
printing mode. | Basic Printing | |
| ||
Extras Tab
You can select output options for your document. See “Printing a Document” on page 13 for more information about accessing the printer properties.
Click the Extras tab to access the following feature:
Watermark
You can create a background text image to be printed on each page of your document. For details, see “Using Watermarks” on page 21.
Overlay
Overlays are often used to take the place of preprinted forms and letterhead paper. For details, see “Using Overlays” on page 22.
Output Options
•Print Subset: You can set the sequence in which the pages print. Select the print order from the
-Normal (1,2,3): Your printer prints all pages from the first page to the last page.
-Reverse All Pages (3,2,1): Your printer prints all pages from the last page to the first page.
-Print Odd Pages: Your printer prints only the odd numbered pages of the document.
-Print Even Pages: Your printer prints only the even numbered pages of the document.
•Use Printer Fonts: When Use Printer Fonts is checked, the printer uses the fonts that are stored in its memory (resident fonts) to print your document, rather than downloading the fonts used in your document. Because downloading fonts takes time, selecting this option can speed up your printing time. When using Printer fonts, the printer will try to match the fonts used in your document to those stored in its memory. If, however, you use fonts in your document that are very different from those resident in the printer, your printed output will appear very different from what it looks like on the screen.
This feature is available only when you use the PCL printer driver.