10. Checking the Connection
This step is for checking the connection status.
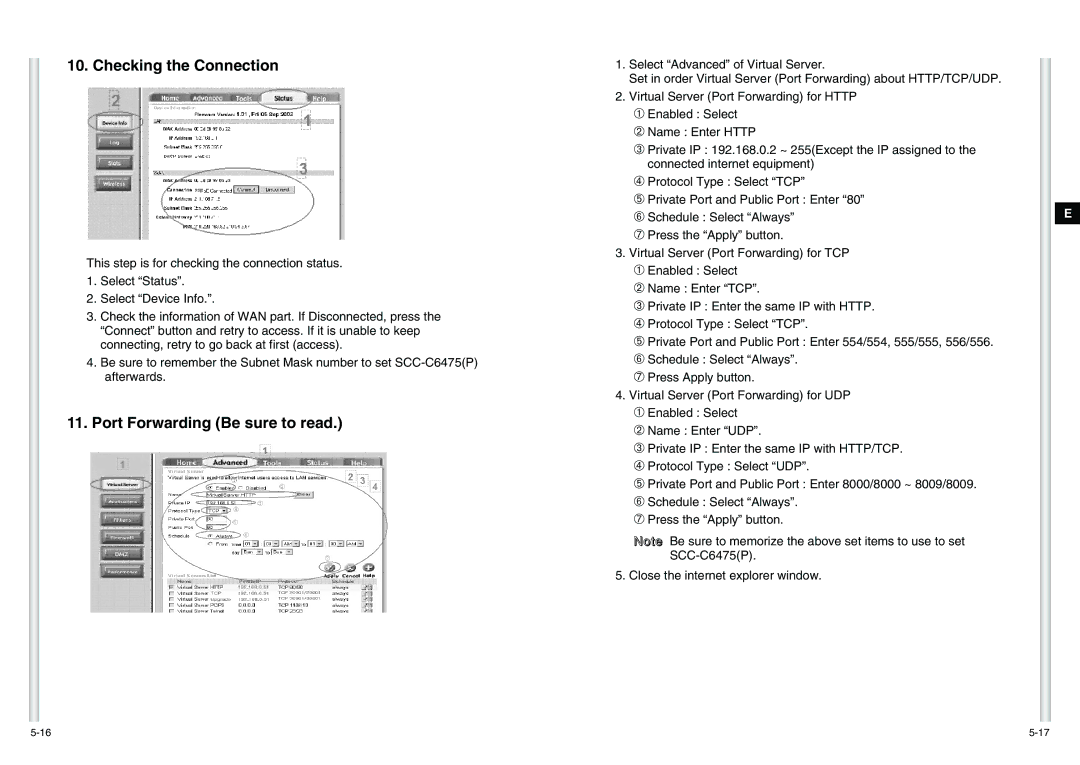
1.Select “Status”.
2.Select “Device Info.”.
3.Check the information of WAN part. If Disconnected, press the “Connect” button and retry to access. If it is unable to keep connecting, retry to go back at first (access).
4.Be sure to remember the Subnet Mask number to set
11.Port Forwarding (Be sure to read.)
1.Select “Advanced” of Virtual Server.
Set in order Virtual Server (Port Forwarding) about HTTP/TCP/UDP.
2.Virtual Server (Port Forwarding) for HTTP
➀Enabled : Select
➁Name : Enter HTTP
➂Private IP : 192.168.0.2 ~ 255(Except the IP assigned to the connected internet equipment)
➃Protocol Type : Select “TCP”
➄Private Port and Public Port : Enter “80”
➅Schedule : Select “Always”
➆Press the “Apply” button.
3.Virtual Server (Port Forwarding) for TCP
➀ Enabled : Select
➁ Name : Enter “TCP”.
➂ Private IP : Enter the same IP with HTTP.
➃ Protocol Type : Select “TCP”.
➄ Private Port and Public Port : Enter 554/554, 555/555, 556/556.
➅ Schedule : Select “Always”.
➆Press Apply button.
4.Virtual Server (Port Forwarding) for UDP
➀Enabled : Select
➁Name : Enter “UDP”.
➂Private IP : Enter the same IP with HTTP/TCP.
➃Protocol Type : Select “UDP”.
➄Private Port and Public Port : Enter 8000/8000 ~ 8009/8009.
➅Schedule : Select “Always”.
➆Press the “Apply” button.
Note Be sure to memorize the above set items to use to set
5. Close the internet explorer window.
E