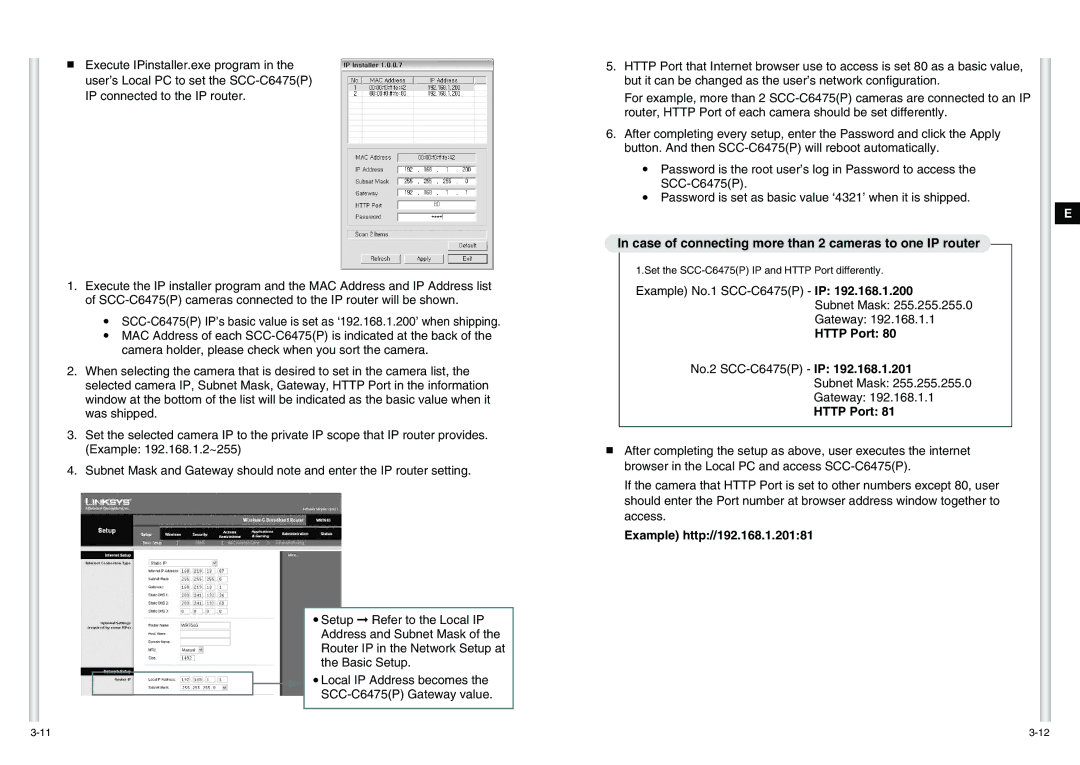
■Execute IPinstaller.exe program in the user’s Local PC to set the
1.Execute the IP installer program and the MAC Address and IP Address list of
●
●MAC Address of each
2.When selecting the camera that is desired to set in the camera list, the selected camera IP, Subnet Mask, Gateway, HTTP Port in the information window at the bottom of the list will be indicated as the basic value when it was shipped.
3.Set the selected camera IP to the private IP scope that IP router provides. (Example: 192.168.1.2~255)
4.Subnet Mask and Gateway should note and enter the IP router setting.
● Setup ➞ Refer to the Local IP Address and Subnet Mask of the Router IP in the Network Setup at the Basic Setup.
● Local IP Address becomes the
5.HTTP Port that Internet browser use to access is set 80 as a basic value, but it can be changed as the user’s network configuration.
For example, more than 2
6.After completing every setup, enter the Password and click the Apply button. And then
●Password is the root user’s log in Password to access the
●Password is set as basic value ‘4321’ when it is shipped.
In case of connecting more than 2 cameras to one IP router
1.Set the
Example) No.1 SCC-C6475(P) - IP: 192.168.1.200
Subnet Mask: 255.255.255.0
Gateway: 192.168.1.1
HTTP Port: 80
No.2 SCC-C6475(P) - IP: 192.168.1.201
Subnet Mask: 255.255.255.0
Gateway: 192.168.1.1
HTTP Port: 81
■After completing the setup as above, user executes the internet browser in the Local PC and access
If the camera that HTTP Port is set to other numbers except 80, user should enter the Port number at browser address window together to access.
Example) http://192.168.1.201:81
E
