14.Remove the lower foam air baffle.
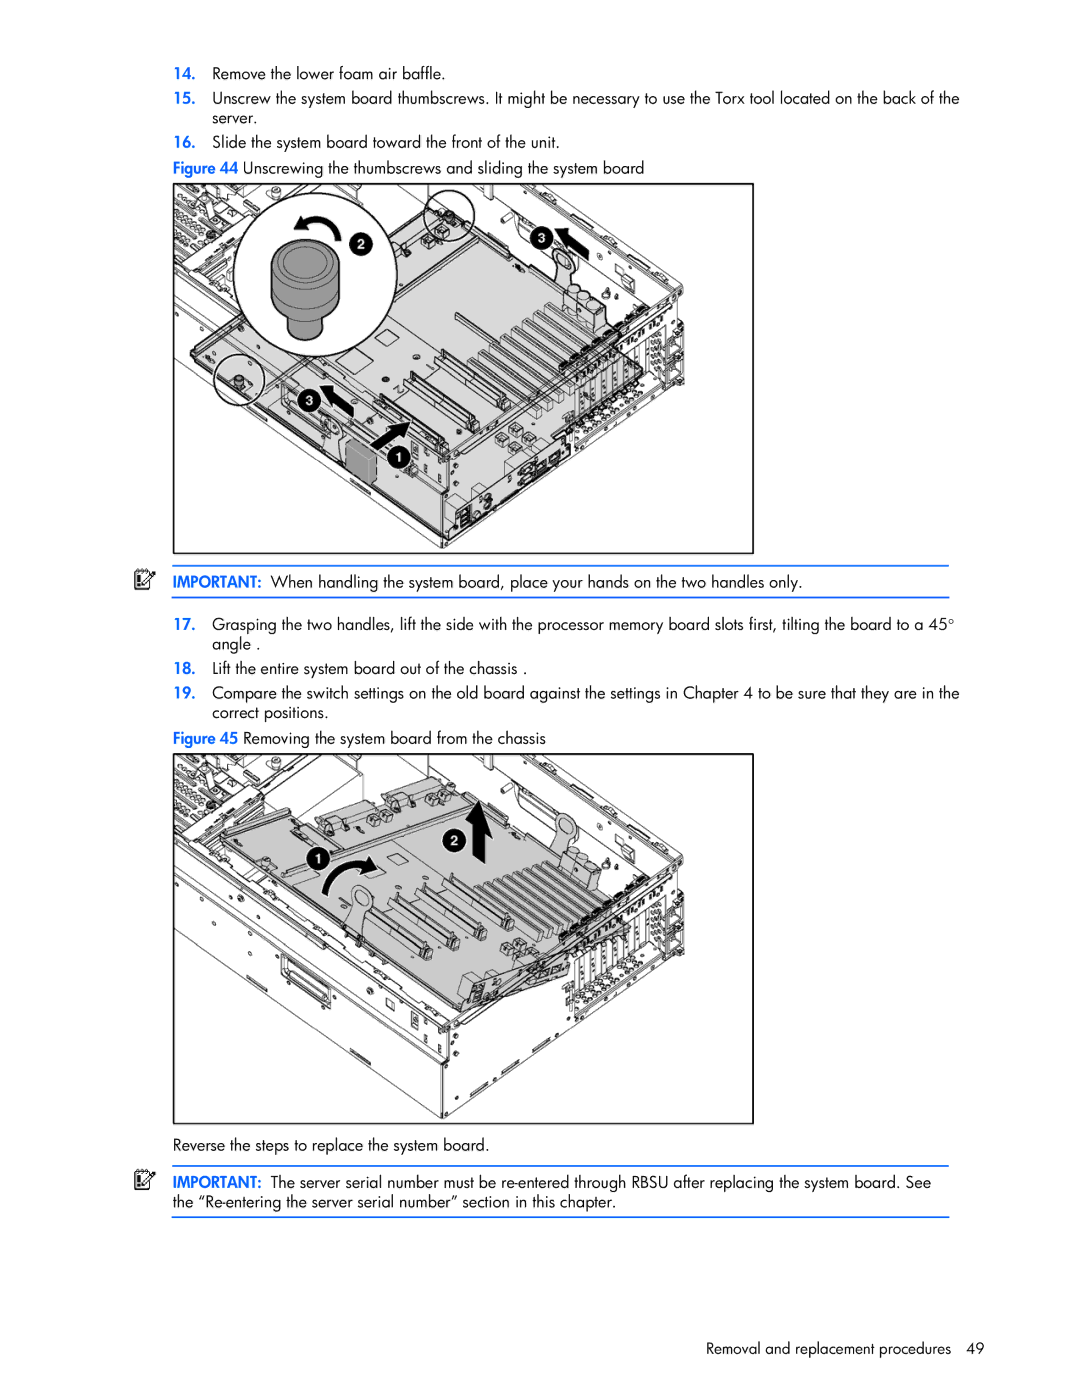
15.Unscrew the system board thumbscrews. It might be necessary to use the Torx tool located on the back of the server.
16.Slide the system board toward the front of the unit.
Figure 44 Unscrewing the thumbscrews and sliding the system board
IMPORTANT: When handling the system board, place your hands on the two handles only.
17.Grasping the two handles, lift the side with the processor memory board slots first, tilting the board to a 45° angle .
18.Lift the entire system board out of the chassis .
19.Compare the switch settings on the old board against the settings in Chapter 4 to be sure that they are in the correct positions.
Figure 45 Removing the system board from the chassis
Reverse the steps to replace the system board.
IMPORTANT: The server serial number must be re-entered through RBSU after replacing the system board. See the “Re-entering the server serial number” section in this chapter.
Removal and replacement procedures 49