RF4QR/NA
SUPERIMPOSE DISPLAY
Selecting the Superimpose Display
You can select to display or not the date, time, tape speed mode and number of alarm recordings.
1Turn the power on to all devices used.
2Press the MENU button to display the MAIN MENU.
3Turn the JOG dial to select the “2.DISPLAY/SW OUT SET” line, then turn the SHUTTLE ring clockwise.
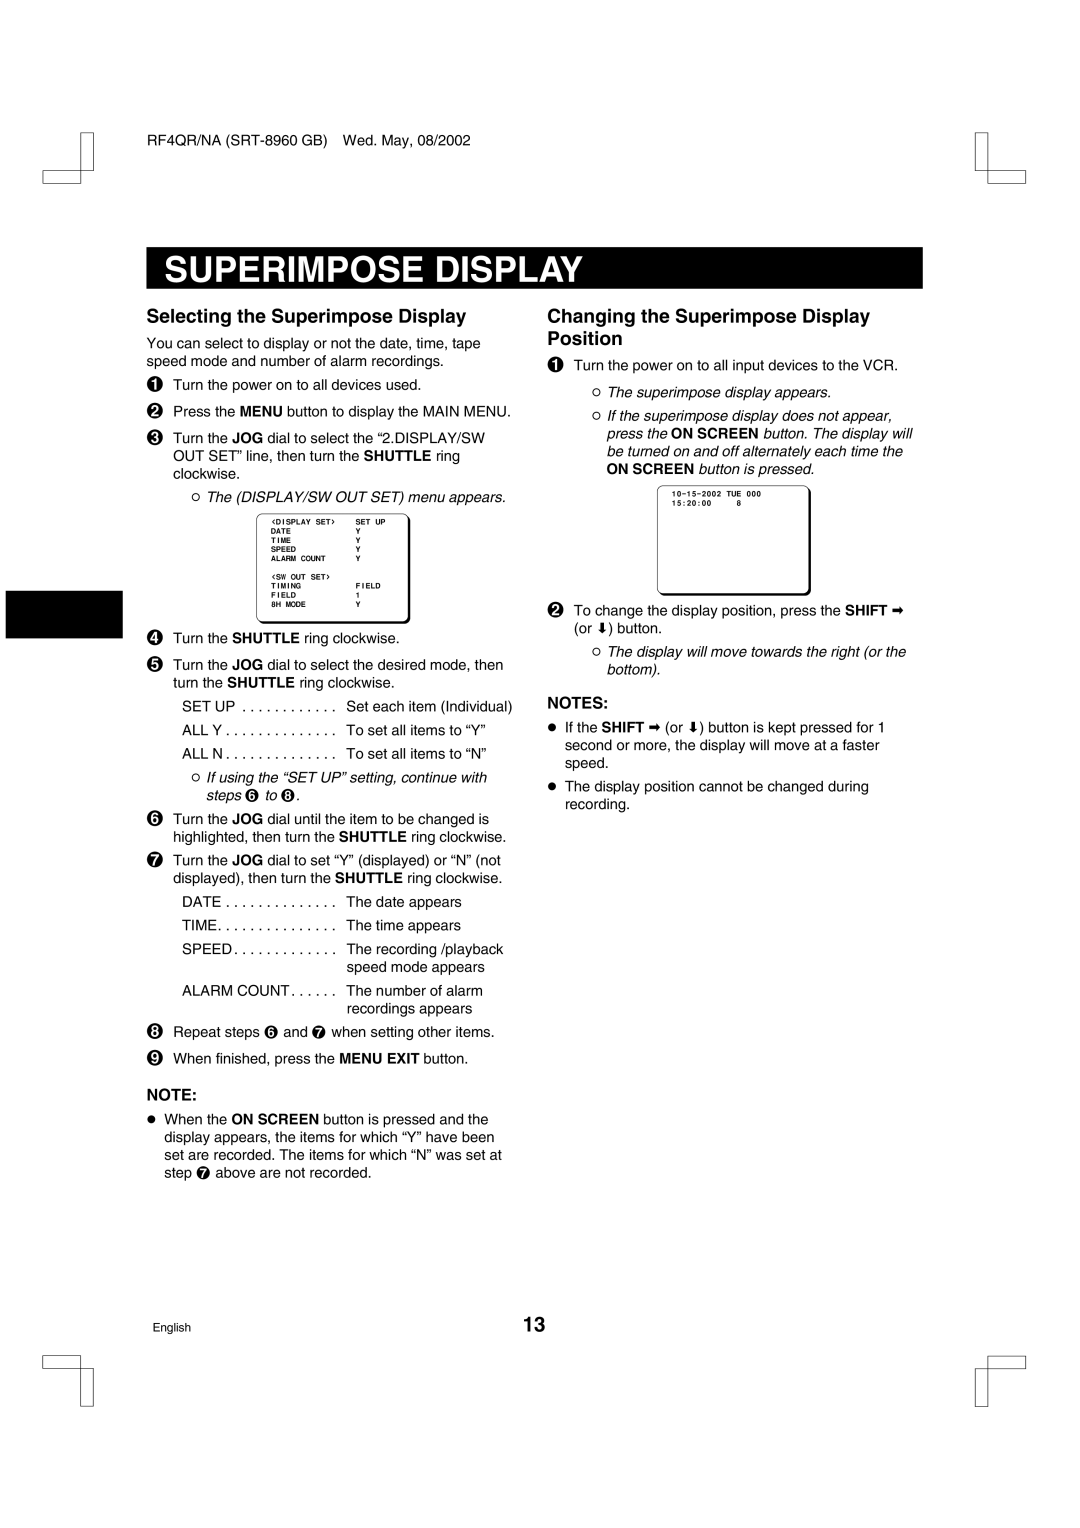
øThe (DISPLAY/SW OUT SET) menu appears.
<DISPLAY@SET>@@@@SET@UP
DATE@@@@@@@@@@@@@Y
TIME@@@@@@@@@@@@@Y
SPEED@@@@@@@@@@@@Y
ALARM@COUNT@@@@@@Y
<SW@OUT@SET>
TIMING@@@@@@@@@@@FIELD
FIELD@@@@@@@@@@@@1
8H@MODE@@@@@@@@@@Y
4Turn the SHUTTLE ring clockwise.
5Turn the JOG dial to select the desired mode, then turn the SHUTTLE ring clockwise.
SET UP . . . . . . . . . . . . Set each item (Individual)
ALL Y . . . . . . . . . . . . . . To set all items to “Y”
ALL N . . . . . . . . . . . . . . To set all items to “N”
øIf using the “SET UP” setting, continue with steps 6 to 8.
6Turn the JOG dial until the item to be changed is highlighted, then turn the SHUTTLE ring clockwise.
7Turn the JOG dial to set “Y” (displayed) or “N” (not displayed), then turn the SHUTTLE ring clockwise.
DATE . . . . . . . . . . . . . . The date appears
TIME. . . . . . . . . . . . . . . The time appears
SPEED . . . . . . . . . . . . . The recording /playback speed mode appears
ALARM COUNT . . . . . . The number of alarm recordings appears
Changing the Superimpose Display Position
1Turn the power on to all input devices to the VCR.
øThe superimpose display appears.
øIf the superimpose display does not appear, press the ON SCREEN button. The display will be turned on and off alternately each time the ON SCREEN button is pressed.
2To change the display position, press the SHIFT « (or ]) button.
øThe display will move towards the right (or the bottom).
NOTES:
œIf the SHIFT « (or ]) button is kept pressed for 1 second or more, the display will move at a faster speed.
œThe display position cannot be changed during recording.
8Repeat steps 6 and 7 when setting other items.
9When finished, press the MENU EXIT button.
NOTE:
œWhen the ON SCREEN button is pressed and the display appears, the items for which “Y” have been set are recorded. The items for which “N” was set at step 7 above are not recorded.
English | 13 |
