Continued
 When the DC TRIGGER 2 mode is set to On
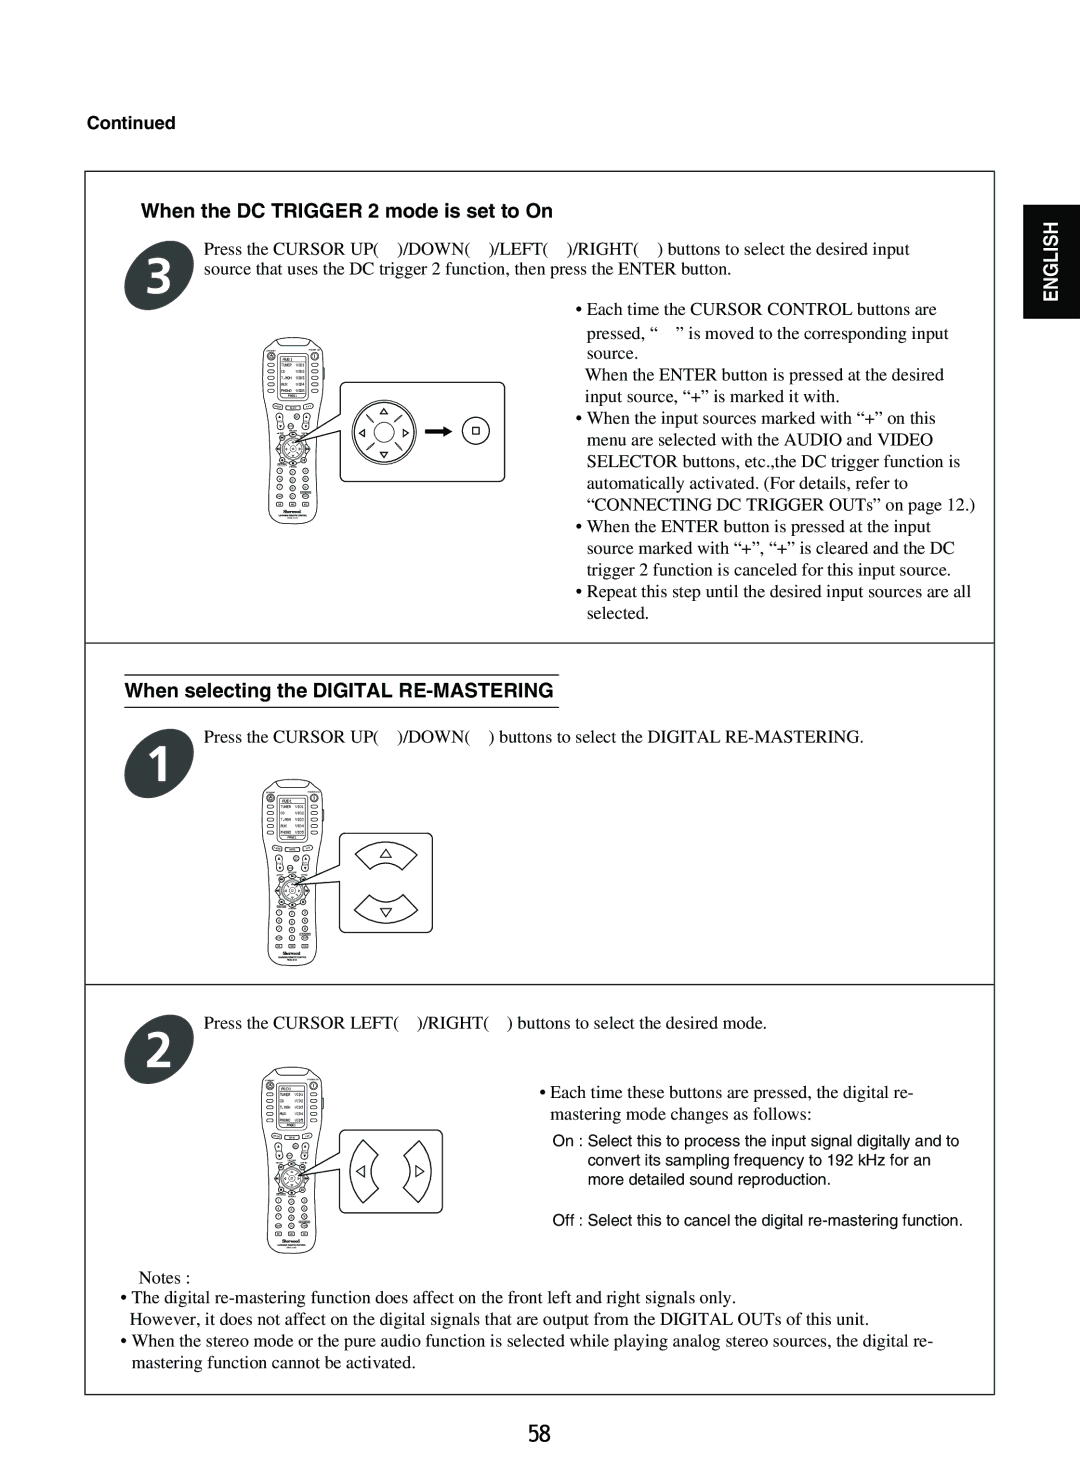
Press the CURSOR UP(![]() )/DOWN(
)/DOWN(![]() )/LEFT(
)/LEFT(![]() )/RIGHT(
)/RIGHT(![]() ) buttons to select the desired input
) buttons to select the desired input
3 source that uses the DC trigger 2 function, then press the ENTER button.
ENGLISH
PAGE | MAIN | FAV |
VOL |
|
|
1 2 3
4 5 6
7 8 9
0
MI M2 M3
•Each time the CURSOR CONTROL buttons are
pressed, “![]() ” is moved to the corresponding input source.
” is moved to the corresponding input source.
When the ENTER button is pressed at the desired input source, “+” is marked it with.
•When the input sources marked with “+” on this menu are selected with the AUDIO and VIDEO SELECTOR buttons, etc.,the DC trigger function is automatically activated. (For details, refer to “CONNECTING DC TRIGGER OUTs” on page 12.)
•When the ENTER button is pressed at the input source marked with “+”, “+” is cleared and the DC trigger 2 function is canceled for this input source.
•Repeat this step until the desired input sources are all selected.
When selecting the DIGITAL RE-MASTERING
Press the CURSOR UP( )/DOWN( ) buttons to select the DIGITAL
1
PAGE | MAIN | FAV |
VOL |
|
|
1 | 2 | 3 |
4 | 5 | 6 |
7 | 8 | 9 |
| 0 |
|
MI | M2 | M3 |
Press the CURSOR LEFT( )/RIGHT( ) buttons to select the desired mode.
2
PAGE | MAIN | FAV |
VOL |
|
|
1 2 3
4 5 6
7 8 9
0
MI M2 M3
•Each time these buttons are pressed, the digital re- mastering mode changes as follows:
On : Select this to process the input signal digitally and to convert its sampling frequency to 192 kHz for an more detailed sound reproduction.
Off : Select this to cancel the digital
![]() Notes :
Notes :
•The digital
However, it does not affect on the digital signals that are output from the DIGITAL OUTs of this unit.
•When the stereo mode or the pure audio function is selected while playing analog stereo sources, the digital re- mastering function cannot be activated.
58
