6Now select, by pressing the function buttons B E resp. C R, »Dictation« or »Conference«. Subsequently select, by pressing the function button D T, »OK«. The microphone sensitivity is now set to your personal selection;
In the display Q the Menu is once again shown. To return to the start screen: Select, by pressing the function button A W twice in succession, »ESC«.
8.7 Using the voice recorder as a PC microphone
This voice recorder can also, with the appropriate dictation/voice recognition soft- ware, be used as the microphone for a PC. For this you will require an audio cable with a 3.5 mm jack plug, available from specialist audio/video shops. To connect this voice recorder to a PC for utilisation as a microphone:
1Insert one of the 3.5 mm jack plugs on the audio cable into the headphone socket »EAR ![]() « I on the voice recorder.
« I on the voice recorder.
2Insert the second 3.5 mm jack plug on the audio cable into the microphone socket of a PC.
3Switch the voice recorder on by pressing the button "On/Off" A. As soon as the start screen is shown in the display Q:
4Place the ![]() STOP«.
STOP«.
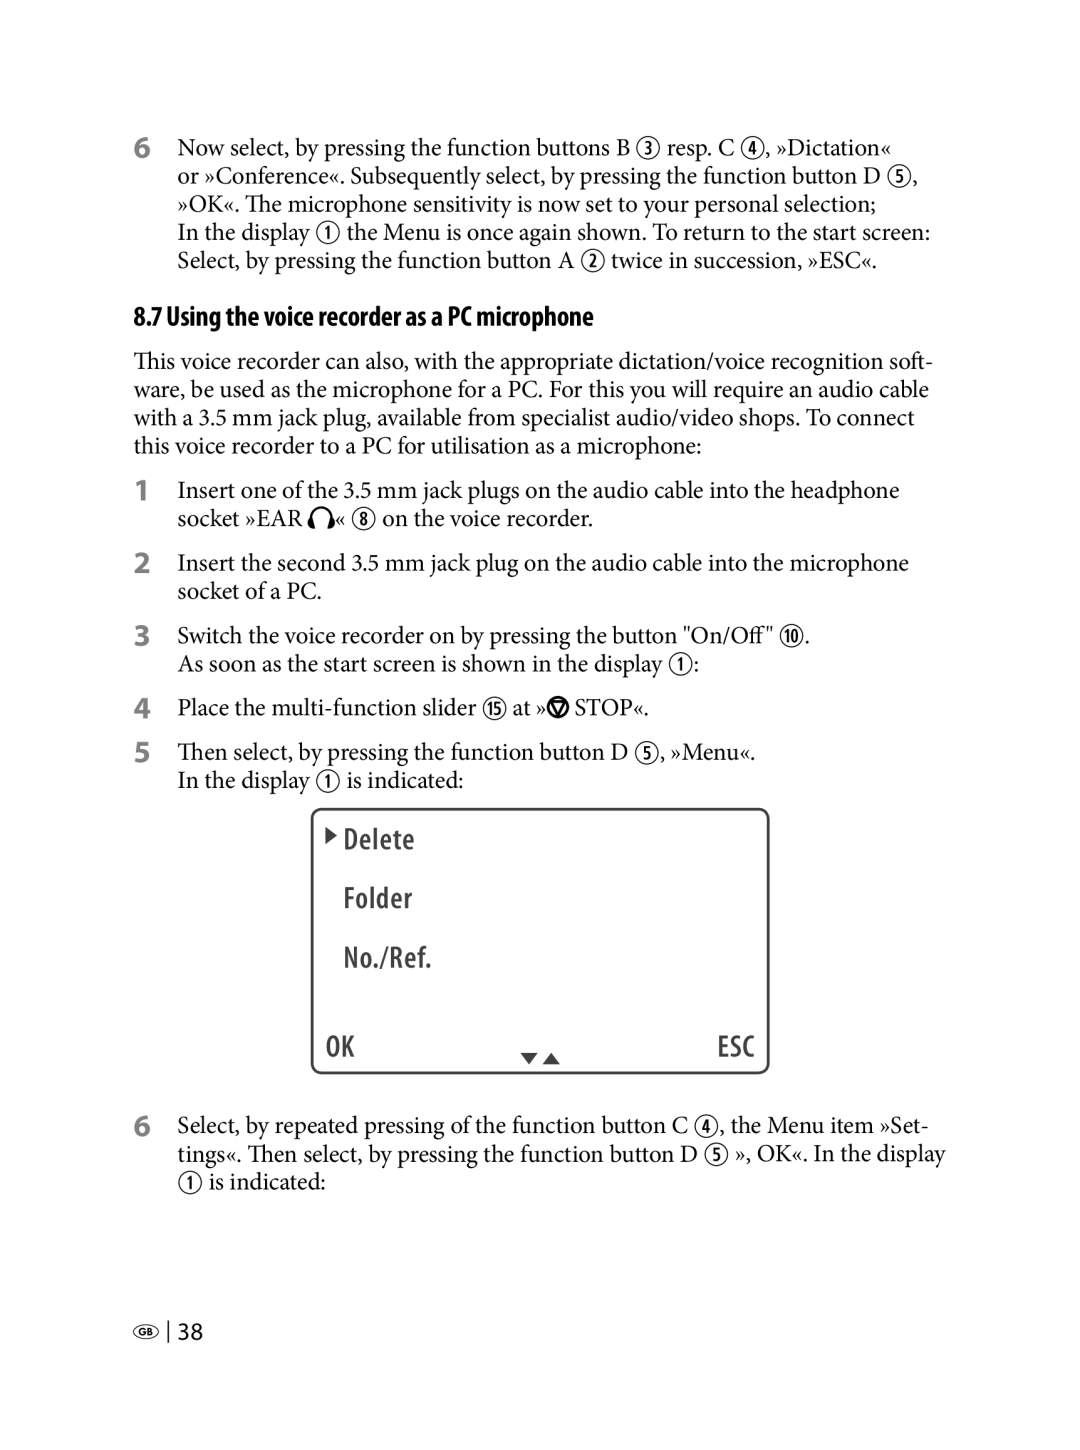
5Then select, by pressing the function button D T, »Menu«. In the display Q is indicated:
 Delete
Folder
No./Ref.
OK | ESC |
6Select, by repeated pressing of the function button C R, the Menu item »Set- tings«. Then select, by pressing the function button D T », OK«. In the display Q is indicated:
![]()
![]() 38
38
