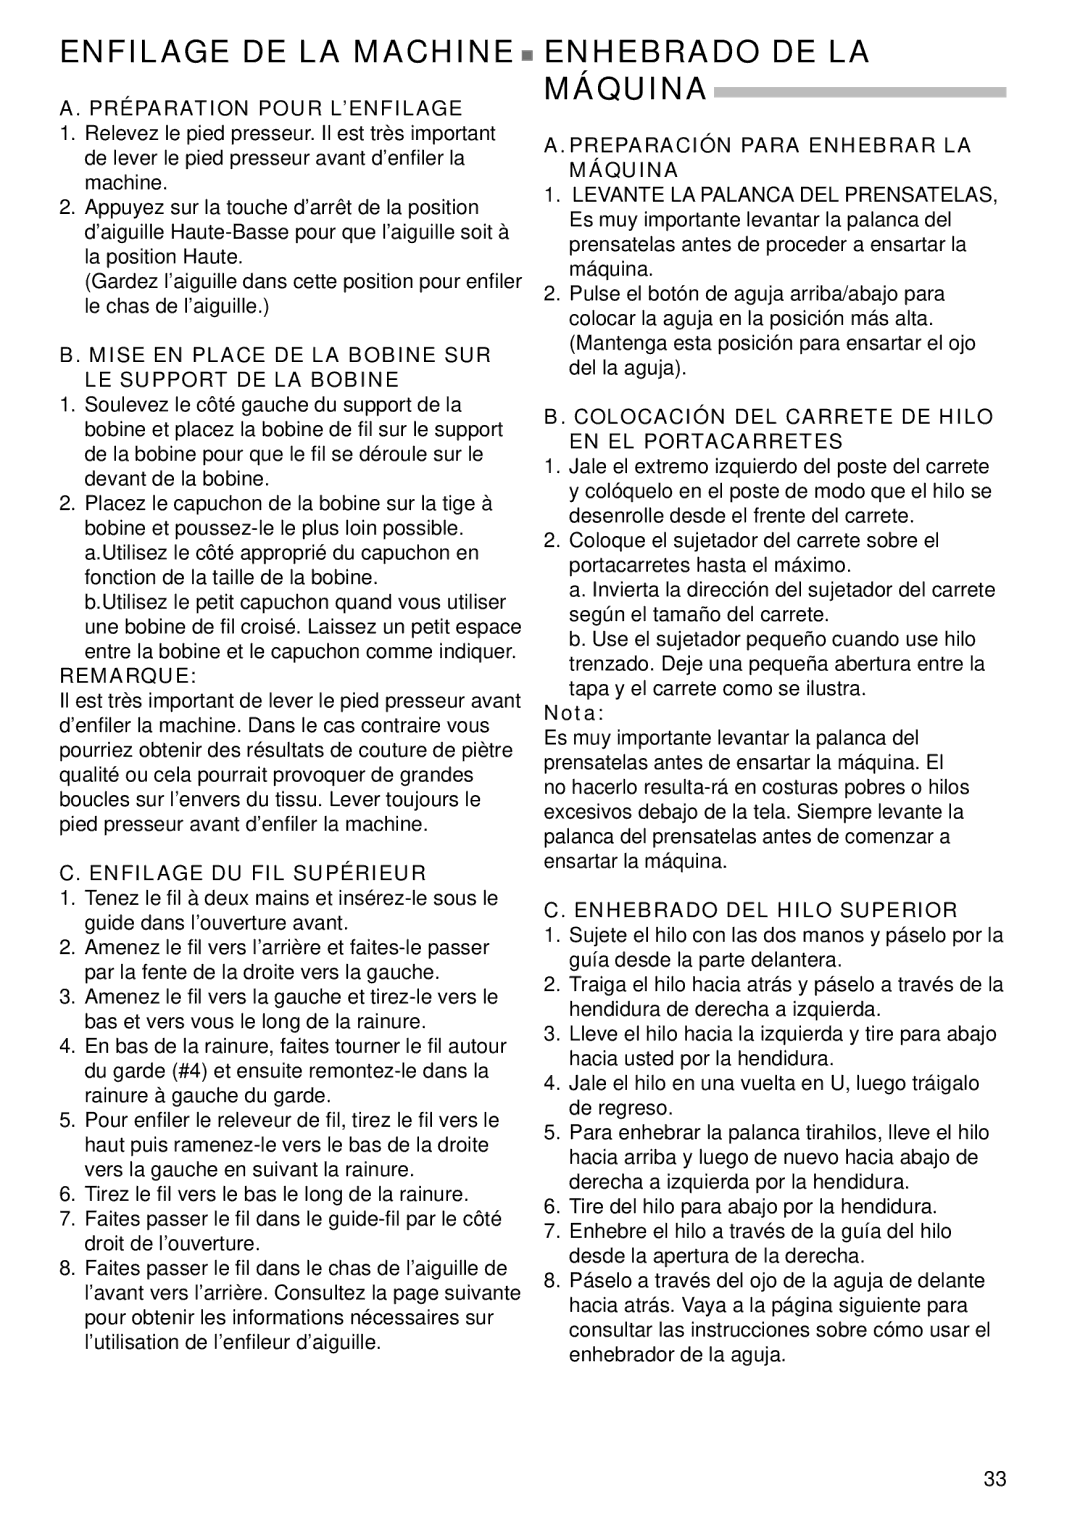
Singer 9985 instruction manual Enfilage DE LA Machine, Enhebrado DE LA Máquina

Models: 9985

1 108
Download 108 pages 55.49 Kb
Page 33
Image 33

ENFILAGE DE LA MACHINE

A. PRÉPARATION POUR L’ENFILAGE

1.Relevez le pied presseur. Il est très important de lever le pied presseur avant d’enfiler la machine.

2.Appuyez sur la touche d’arrêt de la position d’aiguille Haute-Basse pour que l’aiguille soit à la position Haute.

(Gardez l’aiguille dans cette position pour enfiler le chas de l’aiguille.)

B. MISE EN PLACE DE LA BOBINE SUR LE SUPPORT DE LA BOBINE

1.Soulevez le côté gauche du support de la bobine et placez la bobine de fil sur le support de la bobine pour que le fil se déroule sur le devant de la bobine.

2.Placez le capuchon de la bobine sur la tige à bobine et poussez-le le plus loin possible. a.Utilisez le côté approprié du capuchon en fonction de la taille de la bobine.

b.Utilisez le petit capuchon quand vous utiliser une bobine de fil croisé. Laissez un petit espace

entre la bobine et le capuchon comme indiquer.

REMARQUE:

Il est très important de lever le pied presseur avant d’enfiler la machine. Dans le cas contraire vous pourriez obtenir des résultats de couture de piètre qualité ou cela pourrait provoquer de grandes boucles sur l’envers du tissu. Lever toujours le pied presseur avant d’enfiler la machine.

C. ENFILAGE DU FIL SUPÉRIEUR

1.Tenez le fil à deux mains et insérez-le sous le guide dans l’ouverture avant.

2.Amenez le fil vers l’arrière et faites-le passer par la fente de la droite vers la gauche.

3.Amenez le fil vers la gauche et tirez-le vers le bas et vers vous le long de la rainure.

4.En bas de la rainure, faites tourner le fil autour du garde (#4) et ensuite remontez-le dans la rainure à gauche du garde.

5.Pour enfiler le releveur de fil, tirez le fil vers le haut puis ramenez-le vers le bas de la droite vers la gauche en suivant la rainure.

6.Tirez le fil vers le bas le long de la rainure.

7.Faites passer le fil dans le guide-fil par le côté droit de l’ouverture.

8.Faites passer le fil dans le chas de l’aiguille de l’avant vers l’arrière. Consultez la page suivante pour obtenir les informations nécessaires sur l’utilisation de l’enfileur d’aiguille.

ENHEBRADO DE LA

MÁQUINA

A.PREPARACIÓN PARA ENHEBRAR LA MÁQUINA

1.LEVANTE LA PALANCA DEL PRENSATELAS, Es muy importante levantar la palanca del prensatelas antes de proceder a ensartar la máquina.

2.Pulse el botón de aguja arriba/abajo para colocar la aguja en la posición más alta. (Mantenga esta posición para ensartar el ojo del la aguja).

B. COLOCACIÓN DEL CARRETE DE HILO EN EL PORTACARRETES

1.Jale el extremo izquierdo del poste del carrete

ycolóquelo en el poste de modo que el hilo se desenrolle desde el frente del carrete.

2.Coloque el sujetador del carrete sobre el portacarretes hasta el máximo.

a.Invierta la dirección del sujetador del carrete según el tamaño del carrete.

b.Use el sujetador pequeño cuando use hilo trenzado. Deje una pequeña abertura entre la

tapa y el carrete como se ilustra.

Nota:

Es muy importante levantar la palanca del prensatelas antes de ensartar la máquina. El no hacerlo resulta-rá en costuras pobres o hilos excesivos debajo de la tela. Siempre levante la palanca del prensatelas antes de comenzar a ensartar la máquina.

C. ENHEBRADO DEL HILO SUPERIOR

1.Sujete el hilo con las dos manos y páselo por la guía desde la parte delantera.

2.Traiga el hilo hacia atrás y páselo a través de la hendidura de derecha a izquierda.

3.Lleve el hilo hacia la izquierda y tire para abajo hacia usted por la hendidura.

4.Jale el hilo en una vuelta en U, luego tráigalo de regreso.

5.Para enhebrar la palanca tirahilos, lleve el hilo hacia arriba y luego de nuevo hacia abajo de derecha a izquierda por la hendidura.

6.Tire del hilo para abajo por la hendidura.

7.Enhebre el hilo a través de la guía del hilo desde la apertura de la derecha.

8.Páselo a través del ojo de la aguja de delante hacia atrás. Vaya a la página siguiente para consultar las instrucciones sobre cómo usar el enhebrador de la aguja.

33

Page 33
Image 33
Singer 9985 instruction manual Enfilage DE LA Machine, Enhebrado DE LA Máquina

9985 specifications

The Singer 9985 is a high-performance sewing machine that has garnered attention for its impressive array of features and advanced technologies, making it a popular choice among sewing enthusiasts and professionals alike. As part of the prestigious Singer brand, known for its innovation and reliability, the 9985 is designed to cater to a variety of sewing needs, from quilting to embroidery.

One of the standout features of the Singer 9985 is its extensive built-in stitch library, offering over 960 stitch options. This allows users to choose from a wide range of utility, decorative, and heirloom stitches, making it versatile for any project. The machine also supports multiple stitch styles, including stretch stitches for knits, giving sewers the ability to tackle a broad array of fabrics and designs.

The Singer 9985 is equipped with an intuitive LCD touchscreen that simplifies the sewing process. The user-friendly interface allows for easy navigation through stitch options and settings. Users can easily customize their stitches with adjustments for length, width, and tension, providing greater control over their work. This digital display also features helpful tutorials and animations, guiding users through various techniques and functions.

One of the most notable technologies incorporated in the Singer 9985 is the automatic needle threader, a feature that eliminates the frustration of manual threading. Additionally, the machine offers an automatic thread cutter, which saves time during sewing by allowing users to cut threads with the push of a button. This combination of features enhances efficiency, particularly during long sewing sessions.

Another key characteristic of the Singer 9985 is its powerful motor, which delivers consistent stitching even with thick layers of fabric. This is complemented by an adjustable presser foot pressure system, enabling users to fine-tune the machine's performance based on the material being used. Furthermore, the machine includes a range of presser feet, which enhance versatility and expand the types of projects that can be undertaken.

The Singer 9985 also excels in embroidery capabilities. With its built-in embroidery designs and the option to import additional designs via USB, sewists can personalize their creations readily. The machine supports multiple embroidery sizes, making it suitable for everything from small monograms to larger decorative pieces.

In summary, the Singer 9985 is a robust sewing machine that combines advanced features, cutting-edge technology, and user-friendly design. Its extensive stitch library, automatic functions, and powerful performance make it an exceptional choice for anyone looking to elevate their sewing and embroidery projects to the next level. With its blend of functionality and creativity, the Singer 9985 stands out as a reliable companion for both novice and seasoned sewists.