To start/stop recording in sync with the sound source
During
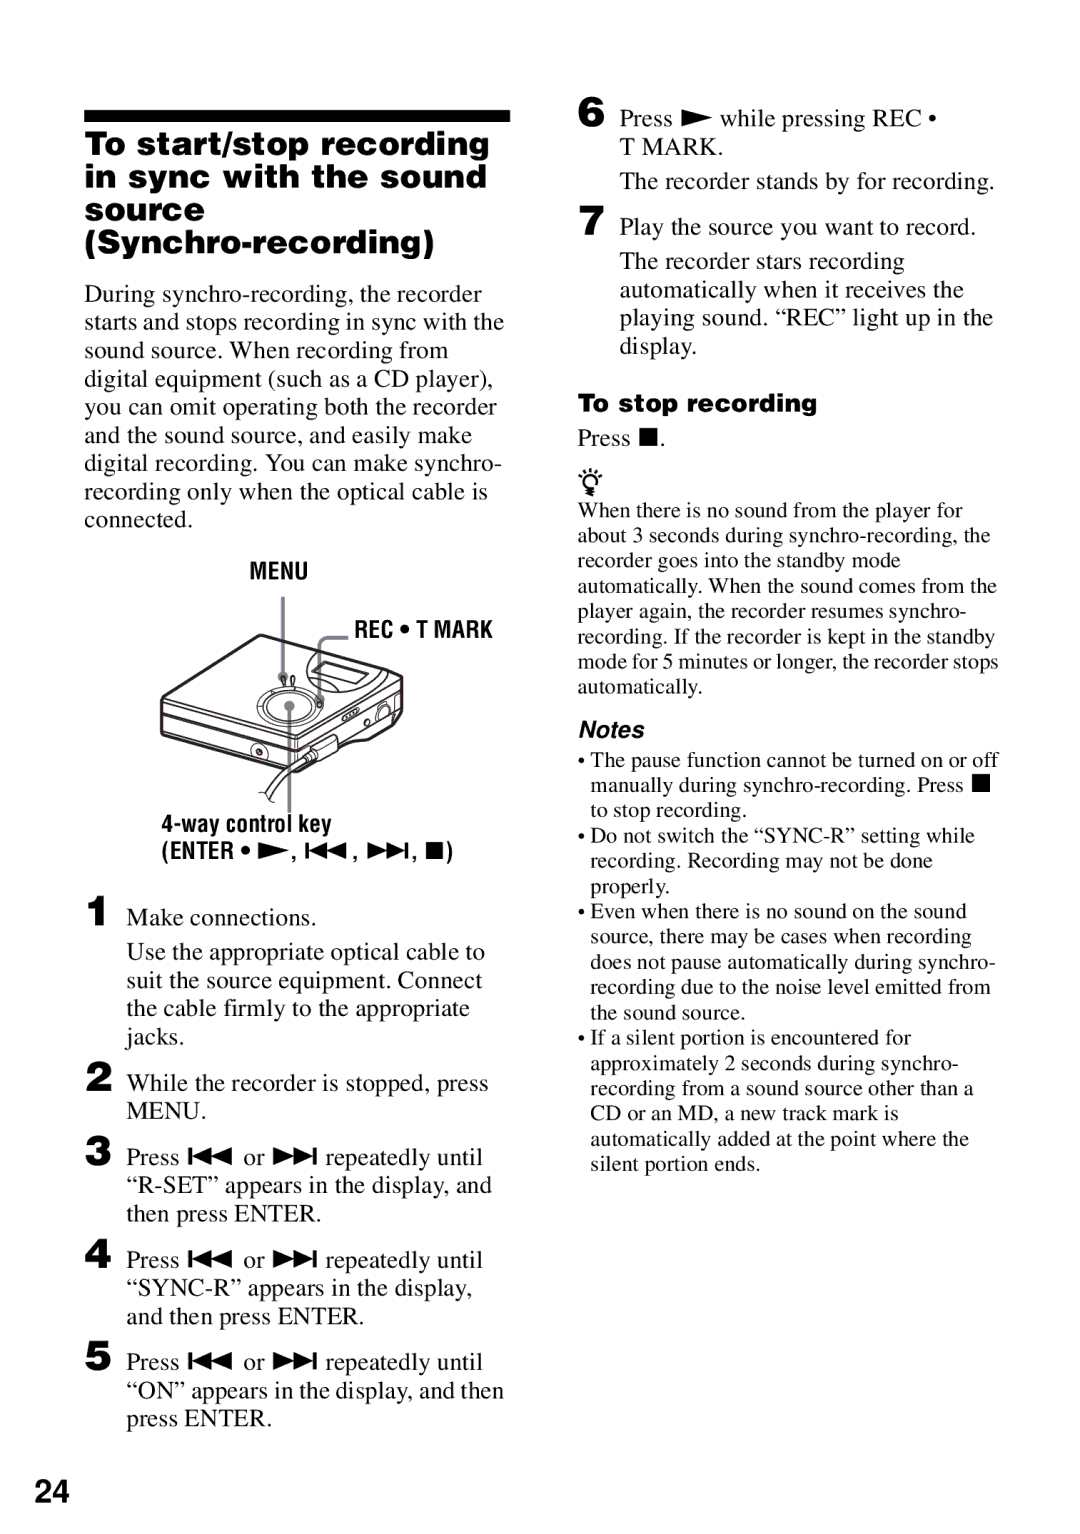
MENU
REC • T MARK
4-way control key
(ENTER • N, ., >, x)
1 Make connections.
Use the appropriate optical cable to suit the source equipment. Connect the cable firmly to the appropriate jacks.
2 While the recorder is stopped, press MENU.
3 Press . or > repeatedly until
4 Press . or > repeatedly until
5 Press . or > repeatedly until “ON” appears in the display, and then press ENTER.
6 Press N while pressing REC •
T MARK.
The recorder stands by for recording.
7 Play the source you want to record.
The recorder stars recording automatically when it receives the playing sound. “REC” light up in the display.
To stop recording
Press x.
z
When there is no sound from the player for about 3 seconds during
Notes
•The pause function cannot be turned on or off manually during
•Do not switch the
•Even when there is no sound on the sound source, there may be cases when recording does not pause automatically during synchro- recording due to the noise level emitted from the sound source.
•If a silent portion is encountered for approximately 2 seconds during synchro- recording from a sound source other than a CD or an MD, a new track mark is automatically added at the point where the silent portion ends.
24