Portable MiniDisc Recorder
Operating Instructions
MZ-N510
Recorder Operation _____________________________
Information
On the supplied software
Notice for users
Recorder Operations
Table of contents
Using the group function
Editing recorded tracks
Other operations
Power sources
Troubleshooting and explanations
Additional information
What is a Net MD?
Software Operation
Basic Operations
Advanced operations
Other information
Page
Troubleshooting and explanations page
Before using this product
Recorder Operation pages 11 to
Software Operation pages 68 to
Recorder Operation
Checking the supplied accessories
The recorder
Looking at controls
L P 2 . 4 1
The display window of the recorder
3 4 5
9 q; qa
The headphones/earphones with a remote control
Getting started
1Insert the rechargeable battery
Using the dry battery
Slide OPEN to open the battery compartment lid
AC power adaptor to DC IN
2Charge the rechargeable battery
Connect the AC power adaptor to DC IN
Disconnect the AC power adaptor
1 Connect the headphones/earphones
3Make connections and unlock the controls
with the remote control to
To Connect firmly Battery life
1Insert an MD
Recording an MD right away
3Record an MD
2Make connections. Insert the cables
firmly and completely into the appropriate jacks
AC power adaptor Optical plug
Press
If the recording does not start
Notes
2Play an MD
Playing an MD right away
or – on the remote control
The volume will be shown in the
Operation on the remote
Operation on the
recorder
control
Viewing various information
Various ways of recording
MENU 4-waycontrol key ENTER • N, ., >
Display window on the recorder
MENU REC T MARK 4-waycontrol key
ENTER • N, ., >,
To stop recording
MENU REC • T MARK 4-waycontrol key
Long-timerecording MDLP
ENTER • N, ., >,
Recording
Adding track marks while recording
Recording from a TV or a radio Analog Recording
to LINE OUT jacks, etc L R red white Line cable
RK-G129/G136,etc REC • TMARK
Adding track marks automatically Auto Time Stamp
To cancel Auto Time Stamp
To switch back to automatic level control
Adjusting the recording level manually
MENU
REC T MARK 4-waycontrol key ENTER N
Viewing various information
Various ways of playback
MENU 4-waycontrol key ENTER • N, ., >,
Display window on the recorder
Selecting the play mode
Shuff
MENU 4-waycontrol key ENTER • N, ., >,
Display window on the recorder
Factory settings
Adjusting treble or bass Digital Sound Preset
To cancel Digital Sound Preset
To play the bookmarked tracks
Adjusting the sound quality
To cancel selecting
Shows “SOUND1” or “SOUND2” is selected
Before editing
Editing recorded tracks
Labeling recordings Name
Available characters
When labeling a
Moving recorded tracks Move
When labeling a
To return the preceding settings
Dividing a track Divide
To cancel moving
Example
Dividing a track directly
Combining tracks combine
Track numbers decrease 4-waycontrol key
T MARK
To return the preceding settings
Erasing tracks and a whole disc contents Erase
To cancel erasing
MENU 4-waycontrol key ., >,
To return the preceding settings
To cancel moving
To erase the whole disc
What is the group function?
Using the group function
Recording tracks using the group function
1 2 3 4 5 6 7 8
Recording a track to an existing group
Playing groups
Playing a track in group play
MENU 4-waycontrol key ., >
Display
Editing groups
Play mode
Display
To return the preceding settings
STR:01
To cancel the operation
MENU 4-waycontrol key ENTER • N, ., >,
To cancel the operation
To return the preceding settings
Disc
Group
To return the preceding settings
pGP04
To cancel moving
pGP04
To cancel moving
To return the preceding settings
To cancel erasing
Other operations
Useful settings
Category
Function
Function
Category
What it does
Site page
How to use the menu items
MENU To return the preceding setting
To cancel the operation while setting
To start recording over the current contents
QUICK
To turn the setting to normal
To switch back to the normal setting
Protecting your hearing AVLS
To cancel the AVLS
Menus on the recorder
List of menus
Menu
Menu
OFF y ON factory setting
OFF factory setting y ON
FrHere factory setting y Fr End
Power
When recording
Power sources
When playing
When to replace the batteries
Additional information
Precautions
On safety
On power sources
Note on maintenance
On cleaning
On the MiniDisc cartridge
Notes on batteries
Recording and playback time when using MDW-80
Specifications
Error correction
Power requirements
Troubles and solutions
Troubleshooting and explanations
Symptom
Cause/Solution
Symptom
Cause/Remedy
Recording cannot be
Symptom
Symptom
While playing
Cause/Remedy
Symptom
Symptom
While Editing
Cause/Remedy
Symptom
While using group function
Symptom
Cause/Remedy
Symptom
Others
Cause/Remedy
Messages
Error message
Meaning/Remedy
Error message
Meaning/Remedy
LoBATT
Error message
Meaning/Remedy
Rec ERR
Difference
Explanations
Digital optical input
Analog line input
Note on digital recording
The meaning of “no sound”
Premastered software such as CDs or MDs
Digital recording
Recording audio data to your computer
On the computer Listening
Audio CDs Internet
Transferring audio data to the Net MD
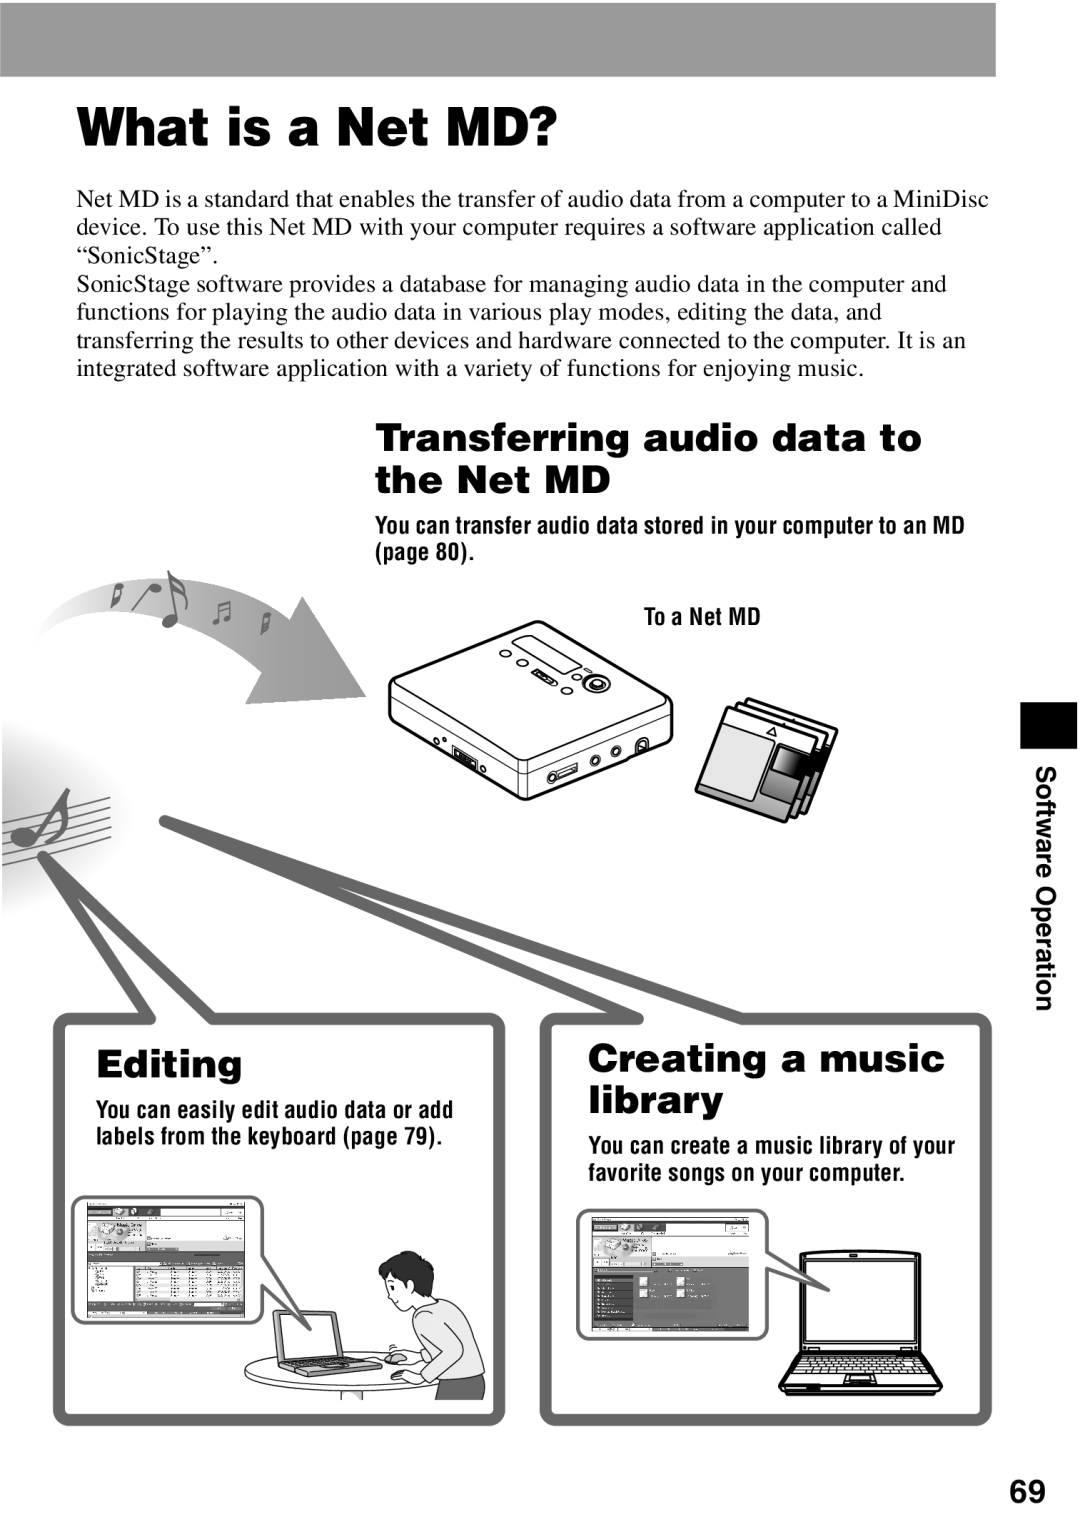
What is a Net MD?
Editing
Creating a music library
3 Connecting the Net MD to your computer
2Installing the software onto your computer
Basic operational flow using the Net MD
1Providing the required system environment
System requirements
Providing the required system environment
page
Installing the software onto your computer
page
page
1 Turn on your computer and start up Windows
Installing SonicStage Ver.1.5
3 Click to select SonicStage
Click SonicStage
4 Follow the displayed instructions
power
Connecting the Net MD to your computer
1 Insert a recordable disc into the Net MD
3 Check the connections
Starting SonicStage
Storing audio data to your computer
Recording audio CDs to the hard disk drive
2 Click
then click 3 Jump to Record Window
6 Click Record All
5 If the list panel is not displayed, click
Click here
To stop recording
Labeling audio data
Checking out audio files to the Net MD
Targets, then click 3Jump to Record Window
Playlist
To cancel a check-out
4 If the list panel is not displayed, click
6 Click Check-OutAll
•Once a check-outor check-inhas started, do not disconnect the dedicated USB cable or power source until the check-outoperation has completed. These actions may damage the data or cause the system to malfunction
Listening to an MD
Using other functions
Advanced operations
To display online help
Viewing online help The Tabs
The left side frame
Device/Media
Other information
Settings and Precautions
When using SonicStage under Windows XP
For Windows XP users
For Windows Millennium Edition users
For Windows 2000 users
For Windows 98 Second Edition users
Installed Version
Users with OpenMG Jukebox installed
Installed Version
Users with a SonicStage Premium installed
Note on hard disk drive space
Notes on system suspend/hibernation mode
Backing up the audio data
1 Click Start–Settings–ControlPanel
Uninstalling the SonicStage software
1 Click Start–ControlPanel
2 Double-clickAdd/Remove Programs
For Windows 2000 users
Troubleshooting
Computer Manufacturer Model
If the installation was not successful
If your computer does not recognize the Net MD
•Is an MD inserted in the Net MD?
•If the installation seems to be stopped
Problem
Cause/Remedy
Information and explanations
Net MD FAQ
On the Net MD What is a “Net MD”?
On Editing
•Things you can do on the Net MD —Label contents
Can checked-outtracks be edited on the Net MD?
—Assign or release groups —Move tracks or groups
On copyright protection
Features by copyright protection by OpenMG
Restrictions on audio content
Electronic Music Distribution EMD service
Glossary
ATRAC3
“Check-In /Check-Out”
SDMI
Recording mode Bit rate
Windows Media Audio
Windows Media Technology
Index
Page
Printed in Malaysia