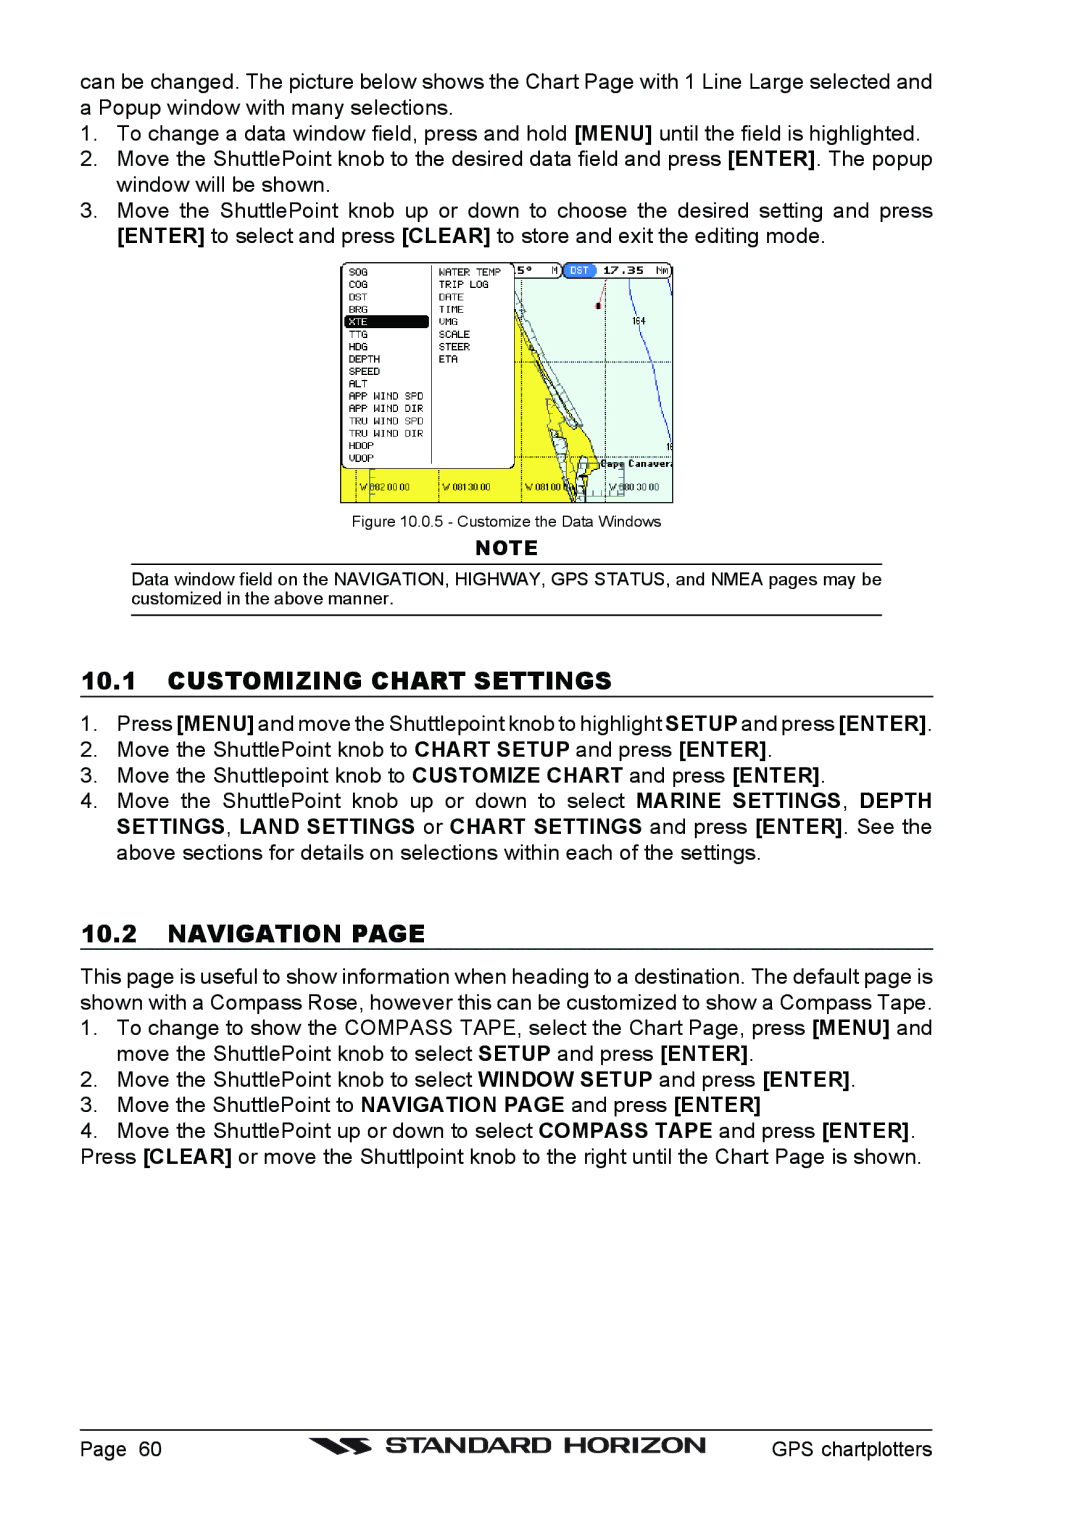
can be changed. The picture below shows the Chart Page with 1 Line Large selected and a Popup window with many selections.
1.To change a data window field, press and hold [MENU] until the field is highlighted.
2.Move the ShuttlePoint knob to the desired data field and press [ENTER]. The popup window will be shown.
3.Move the ShuttlePoint knob up or down to choose the desired setting and press [ENTER] to select and press [CLEAR] to store and exit the editing mode.
Figure 10.0.5 - Customize the Data Windows
NOTE
Data window field on the NAVIGATION, HIGHWAY, GPS STATUS, and NMEA pages may be customized in the above manner.
10.1CUSTOMIZING CHART SETTINGS
1.Press [MENU] and move the Shuttlepoint knob to highlight SETUP and press [ENTER].
2.Move the ShuttlePoint knob to CHART SETUP and press [ENTER].
3.Move the Shuttlepoint knob to CUSTOMIZE CHART and press [ENTER].
4.Move the ShuttlePoint knob up or down to select MARINE SETTINGS, DEPTH SETTINGS, LAND SETTINGS or CHART SETTINGS and press [ENTER]. See the above sections for details on selections within each of the settings.
10.2NAVIGATION PAGE
This page is useful to show information when heading to a destination. The default page is shown with a Compass Rose, however this can be customized to show a Compass Tape.
1.To change to show the COMPASS TAPE, select the Chart Page, press [MENU] and move the ShuttlePoint knob to select SETUP and press [ENTER].
2.Move the ShuttlePoint knob to select WINDOW SETUP and press [ENTER].
3.Move the ShuttlePoint to NAVIGATION PAGE and press [ENTER]
4.Move the ShuttlePoint up or down to select COMPASS TAPE and press [ENTER]. Press [CLEAR] or move the Shuttlpoint knob to the right until the Chart Page is shown.
Page 60 |
| GPS chartplotters |
|