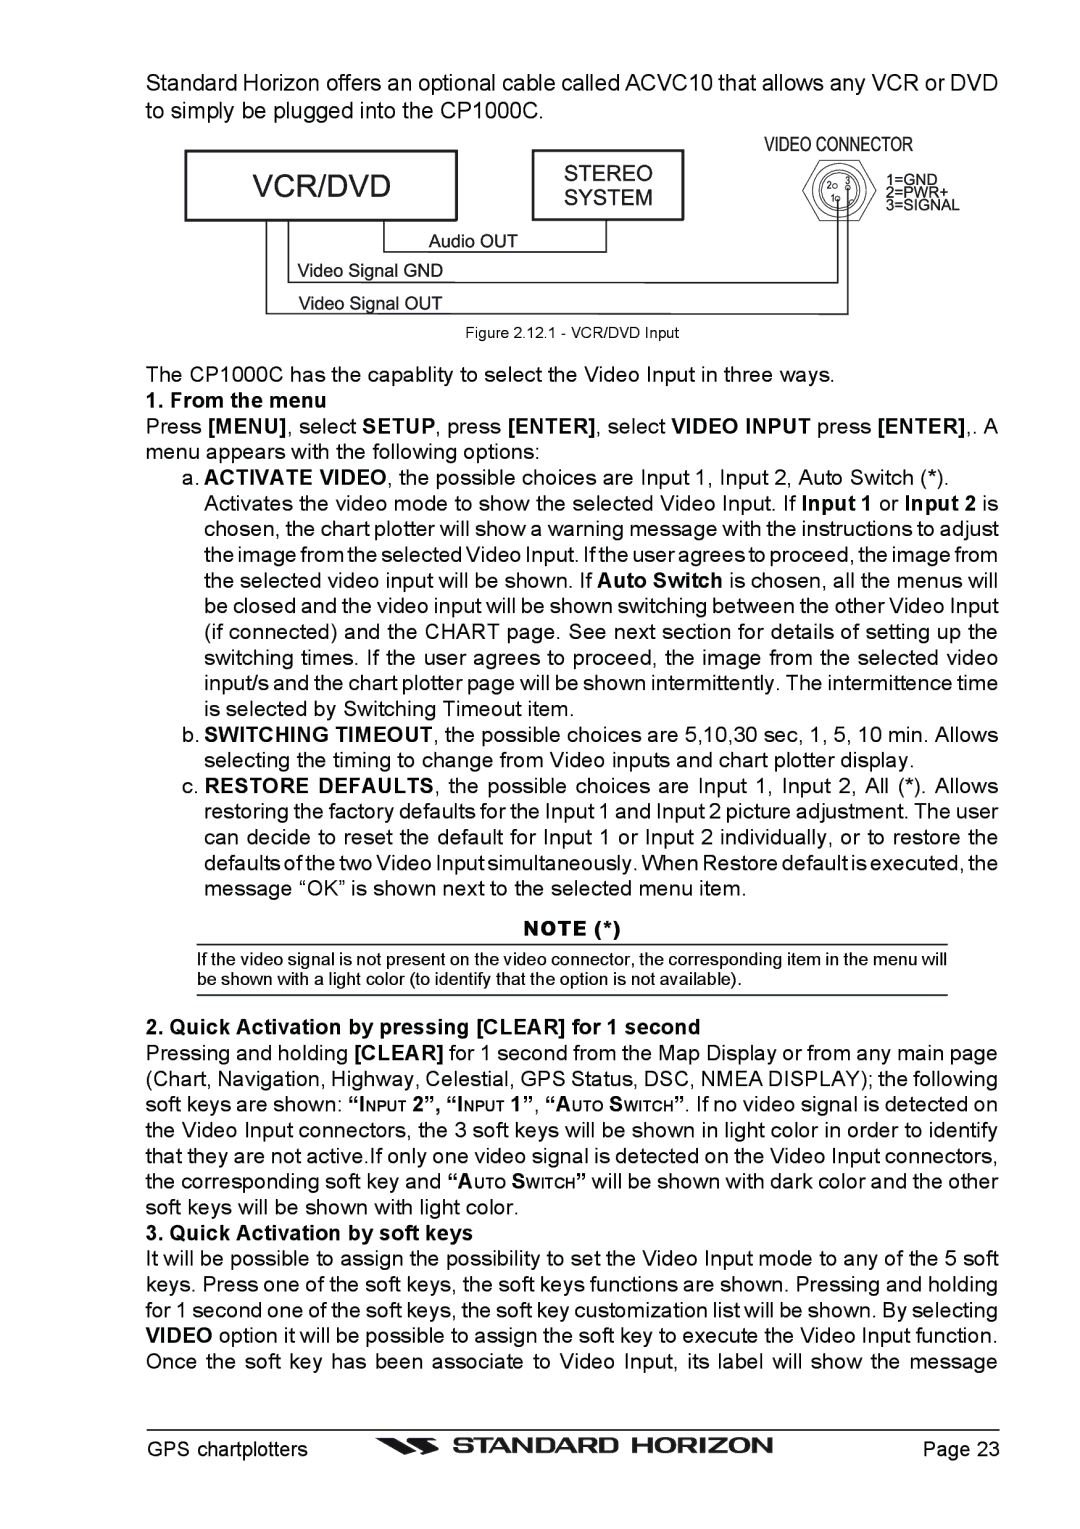
Standard Horizon offers an optional cable called ACVC10 that allows any VCR or DVD to simply be plugged into the CP1000C.
Figure 2.12.1 - VCR/DVD Input
The CP1000C has the capablity to select the Video Input in three ways.
1. From the menu
Press [MENU], select SETUP, press [ENTER], select VIDEO INPUT press [ENTER],. A menu appears with the following options:
a. ACTIVATE VIDEO, the possible choices are Input 1, Input 2, Auto Switch (*). Activates the video mode to show the selected Video Input. If Input 1 or Input 2 is chosen, the chart plotter will show a warning message with the instructions to adjust the image from the selected Video Input. If the user agrees to proceed, the image from the selected video input will be shown. If Auto Switch is chosen, all the menus will be closed and the video input will be shown switching between the other Video Input (if connected) and the CHART page. See next section for details of setting up the switching times. If the user agrees to proceed, the image from the selected video input/s and the chart plotter page will be shown intermittently. The intermittence time is selected by Switching Timeout item.
b. SWITCHING TIMEOUT, the possible choices are 5,10,30 sec, 1, 5, 10 min. Allows selecting the timing to change from Video inputs and chart plotter display.
c. RESTORE DEFAULTS, the possible choices are Input 1, Input 2, All (*). Allows restoring the factory defaults for the Input 1 and Input 2 picture adjustment. The user can decide to reset the default for Input 1 or Input 2 individually, or to restore the defaults of the two Video Input simultaneously. When Restore default is executed, the message “OK” is shown next to the selected menu item.
NOTE (*)
If the video signal is not present on the video connector, the corresponding item in the menu will be shown with a light color (to identify that the option is not available).
2. Quick Activation by pressing [CLEAR] for 1 second
Pressing and holding [CLEAR] for 1 second from the Map Display or from any main page (Chart, Navigation, Highway, Celestial, GPS Status, DSC, NMEA DISPLAY); the following soft keys are shown: “INPUT 2”, “INPUT 1”, “AUTO SWITCH”. If no video signal is detected on the Video Input connectors, the 3 soft keys will be shown in light color in order to identify that they are not active.If only one video signal is detected on the Video Input connectors, the corresponding soft key and “AUTO SWITCH” will be shown with dark color and the other soft keys will be shown with light color.
3. Quick Activation by soft keys
It will be possible to assign the possibility to set the Video Input mode to any of the 5 soft keys. Press one of the soft keys, the soft keys functions are shown. Pressing and holding for 1 second one of the soft keys, the soft key customization list will be shown. By selecting VIDEO option it will be possible to assign the soft key to execute the Video Input function. Once the soft key has been associate to Video Input, its label will show the message
GPS chartplotters |
| Page 23 |
|